ENXDVR-
4C User’s Manual V-2
130
The
add
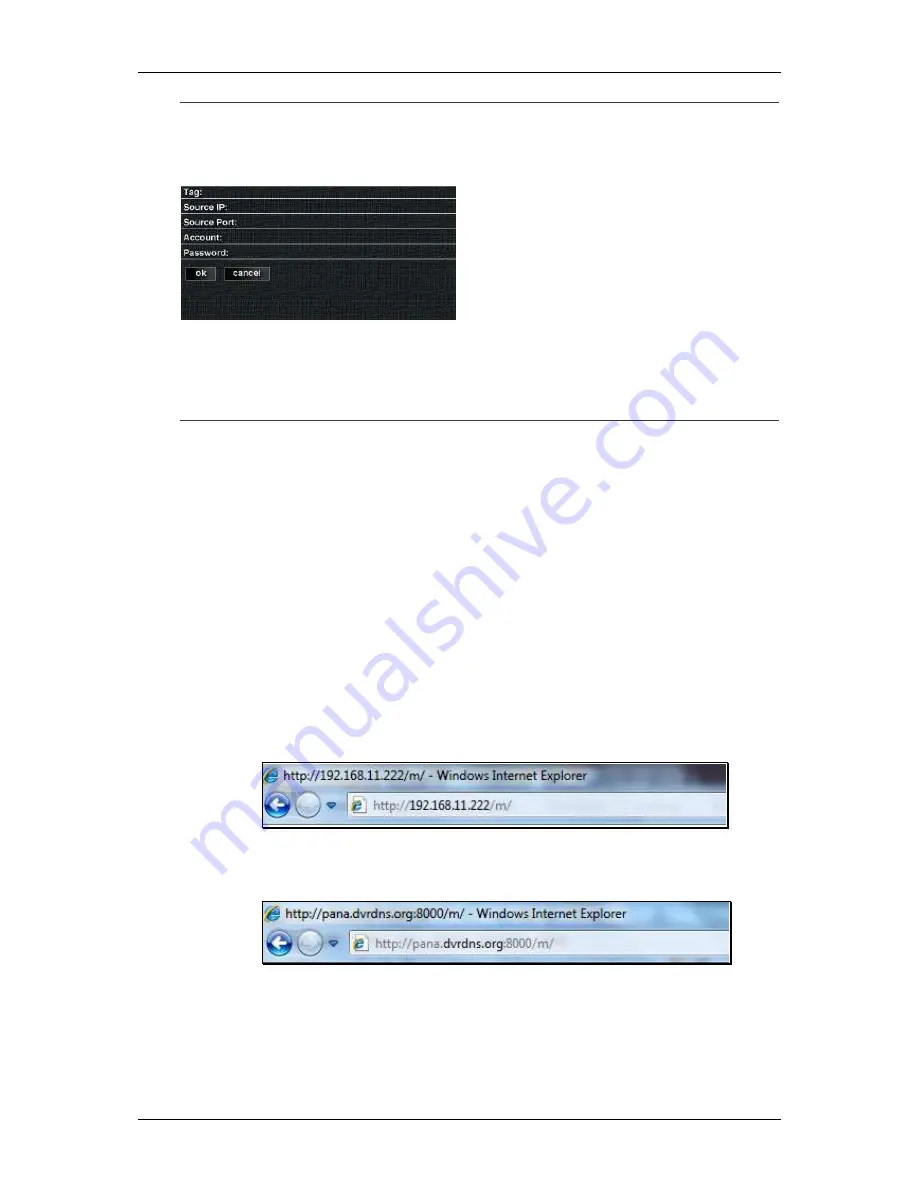
button opens to a window that
allows you to configure the remote
connection to a DVR.
»
Tag
: Name given to identify the
DVR.
»
Source IP
: Enter the DVR IP
Address.
»
Source Port
: Enter the network
port (default is
8000
).
»
Account
: Enter the user account
name (default is
admin
).
»
Password
: Enter the account
password (default is
123456
).
Browser JPEG Viewing
This section illustrates the steps for viewing the DVR using any web browser. This is a
simplistic program that allows you to view channels of the DVR one at a time on your
browser (e.g. Internet Explorer
™
, Google Chrome
™
, and Firefox
™
). Images may be viewed
based on a designated refresh rate. You may use this program on your computer or a
mobile device that has a web browser installed.
Step 7
Follow the instructions for installing the DVR. Assign an IP address for the
DVR.
Open the web browser. Type in the IP address or hostname of the DVR
followed by an
“m” and a “/”. It would look like the following examples:
Example 1
: The DVR’s IP address is 192.168.11.222.
Example 2
: The DVR’s DDNS address is pana.dvrdns.org and its remote
monitoring port is 8000.
Step 8
A window requiring account information (i.e. user name and password) will
appear. Enter the authorized ID and password. Press the
Login
button.
If the DVR does not require authorization, leave the fields blank and
press the
Login
button.
Summary of Contents for ENXDVR-4C
Page 6: ...ENXDVR 4C User s Manual V 2 6 Chapter 1 Overview ...
Page 12: ...ENXDVR 4C User s Manual V 2 12 ...
Page 13: ...ENXDVR 4C User s Manual V 2 13 Chapter 2 Getting Started ...
Page 72: ...72 Chapter 3 Playback and Data Backup ...
Page 83: ...83 Chapter 4 System Information ...
Page 87: ...87 Chapter 5 Network Connectivity ...
Page 96: ...ENXDVR 4C User s Manual V 2 96 Chapter 6 PCViewer ...
Page 111: ...ENXDVR 4C User s Manual V 2 111 Chapter 7 Remote Viewers ...


