Encore Networks BANDIT II C2C, Manual
The Encore Networks BANDIT II C2C product manual is available for free download on manualshive.com. This comprehensive manual provides detailed instructions on how to use and optimize your BANDIT II C2C device. Get your copy today and unlock the full potential of your Encore Networks product.
Share
Download


Reviews:
No comments
Related manuals for BANDIT II C2C

MASTER DRIFT MD 2.0
Brand: Yokomo Pages: 36
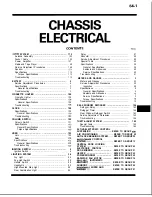
55624R(S)-MF
Brand: Mitsubishi Electric Pages: 180

SmartSwitch 9000
Brand: Cabletron Systems Pages: 18
System x iDataPlex dx360 M4 7912
Brand: IBM Pages: 400

NI 9155
Brand: National Instruments Pages: 20

NI PXI-1006
Brand: National Instruments Pages: 2

RACK-2300
Brand: Vox Technologies Pages: 18

PacketBand ISDN Series
Brand: Net2Edge Pages: 15

SR2300 - FRONT BEZEL BLK
Brand: Intel Pages: 78

SE7500WV2 - Server Chassis - SR2300
Brand: Intel Pages: 116

SC5400
Brand: Intel Pages: 146
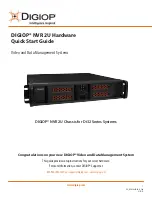
NVR 2U
Brand: Digiop Pages: 4


