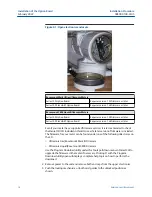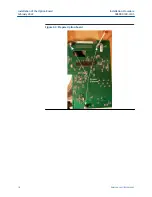
Figure 2-6: HART Option Board Connectors/Switches/LEDs
6. Make any desired changes to the switch settings on the Option board before
installation. Use the Wiring Diagram Card C-15470 provided as a reference.
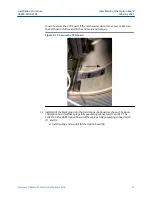
7. Install the Option board on the CPU board making sure that the connector on the
bottom of the Option board mates to the connector on top of the CPU board.
Figure 2-7: Mount Option board
8. Secure the Option board to the CPU board with the three Kep screws.
Installation of the Option Board
Installation Procedure
February 2022
00809-0100-3105
18
Emerson.com/Rosemount
Summary of Contents for Rosemount Ultrasonic 100 Series
Page 4: ...Contents Installation Procedure February 2022 00809 0100 3105 4 Emerson com Rosemount ...
Page 6: ...Plan Installation Procedure February 2022 00809 0100 3105 6 Emerson com Rosemount ...
Page 10: ...Introduction Installation Procedure February 2022 00809 0100 3105 10 Emerson com Rosemount ...
Page 12: ...Install Installation Procedure February 2022 00809 0100 3105 12 Emerson com Rosemount ...


