insert: 0
remove: 0
indent: 0
fault_sensed: X
fault_reqstd: Y
device_off: Z
ei: 6
ti: 0
capacity: 3.00 TB
serial: P9GUYRPW
temperature: 28 C
temp_threshold: 85
- slot_id: 1
For more information about slot mapping on the enclosure, see
100 system disk drives on page 16
.
Remove and install a disk drive
Note
l
Whenever servicing parts in a running system, move slowly while inserting and
latching the new parts. This avoids creating strong vibrations in the chassis which
might interfere with other operating components.
l
Always replace a failed disk drive as soon as possible. A system can run with one
disk drive failure, while more than one failed drive disables the system.
l
Only trained and qualified personnel should install or replace this equipment.
l
During the procedure, wear a grounding wrist strap to avoid ESD damage to the
equipment.
Remove the bezel
Procedure
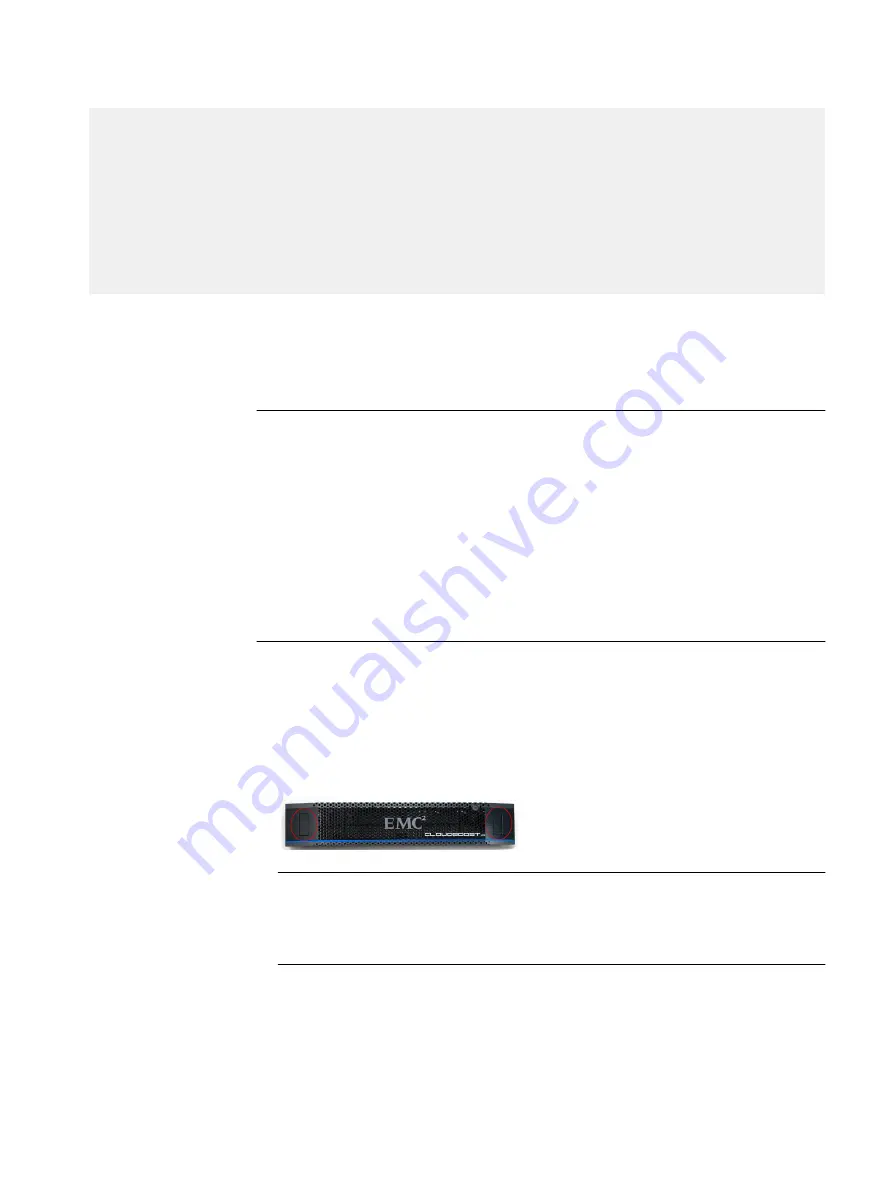
1. Remove the bezel by depressing both hand holds, as shown in the photo, and pulling
the bezel away from the system.
Figure 2 Removing the bezel
Note
l
The bezel contains a lock and is shipped with a key. If the bezel is difficult to
remove, it may be locked.
Remove and install a disk dive
Before you begin
Be very certain that you have correctly identified the failed drive which must be removed.
Disk Drive Replacement
Remove and install a disk drive
17
Summary of Contents for CloudBoost 100
Page 1: ...EMC CloudBoost 100 Version 2 0 Hardware Component Replacement Guide P N 302 002 471 REV 02 ...
Page 6: ...FIGURES 6 EMC CloudBoost 100 2 0 Hardware Component Replacement Guide ...
Page 8: ...TABLES 8 EMC CloudBoost 100 2 0 Hardware Component Replacement Guide ...
Page 14: ...CloudBoost 100 Overview 14 EMC CloudBoost 100 2 0 Hardware Component Replacement Guide ...
Page 20: ...Disk Drive Replacement 20 EMC CloudBoost 100 2 0 Hardware Component Replacement Guide ...


