


26
This handy trouble-shooting guide is
provided to save you time in case you experience
any inconvenience with this DVD player. If the
problem is not listed or if the provided solution
does not correct the problem please call our
customer support department .
Problem Possible Solution
No power
1. Check to ensure that the power plug is
securely in the wall outlet.
No sound
1. Check the connection between the DVD
player and the TV set, amplifier, or any
other unit it is connected to.
2.Check to ensure the TV and amplifier are
in the correct mode.
No picture
1. Check the connection between the DVD
player and the TV set or any other unit it
is connected to.
2.Check to make sure TV is turned on.
Disc does not play
1.Check to make sure the disc is loaded
correctly label side facing up on disc tray.
2.Check that disc is clean from dirt, dust,
fingerprints, and smudges.
3.Check to ensure disc is with in the guides
on the tray.
4.Check if parental lock function is on.
5.Make sure disc is for use in region
Remote does not work
.
1. Check batteries; possibly replace.
2. Check to ensure there isn't any obstacles
between the remote sensor on the unit's
front panel and the remote control.
3.Be sure the remote is aimed at the remote
sensor.
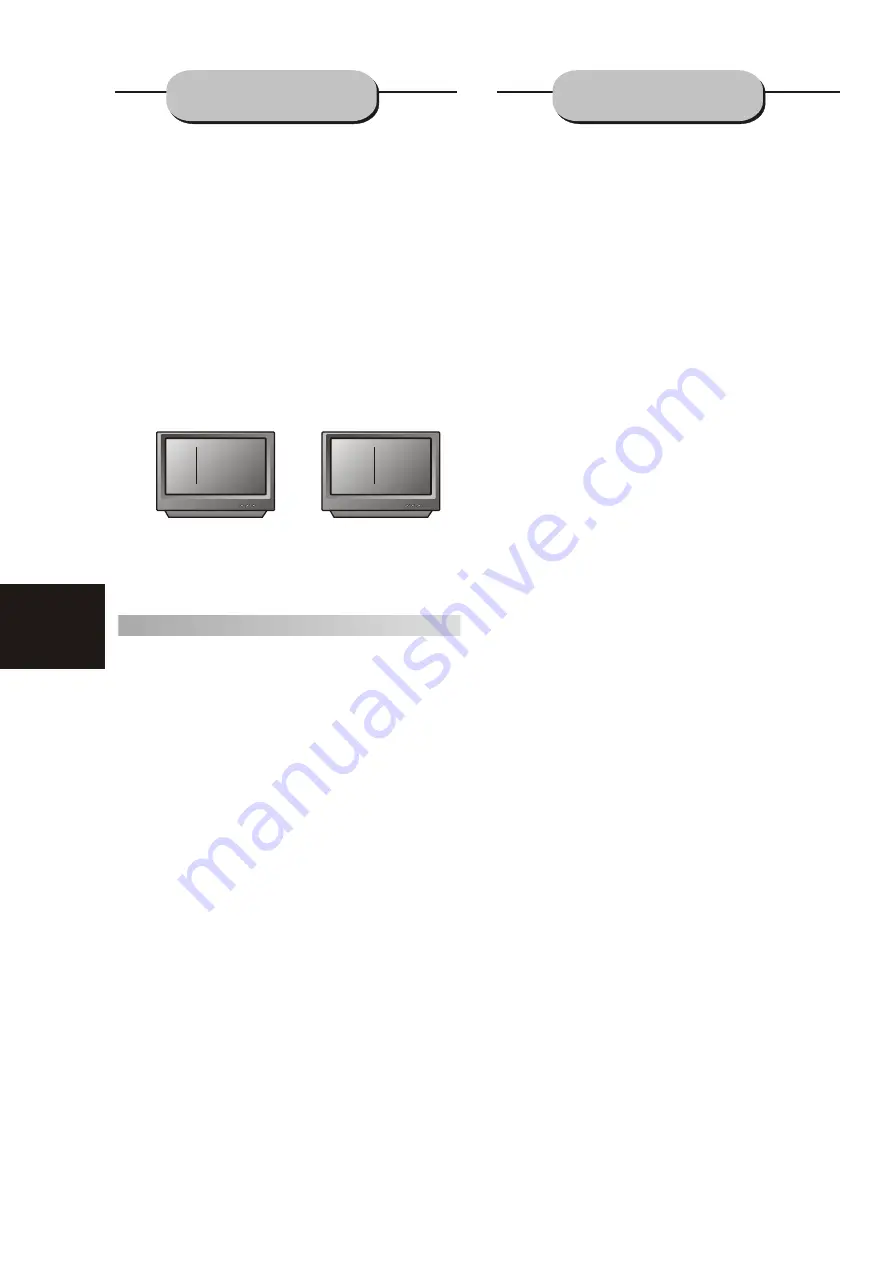
Divided picture
1.Check that disc is clean and has no
scratches.
2. The unit is controlled by a micro computer,
which may need to be reset. Turn off the
unit's power, wait several seconds, then
turn back on.
No color picture
1. Check to see if the S connector is damag-
ed (bent pin).
MP3 discs don't play
1. Use another software edition to re burn
disc, as the edition used may not be com-
patible with the player.
2.
Use new editions of software such as Audio
station 4,
asy CD Creator , To ast
Titanium, etc.
3. Make sure MP3 file is not encoded with a
variable bit rate, such as provided by Real
Networks.
"E
"
JPEG FILES
TROUBLE SHOOTING
JPEG is a compressed picture format used for picture
storage.
Even if pictures are compressed up to 15-20 times,
their quality remains outstanding. JPEG files are ideal
for storing of pictures as they are supported by most
types of software for picture processing, contain small
data and are easy to use. This DVD player can read
pictures in JPEG format on CD discs.
Press the relevant number key to select photo
display.
1. Insert the disc correctly, then the machine will start
searching for disc information.
2. Press a number key to select a photo.
3. The function is only active in the photo displayed
when a number key has been pressed.
How to play by menu
1. Insert the disc, then the machine will start
searching for disc information and the photos will
be displayed automatically.
If you press stop, the main menu will be displayed.
2. Press a number key to select a photo. Press the
PLAY key to start. Press the SCROLL key to select
photos and then press PLAY.
3. In stop mode you press SCROLL to select other
photos.26
ROOT
Root 0
PHOTO-01 1
PHOTO-02 2
PHOTO-03 3
PHOTO-04 4
PHOTO-05 5
ROOT
PHOTO-01
PHOTO-02
PHOTO-03
PHOTO-04
PHOTO-05
P-01
P-02
P-03
P-04
P-05
SMART NAV I
SMART NAV I
A
B
Summary of Contents for Cinema DVD Home Theatre System Vision DVD Home Theatre System
Page 1: ...Instruction Manual Cinema DVD Home Theatre System Vision DVD Home Theatre System...
Page 8: ...7 REMOTE CONTROLLER...
Page 29: ...28...
Page 30: ......


