Charging the E-Pack via
Wall Adapter
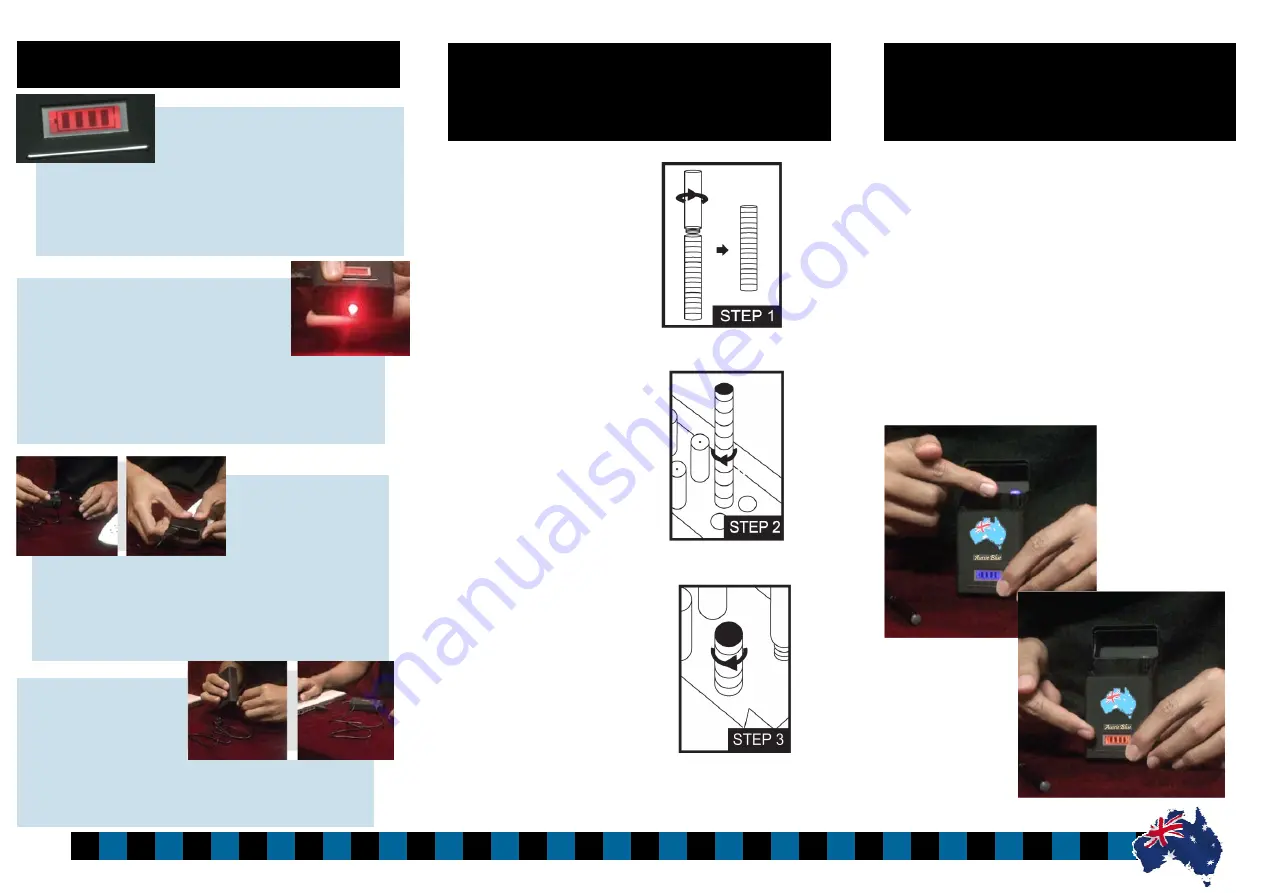
Plug the supplied mini
USB cable into the side of the E-Pack and then plug the
other end of the USB cable into the wall adapter. Plug the
wall adapter into the standard power out let to charge.
Charging
To start the charging process, you must hold down the
button located directly below the LCD screen “on the right
side” for 3-5 seconds. The tip of the E-Battery will blink
several times indicating that it has started the charging
process and the LCD screen colour will change from blue
to red to indicate the E-Pack is charging the E-Battery.
On average it takes about 30-45 minutes to completely
charge a depleted E-Battery. As long as the screen is still
red, the E-Battery is still charging. As soon as the screen
turns back to blue, the charging process is completed and
your E-Battery is ready for use.
How to charge your E-Batteries
with the E-Pack
Step 1
—Remove the E-Cartridge
and E-Atomiser from the E-Pack.
Step 2
—Find the charging recepta-
cle in the E-Pack. This will be the
last hole on the right-front. Insert the
E-Battery into the hole and insert it
all the way into the hole.
Step 3
—Once it connects with the
charging receptacle, screw the battery
into the E-Pack by turning it clockwise
until it is fully screwed in (do not over-
tighten).
How to charge your E-Batteries
with the E-Pack
Viewing the E-Pack’s battery meter
Your E-Pack comes fully equipped with a
LCD screen that will show you how
much charge the pack is currently holding. To view the battery
meter simply click the button directly below the LCD screen
“on the right side”.
Using the E-Pack’s LED flashlight
Your E-Pack also comes fully equipped with a
LED flashlight that will help you find your
way around in dark spaces. To use the LED
flashlight, simply click and hold the button located just below
the LCD screen “on the left hand side”. Click again to turn off.
Hold the button down for 3 seconds to keep it on.
Charging the E-Pack via
USB power source:
Plug the supplied mini USB
cable into the side of the E-
Pack and then plug into the USB power source such as your
computer.
Features
Summary of Contents for AUSSIE BLUE ENDURANCE
Page 4: ...Troubleshooting ...


