7
Setting Surface Controls
Operating the Single Radiant Surface Elements
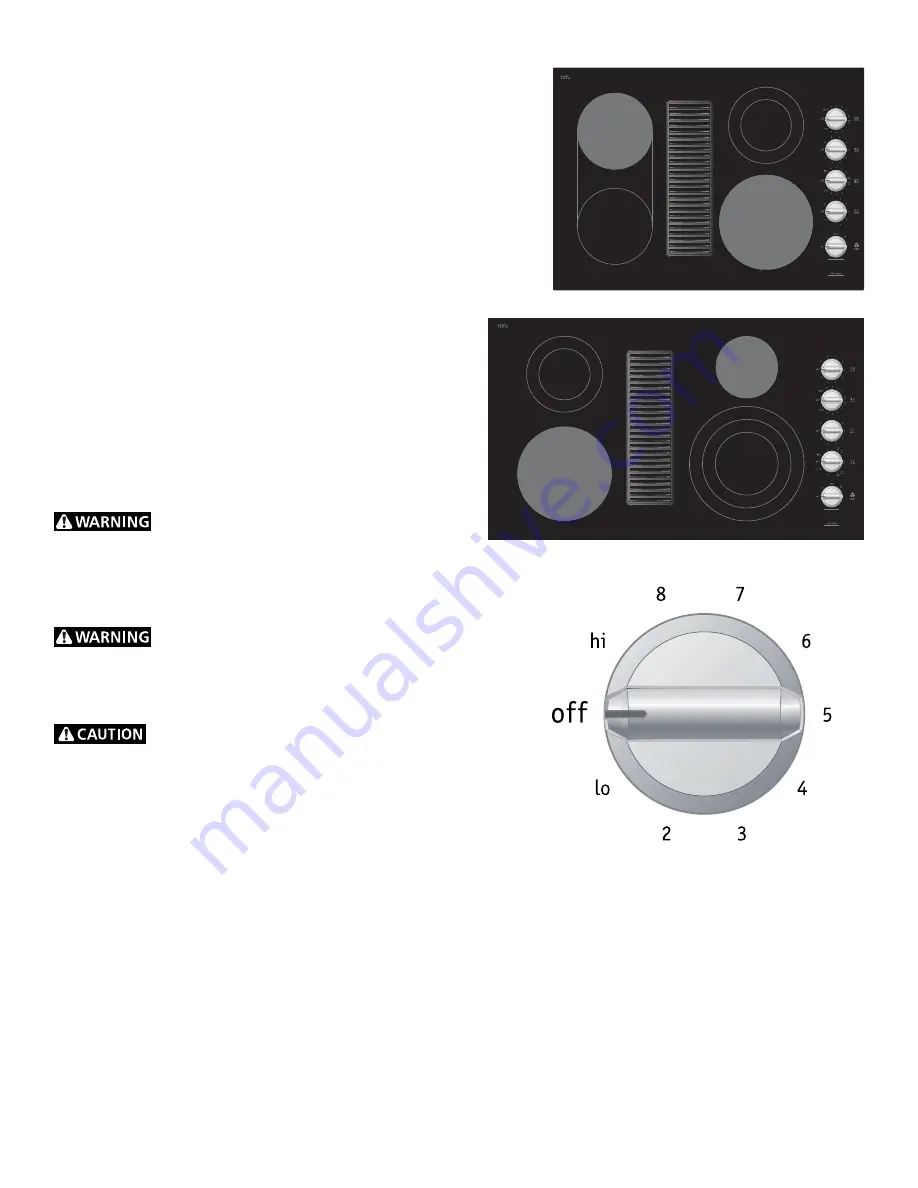
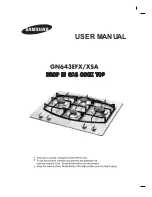
The cooktop has 2 single radiant surface elements: the RIGHT FRONT
& LEFT REAR (for 30” model) or LEFT FRONT & RIGHT REAR (for 36”
model) positions (Figures 1 and 2).
To Operate the Single Radiant Surface Elements
1. Place correctly sized cookware on the radiant surface element.
2. Push in and turn the surface control knob in either direction to
the desired setting (Figure 3). Turn the knob to adjust the setting
if desired. Start most cooking operations on a higher setting and
then turn to a lower setting to fi nish cooking. Each surface element
provides a constant amount of heat at each setting. A
glowing red surface heating area extending beyond the
bottom edge of the cookware indicates the cookware is
too
small
for the surface heating area.
3.
When cooking has completed, turn the surface control
knob to OFF before removing the cookware.
Note
: The
Hot Surface Indicator light will come on when the control
knob is turned on and will continue to glow until the glass
cooktop has cooled down to a moderate level that will not
cause burns if the area is touched. The light may remain on
even though the controls are turned OFF.
Note:
See Table on page 6 for recommended control settings.
Radiant surface elements may appear to have
cooled after they have been turned off. A hot surface indicator
light will come on and will continue to glow until the glass
cooktop has cooled down to a moderate level.
The glass
surface may still be hot
and burns may occur if the glass
surface is touched before the indicator light has turned off.
Do not place plastic items such as salt and
pepper shakers, spoon holders or plastic wrappings on
cooktop when it is in use.
These items could melt or ignite.
Potholders, towels or wooden spoons could catch fi re if placed
too close to the surface elements.
Do not allow aluminum foil, or ANY material
that can melt to make contact with the ceramic glass
cooktop.
If these items melt on the cooktop they will damage the
ceramic cooktop.
Figure 1
Figure 3
Figure 2
Summary of Contents for RC36DE60PB
Page 15: ...Notes ...


