background image

Problem

Possible cause

Solution


Large quantities of food to be fro-

zen were put in at the same time.

Insert smaller quantities of food to

be frozen at the same time.

The appliance does not

operate.

The appliance is switched off.

Switch on the appliance.


The mains plug is not connected

to the mains socket correctly.

Connect the mains plug to the

mains socket correctly.


The appliance has no power.

There is no voltage in the mains

socket.

Connect another electrical appli-

ance to the mains socket. Check

fuse. Contact a qualified electri-

cian.

The lamp does not work.

The lamp is defective.

Refer to "Replacing the lamp".


The door has been open to long. Close the door.

Door interferes with ven-

tilation grill.

The appliance is not levelled.

Refer to "Levelling".

Misaligned door.

The appliance is not levelled.

Refer to "Levelling".

As much as the advice does not lead to result, call the nearest brand-mark service.

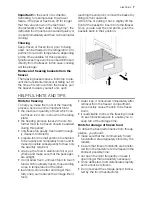
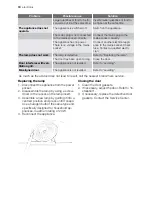
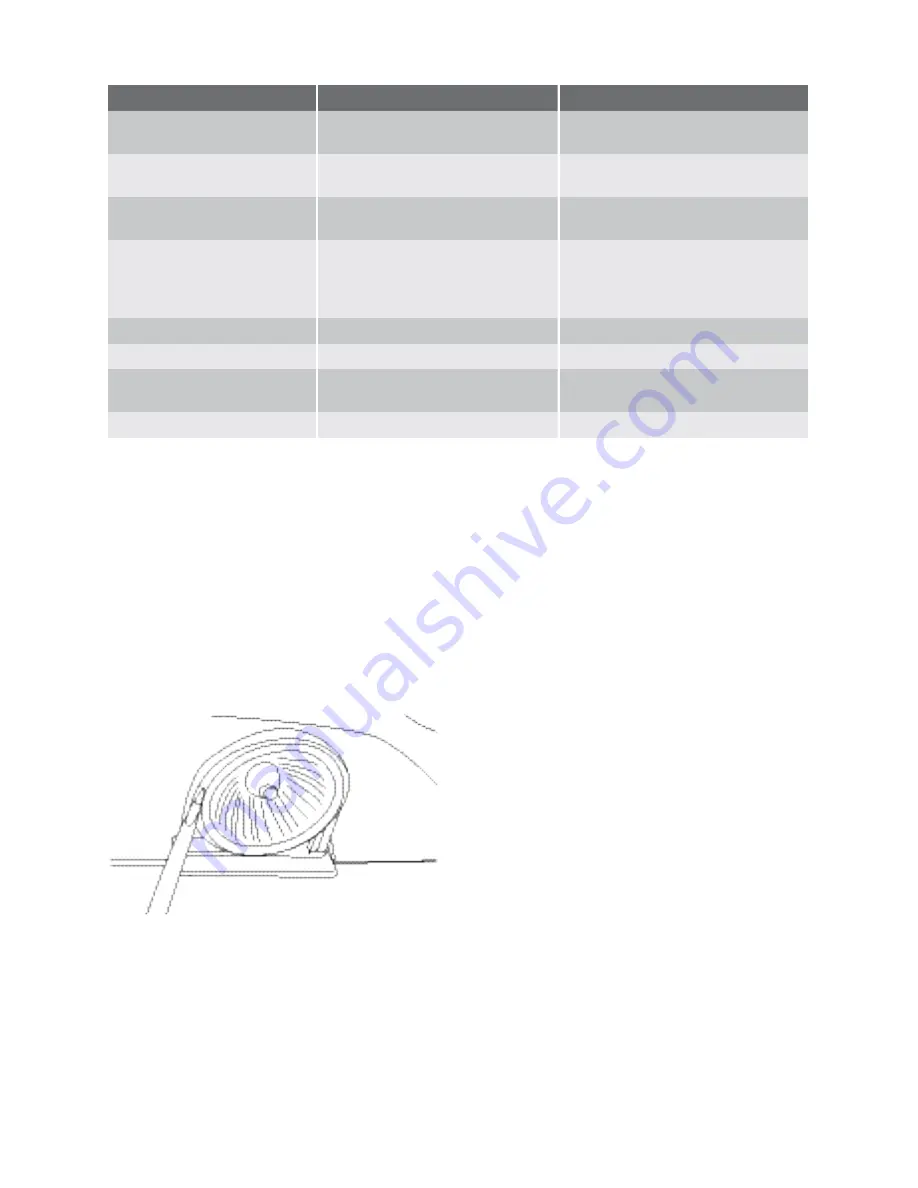
Replacing the lamp

1. Disconnect the appliance from the power

socket.

2. Disassemble the lamp by using a screw-

driver in the recess on the lamp insert.

3. Assemble a new lamp by guiding it into a

centred position and press until it snaps.

Use a halogen bulb of the same type and

specifically designed for household ap-

pliances, maximum rating of 20 W

4. Reconnect the appliance.

Closing the door

1. Clean the door gaskets.

2. If necessary, adjust the door. Refer to "In-

stallation".

3. If necessary, replace the defective door

gaskets. Contact the Service Center.

10 

 electrolux

Summary of Contents for EUF29400X

Page 1: ...user manual Freezer EUF29400X EUF29406W EUF29405W EUF29406X EUF29405X EUF29406K EUF29405K EUF29412W EUF29412X ...

Page 2: ...ere is risk of suffocation If you are discarding the appliance pull the plug out of the socket cut the connection cable as close to the appliance as you can and remove the door to prevent play ing children to suffer electric shock or to close themselves into it If this appliance featuring magnetic door seals is to replace an older appliance hav ing a spring lock latch on the door or lid be sure to...

Page 3: ...nated or fizzy drinks in the freezer compartment as it creates pressure on the container which may cause it to explode resulting in damage to the appliance Ice lollies can cause frost burns if con sumed straight from the appliance Care and cleaning Before maintenance switch off the appli ance and disconnect the mains plug from the mains socket Do not clean the appliance with metal ob jects Do not ...

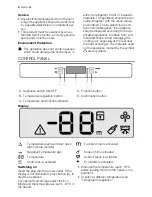
Page 4: ...it especially at the rear near the heat exchanger The materials used on this appliance marked by the symbol are recyclable CONTROL PANEL A Appliance button ON OFF D Function button B Temperature regulation button E Confirmation button C Temperature and function indicator Display Temperature alarm and door open alarm some models Function timer is activated Negative Temperature sign Drinks Chill is ...

Page 5: ...D until the corre sponding icon will flash and then key E Eco Mode Function The Eco Mode function is activated by press ing key D several times if necessary until the corresponding icon appears or setting the temperature at 18 C You must confirm the choice by pressing key E within few seconds You will hear the buz zer and the icon remains lighted In this condition the chosen temperatures are autom...

Page 6: ...nd some neutral soap so as to remove the typical smell of a brand new product then dry thoroughly Important Do not use detergents or abra sive powders as these will damage the fin ish DAILY USE Use of the freezer compartment The symbol means that the freezer is suitable for freezing fresh food and for long term storage The temperature may be regulated between 15 C and 24 C We suggest setting the t...

Page 7: ...n 24 hrs is shown on the rating plate the freezing process takes 24 hours No further food to be frozen should be added during this period only freeze top quality fresh and thorough ly cleaned foodstuffs prepare food in small portions to enable it to be rapidly and completely frozen and to make it possible subsequently to thaw only the quantity required wrap up the food in aluminium foil or pol yth...

Page 8: ... emulsion for cleaning ex ternal surfaces Important Do not use detergents or abrasive paste as these will damage the paint or stainless steel anti finger print coating After cleaning reconnect the equipment to the mains supply Cleaning the ventilation grille The ventilation grille can be removed for washing Make sure the door is open and then 1 Loosen the upper edge of the grille by pulling outwar...

Page 9: ...s cold but tem perature adjustment will not be possible The compressor runs continuously The Temperature regulator may be set incorrectly Set a warmer temperature The door is not closed correctly Refer to Closing the door The door has been opened too frequently Do not keep the door open longer than necessary The food temperature is too high Let the food temperature decrease to room temperature bef...

Page 10: ...en open to long Close the door Door interferes with ven tilation grill The appliance is not levelled Refer to Levelling Misaligned door The appliance is not levelled Refer to Levelling As much as the advice does not lead to result call the nearest brand mark service Replacing the lamp 1 Disconnect the appliance from the power socket 2 Disassemble the lamp by using a screw driver in the recess on t...

Page 11: ...m distance between the top of the cabinet and the wall unit must be at least 40 mm Ideally however the appliance should not be positioned below overhanging wall units If the cabinet is placed in a corner and the side with the hinges facing the wall the dis tance between the wall and the cabinet must be at least 150 mm to allow the door to open enough so that the equipment can be re moved The venti...

Page 12: ...move this pad Spacers Install the spacers provided within the ac cessory bag as shown in the figures When two appliances are placed beside each other attach the adhesive spacers be tween the appliances Install the spacers on the back side of the panel Levelling When placing the appliance ensure that it stands level If necessary adjust the feet us ing the adjustment spanner supplied Door reversibil...

Page 13: ...3 Screw on the hinge pin b on the oppo site side 14 Reassembly the covers c and d and the front cover a 15 Raise the appliance and install the ven tilation grille 16 Unscrew the handle On the opposite side remove the hole covers by driving a 3 4 mm drift or drill into them Install the handle Fit the handle on to the opposite side by turning it one half circle Install the hole covers provided withi...

Page 14: ... be taken to the appropriate collection point for the recycling of electrical and electronic equipment By ensuring this product is disposed of correctly you will help prevent potential negative consequences for the environment and human health which could otherwise be caused by inappropriate waste handling of this product For more detailed information about recycling of this product please contact...

Page 15: ...electrolux 15 ...

Page 16: ...298376827 03 07042010 www electrolux com shop ...

Reviews: