Elba EV-5199 User Manual Download Page 12


12 


Fig.04 

3.


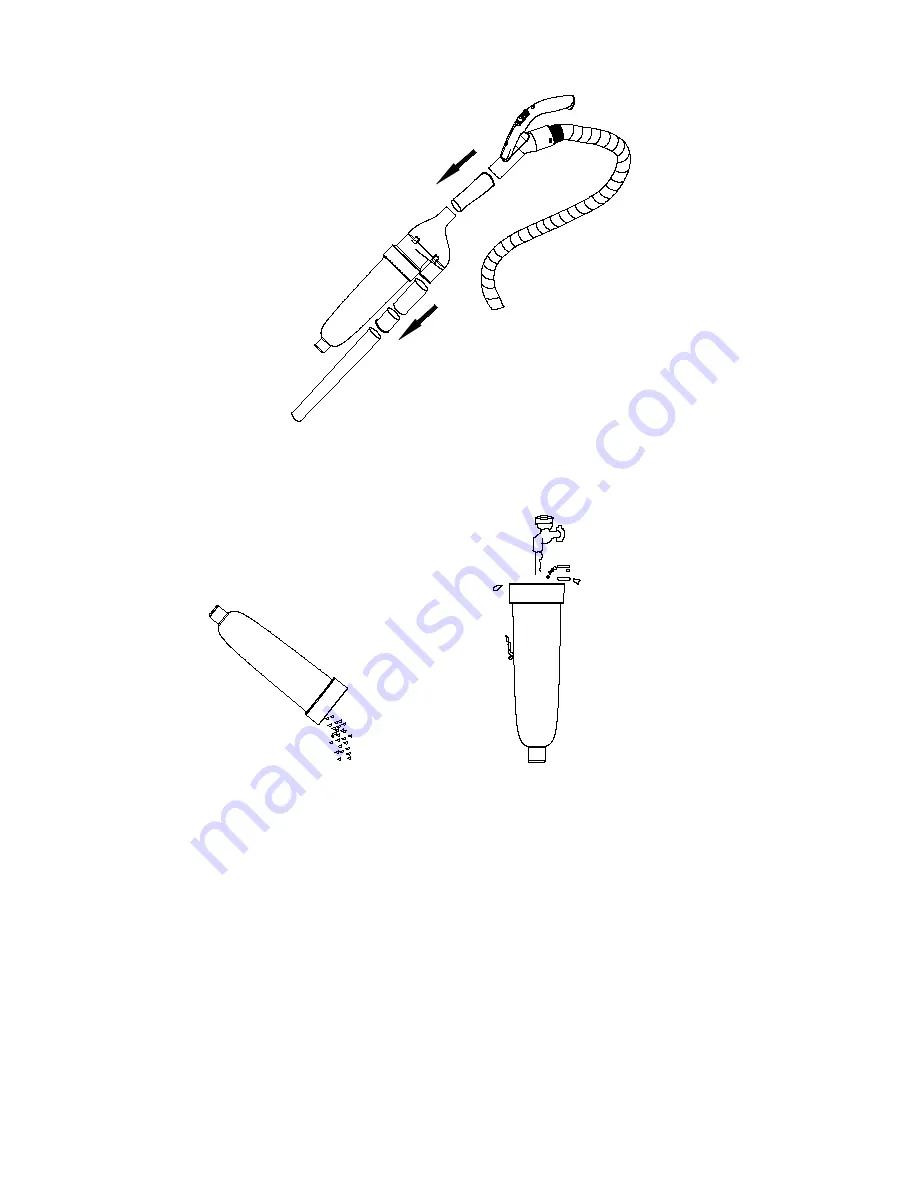
After finishing the cleaning, You can take out the dust cup and drop the dust to dust bin. You can wash 

the dust cup with the water. (Fig.05, Fig06) 


              Fig.05                                                                      Fig.06 


Note: 

Pls don’t use this attachment to sucking water or liquid , if the vacuum cleaner is 

not a wet/dry vacuum. 


Summary of Contents for EV-5199

Page 1: ...1 Water Filtration Vacuum Cleaner User Guide Model EV 5199 220 240V 50HZ 1200W 1400W max ...

Page 2: ...entally spilled onto the power switch Do not use the product in ways or for purposes not recommended in this manual Do not use the product near explosive materials inflammable liquids or any type of gas Such usage can cause fire or explosions Caution Do not touch the mains plug with wet hands Do not use the product for vacuuming any type of chemicals acids or solvents This will damage the machine ...

Page 3: ...n the float switch goes up or the suction mouth closed for safety Mixing of Bio fresh anti bacterial anti allergenic non chemical fresheners such as Mountain Pine Tropical Citrus Country Lavender with water helps to purify and disinfect indoor air as well as eliminate unpleasant odors HEPA filter at system s motor air outlet means the air coming out is even cleaner than the air going into the syst...

Page 4: ...h Telescopic Tube Handle Curved Tube Water Tank Sponge Filter Floater Tank Cover Meshed Filter Cage Carrying Handle Rewind Button Switch Button Big Wheel Flexible Hose Duster Brush Water Brush Crevice Nozzle Handy Cyclonic Attatchment ...

Page 5: ...ont cover upwards Fig 1 Remove the water container using the attached handle Fig 2 Remove the filter assembly from the water container Fig 3 Fill the container with tap water to Max Water Level indicated on the side of the container This is about 0 8 litres Please ensure the container is not overfilled Fig 4 Put back the filter assembly unit into water container and set the water container back to...

Page 6: ...Standby mode At this stage your machine is ready to work Fig 7 Push the button on the main body and keeping the pushing about two seconds until the machine working The machine will works at the lower suction mode Then using the or button to make the power up or down Caution Before connect the plug to the power socket unwind a sufficient length of cable A yellow mark on the power cable shows the id...

Page 7: ...f the Telescopic Tube to suit your needs Push and hold the locking knob extend or retract the telescopic pole as required Release the knob and pull the extended tube slightly to lock it in place The tube can be extended to a maximum length of about 82 90cm 3 Crevice Tool Use this accessory tool for corners crevices and cracks 4 Duster Brush The Duster Brush 2 in 1 cleaner accessory is for removing...

Page 8: ...also important not to allow the tank to become too full of vacuumed liquid When you finish empty the tank completely and vacuum up about one liter of clean water to rinse clean the inside of the Flexible Hose and the Telescopic Tube Repeat if necessary To dry the inside of Hose the Tube detach the Water Brush and run your machine for a few minutes without sucking up any dirt Wash and dry the water...

Page 9: ...g 3 Regularly dismantle and clean the filter assembly Remove the curved tube by pulling it from the meshed filter cage pls take care of the direction when equip the curved tube on the filter cage again Pull out the filter cage and remove the sponge filter Wash and rinse all the components Dry before assembling them To remove stubborn dirt from the container and the filter assembly use normal washi...

Page 10: ...tter cleaning efficiency parts and Accessories Preparation before use Assembly the cyclonic attachment 1 How to equip the dust cup on body Please see the mark of UNLOCK LOCK position insert firmly the dust cup on the body from the UNLOCK position then rotate the dust cup to the LOCK position Then the dust cup is equipped on the body This attachment is ready for use Fig 01 2 How to release the dust...

Page 11: ...le and telescopic tube Then can use it for cleaning job Fig 02 Fig03 Fig 02 Fig 03 2 If the diameter of the attachment is not fitting with the hose handle and or the telescopic tube Please use the additional connectors to connect with the attachment then connecting with the handle and tube Fig 04 ...

Page 12: ...ing You can take out the dust cup and drop the dust to dust bin You can wash the dust cup with the water Fig 05 Fig06 Fig 05 Fig 06 Note Pls don t use this attachment to sucking water or liquid if the vacuum cleaner is not a wet dry vacuum ...

Page 13: ...evel Then reduce the water level C The selected suction power level is too high for the current cleaning application Reduce the suction power D The airflow is blocked Remove the blockage 2 The machine does not start 1 AC supply is not properly connected the AC cord to electrical supply 2 Pls check if the main switch is ON or not If it is ON one green lamp will flash 3 Push on the main switch then ...

Reviews: