INSTALLATION MANUAL
Liquid Cooling Starter Kit
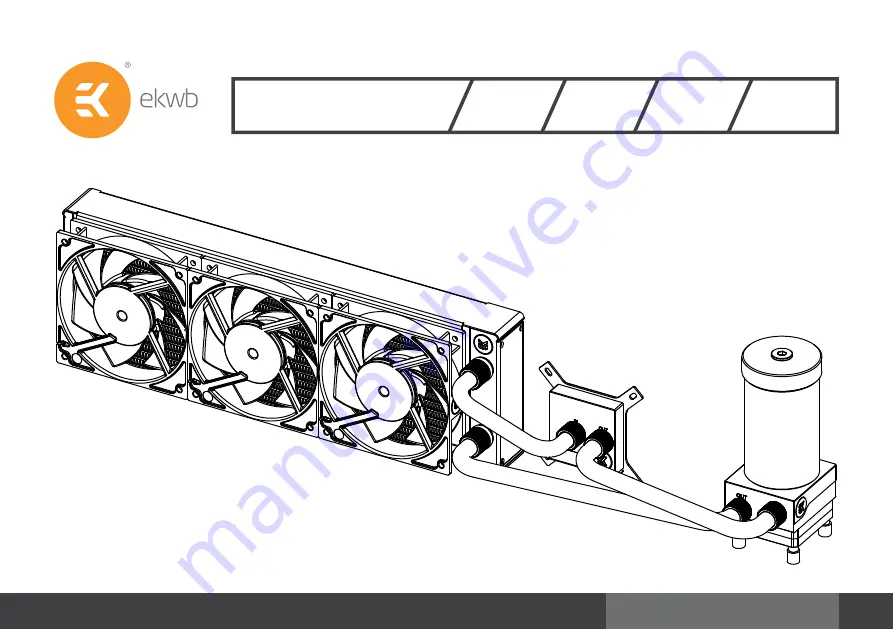
Classic D-RGB
S240 S360 P240 P360
EK-Classic Kit Series Units | 2nd Revision, June 24th 2020
Page 1: ...INSTALLATION MANUAL Liquid Cooling Starter Kit Classic D RGB S240 S360 P240 P360 EK Classic Kit Series Units 2nd Revision June 24th 2020...
Page 2: ......
Page 3: ...recognized brands Our vision is to lead the way in making computers better Safety Precautions 1 Keep and store the product away from the reach of children 2 Check the component list and condition of t...
Page 4: ...P RESERVOIR UNIT 22 ENCLOSED IN THE PACKAGING 22 INSTALLING THE PUMP RESERVOIR UNIT TO THE BOTTOM OF THE CASE 23 CONNECTING THE TUBING 25 CONNECTING THE PUMP RESERVOIR UNIT 27 ELECTRICAL CONNECTIONS 2...
Page 5: ...sic 1x D RGB Splitter Cable 1x Angled Fitting 2x Soft Tube Cutter 1x Radiator With Screws Coolant Concentrate 100mL Tube ATX Bridging Plug CPU Water Block With Accessories Compression Fittings Pump Re...
Page 6: ...le of Distilled Water H2 0 Fan Cable Y Splitter Installation Manual Phillips Head Screwdriver Mixing Bottle EK RES X3 Holder 1x Multi Allen Key 1x Filling Bottle 500ml 1x Pump Cable Extension 500mm 1x...
Page 7: ...NSTRAINT REQUIREMENTS 400 mm 15 75 in 280 mm 11 02 in 130 mm 5 12 in 130 mm 5 12 in 46 mm 1 8 in 28 mm 1 10 in 400 mm 15 75 in 280 mm 11 02 in 130 mm 5 12 in 130 mm 5 12 in 46 mm 1 8 in 28 mm 1 10 in...
Page 8: ...ylic parts of the system 4 It is best practice to do a proper 24 hour leak test before using your computer 5 If you spot any leaks turn the power off immediately 6 Optimize tube length to prevent exce...
Page 9: ...tel Socket LGA 115x LGA 1200 Intel Socket LGA 2066 LGA 2011 3 AMD Socket AM4 requires replacing the Intel mounting plate with an AMD one This product is also fully compatible with AMD AMx FMx sockets...
Page 10: ...115x Rubber Backplate Distancer LGA 115x CPU WATER BLOCK WITH ACCESSORIES MOUNTING KIT FOR INTEL SOCKET MOTHERBOARDS Thumb Nut Mounting Screw LGA 115x Mounting Screws LGA 20xx Mounting Springs Intel...
Page 11: ...grease will disrupt cooling performance LGA 2011 3 SOCKET MOTHERBOARDS STEP 1 Prepare the foil bag with the mounting mechanism that is enclosed with the CPU water block Install four 4 specific LGA 20...
Page 12: ...rn but do not tighten them fully until all four are partially screwed in Then using your fingers only screw in all four thumb nuts until you reach the end of the thread Thumb Nut Coiled Spring Fitting...
Page 13: ...computer case Place it on an even surface with the front facing downward STEP 1 STEP 2 STEP 2 Preparing the Backplate Rubber Gasket The enclosed rubber gasket is an essential part of the backplate an...
Page 14: ...ate rubber gasket and place the metal backplate for Intel LGA 115x 1200 socket to the back of your motherboard ribbed side up facing away from the motherboard Align the holes on the motherboard with h...
Page 15: ...hten them fully until all four are partially screwed in Then using your fingers only screw in all four thumb nuts until you reach the end of the thread Thumb Nut Coiled Spring STEP 6 STEP 5 Cleaning t...
Page 16: ...Classic series water blocks it is mandatory to use the port closest to the center of the water block as the INLET port Mixing these ports up may result in poor thermal performance of the water block...
Page 17: ...into the gap between the mounting plate and water block top Pay special attention to the orientation of the copper base It should be placed as shown in the picture Reinstall the M4x14 screws and use t...
Page 18: ...emoving the Original Hold Down Clamps Using a Philips head screwdriver remove the four UNC 6 32 screws securing the original plastic hold down clamps around the socket as shown in the picture You can...
Page 19: ...too much thermal grease will disrupt cooling performance STEP 6 Align the water block with the pre installed mounting screws on the AMD socket motherboard Before proceeding with installation it is ma...
Page 20: ...t Mixing the ports may result in poor thermal performance of the water block Tighten the fitting barbs in the clockwise direction until the gasket underneath is compressed STEP 8 Install the motherboa...
Page 21: ...unidirectional airflow throughout the chassis by placing all fans accordingly METHOD 1 STEP 1 Install the fans on the radiator Take four UNC 6 32x30mm screws for each fan and screw them in Use the en...
Page 22: ...ompressed The installation of the radiator and cooling fans is now complete METHOD 2 INSTALLING THE RADIATOR AND FANS IN ONE GO STEP 1 Prepare your suitably sized PC chassis for the installation of th...
Page 23: ...the threaded holes of the radiator Tighten them in a clockwise direction using the enclosed Allen key UNC 6 32 x 30 Screw Radiator Fitting Barb Fitting Ring STEP 2 STEP 3 STEP 3 Install compression fi...
Page 24: ...y 2 mm Allen Key 2 5 mm Screws M4 x 6 Nut M4 PUMP RESERVOIR MOUNTING KIT ENCLOSED IN THE PACKAGING UNI Bracket Spider Bracket You may choose one of the two enclosed brackets for mounting the Pump Rese...
Page 25: ...cally as shown in the picture You can turn the pump in any direction but do not turn it upside down Secure the pump from the backside using four 4 M4 x 10 screws and PVC washers Tighten them in a cloc...
Page 26: ...TEP 3 Secure the M4 x 6 screws from the previous Step with four 4 M4 nuts and PVC washers Tighten them with a 2 5mm Allen key Make sure the screws are holding tight but do not exaggerate with the forc...
Page 27: ...s is the best practice it is not mandatory STEP 2 Try to visualize the tube route and then measure its distance by trying to fit it into the chassis Mark the required length with a felt tip pen Before...
Page 28: ...in a counter clockwise direction Tubing STEP 3 STEP 5 STEP 4 STEP 4 Slide the fitting ring along the tube with the threaded side facing the fitting barb Install the tube on the fitting barb You can do...
Page 29: ...rd Always try to use CPU dedicated fan headers On the majority of motherboards these headers offer the best PWM regulation CONNECTING THE FANS STEP 1 To connect the fans you might need an EK Cable Y s...
Page 30: ...This procedure requires only the pump to be connected to the power supply PSU Everything else needs to be disconnected This Step must be done to prepare the power supply for the pump so you can fill t...
Page 31: ...is as follows 5V Data Empty Ground Please ensure that the arrow indicated on the connector is plugged into the 5V line as indicated on your motherboard If you connect LEDs to the 12V RGB header it wi...
Page 32: ...remaining liquid into a PET bottle Do not use any food or beverage container STEP 2 Remove the top cover of your reservoir by unscrewing it in a counter clockwise direction It is recommended to protec...
Page 33: ...Feveryfewsecondstospeeduptheairbleedingprocess When the coolant level becomes steady fill the reservoir until the coolant level is about 2cm below the edge Screw the reservoir top cover back in a cloc...
Page 34: ...g from the outlet port of the pump reservoir unit Rotate the ring in the counter clockwise direction Gently pull the tube off the fitting and direct it into the container Let the coolant flow out STEP...
Page 35: ...r for the best possible performance Motherboard and memory water blocks usually have lower power output therefore those are not included in this equation In this manual we will explain how to expand t...
Page 36: ...dust every 2 3 months EK recommends using a vacuum cleaner or compressed air to blow the dust away The radiator is usually the dustiest so pay special attention to it Do not forget to turn off the com...
Page 37: ...ycle to maintain the highest flow rates and thus thermal performance when running more than one additional water block Q Can the Push Pull Fan configuration be used with EK Classic Kit D RGB A Yes thi...
Page 38: ...flow Usually this will not be the case when using original tubing TROUBLESHOOTING 4 Clogged microchannels in the water block Microchannels get clogged easily with various dirt particles and impuritie...
Page 39: ...decrease of 30 C or more EK deems der8auer Delid Die Mate tool safe to be used by experts for de lidding the Intel Skylake CPUs Upon exhausting all options please consult EK knowledge base at http sup...
Page 40: ...r chrome polish Apply a small amount of polish to a cloth or surface of the nickel Wipe the entire surface of the nickel with the polish using small circular motions until it looks shiny and clean Use...
Page 41: ...39 NOTES...
Page 42: ...40 NOTES...
Page 43: ......
Page 44: ...AND SERVICE In case you need assistance please contact http support ekwb com EKWB d o o Pod lipami 18 1218 Komenda Slovenia EU SOCIAL MEDIA EKWaterBlocks EKWaterBlocks ekwaterblocks ekwaterblocks EKWB...