ehb electronics SMARTdisplay 101 Operating Instructions Manual Download Page 15

ehb SMARTdisplay 101 


Operating Instructions 


© 

ehb Errors excepted


Vers. 1.2


15

/

19


5.2  Update of a Project  via USB 

To update a project, no network or PC is required on site by the machine. 
Simply copy the updated .ehbArchive file onto the U:\update folder on a USB stick (change the char-
acter U to the letter used for your USB stick drive if necessary). 
- Insert the USB stick into the device. 
- If the stick has an LED, wait until the flashing stops. Otherwise, wait several seconds. 
- Open the Setup screen 

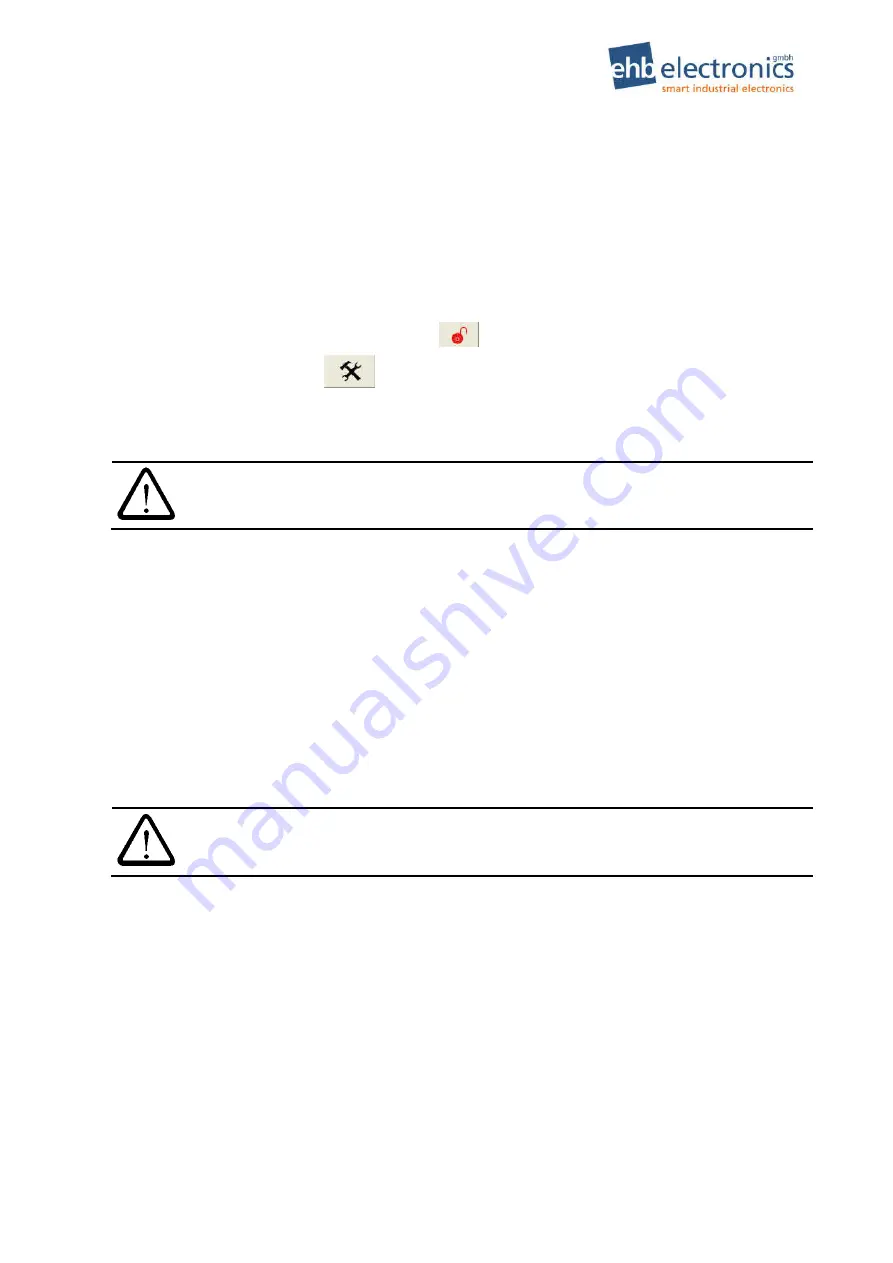
- Enter the Setup password (915066 after clicking 

 ) 

- Go to the page with the button  

 - Click the Update Config button 

    - If this turns GREEN, everything is OK => restart device 
    - If this turns RED, the archive file was not found or is corrupted. 


ATTENTION! 


If an archive file is found to be defective, it will be automatically deleted (if this is 
possible) from the USB stick for security reasons.


5.3  Software Update 

Updating the application software is only possible while application is not running. The device is de-
signed so that stopping/terminating of the application is impossible during normal operation. Further-
more, monitoring is activated, so that the device


resets itself and restarts the application if the software 

crashes or the application is stopped. 
To be able to install an update, you need to suppress the automatic start of the application. Connect to 
the FTP-server in the device by using FileZilla. Create a new server 192.168.1.100 in the server man-
ager with user name ftp and password 2070 and establish connection.  
Rename the file „CANcorApp.exe“ in folder /NANDFlash/CANcor, e.g. to „CANcorApp_backup.exe“. 
Then restart the device! After about 15 seconds the Windows® Embedded Compact 7 is booted up. 
You are then on operating system level and you are able to change application and configuration. 


ATTENTION!  

Always create a backup of the installed application first, so that you will be able to 
restore the current state! 

 
It is advisable to first back up the files that are to be replaced. 
Connect from PC with FileZilla and copy all folders in /NANDFlash including all sub-folders and all the 
contained files to the PC excluding the folder /NANDFlash/Windows.  
Now delete everything from „NANDFlash“ folder excluding the folder /NANDFlash/Windows! 
The update (all files that go into „NANDFlash“ folder) you may copy from another directory of the PC in 
the same way as creating the backup. E.g. drag the new files from a Windows Explorer window into 
the FileZilla window. 
After completion of the copy process wait at least 10 seconds, then re-start the device! It is possible 
that the first boot up sequence after the update needs more time than usual, since still some files 
might need to be extracted.  
An update to Windows® Embedded Compact 7 can only be carried out by 

ehb electronics gmbh

. No 

updates are required for supplied 

ehb SMARTdisplay 101

 devices.  


Summary of Contents for SMARTdisplay 101

Page 1: ... 1 2 It is not permitted to pass on or copy this documentation or use or disclose its content unless expressly approved Failure to comply with this shall result in compensation for damages All rights are reserved in the case of patent issue or utility model registration ...

Page 2: ...Overview Functions of the Navigation Bar To open the navigation bar double click on a blank area of the screen Double clicking the bottom near where the bar should be will not open it Display Touchscreen Scroll left back Scroll right forward Settings List of errors Scroll up page navigation ...

Page 3: ...sposal of Devices 6 2 Operation 7 2 1 Connection 7 2 2 Switch On Off 8 2 3 Navigation of Pages 9 3 Change of Settings 10 3 1 Setting Brightness Contrast and Language 11 3 2 Set Date Time 11 3 3 Network LAN Configuration 12 4 Error List 13 5 Communication with the PC 14 5 1 Upload of a Project Configuration 14 5 2 Update of a Project via USB 15 5 3 Software Update 15 6 Wiring Diagram 16 7 Housing D...

Page 4: ...d from other control units the user is notified of them via the display and can view them in the list of errors Errors detected are stored with date and time and are retained even after the ehb SMARTdisplay 101 has been restarted More complex combinations of parameters data logging and control tasks can be added by means of additional customer specific programs Plug Ins to the standard software Th...

Page 5: ...ce life and requires no special care Installation During the installation of the device follow the directions of the manufacturers of plugs and wire harnesses Opening the device The ehb SMARTdisplay 101 contains any parts that can be serviced replaced or repaired by customers or third party maintenance personnel The ehb SMARTdisplay 101 is sealed to protect against any unauthorised open ing Please...

Page 6: ... unsuitable packaging of the device for shipping and or unauthor ized intervention will void the warranty 1 5 Disposal of Devices Product At the end of its service life dispose of the product in accordance with legal requirements Batteries As a consumer you are legally required German Battery Ordinance Batterieverordnung to return all used batteries Disposal in household waste is not permitted Bat...

Page 7: ...ber 372153 or higher For setting up and for software updates etc a standard USB cable can be attached to the USB port and a standard CAT 5 patch cable connected to an Ethernet socket For operation of the unit cables with the appropriate LTW connectors must be used If you are not intending to use these interfaces the cap supplied should be fitted Otherwise the device will not meet the IP 67 protect...

Page 8: ...tivated again i e when terminal 15 is reactivated the applica tion continues The wait time until the display appears is minimal and there is no need to wait for the longer initial start up procedure The device must be connected to steady plus terminal 30 in case data should be saved when the unit is switched off i e so that the device is not used purely as a display To ensure that the device does ...

Page 9: ...hat clicking on it will move it to another group An example for structuring a project into pages and page groups is shown in the following illustration The elements of each page are indicated by small boxes Linking of an element with a page group is indicated by green arrows Clicking on one of the elements from which an arrow issues changes the display the first page of the page group to which the...

Page 10: ...hanged directly on the device via elements on the touchscreen An overview is given in the following table Menu Structure of the Setup Menu Display Information Displayed are among others date and time available system memory current IP address es software version of modules General Settings Setting of brightness and contrast and language Password for pro tected area More settings may be configured ...

Page 11: ...er further to the left Select the language required by clicking the appropriate country s flag 3 2 Set Date Time This setting is only accessible via the password protected area The device features a real time clock and battery The clock continues to run even when the device is not connected to terminal 30 steady plus battery It should thus only be necessary to adjust the date or time in exceptiona...

Page 12: ...twork settings can only be accessed via the password protected area Open the Setup menu by clicking on the navigation bar First click on and enter the password 915066 The symbols for the protected setup features will appear By clicking you will see configuration options as shown in the illustration below Click either the DHCP or the Static IP button depending on whether the IP address is to be obt...

Page 13: ... the error texts to be output can be set within the configuration files Menu Structure of Error List Clear Display Clears all displayed data Detailed View The magnifying glass may be used to show data for an error entry in a separate page This view may especially simplify reading of long error texts No Filter All filters are deactivated All entries are visible in the table Filter active errors Onl...

Page 14: ...device and PC are connected directly via Ethernet cable The device is configured on IP address 192 168 1 100 with the subnet mask 255 255 255 0 The PC is configured with the fixed IP address 192 168 1 8 and the same subnet mask ATTENTION Ensure that the power supply is sufficient to last for the whole of the update and the subsequent restart and that it will not be interrupted 5 1 Upload of a Proj...

Page 15: ... the application Connect to the FTP server in the device by using FileZilla Create a new server 192 168 1 100 in the server man ager with user name ftp and password 2070 and establish connection Rename the file CANcorApp exe in folder NANDFlash CANcor e g to CANcorApp_backup exe Then restart the device After about 15 seconds the Windows Embedded Compact 7 is booted up You are then on operating sys...

Page 16: ...Operating Instructions ehb SMARTdisplay 101 16 19 Vers 1 1 ehb errors excepted 6 Wiring Diagram ...

Page 17: ...ehb SMARTdisplay 101 Operating Instructions ehb Errors excepted Vers 1 2 17 19 7 Housing Dimensions ...

Page 18: ... 60068 2 27 CE marking according to Directive 2014 30 EU LCD display TFT 10 1 colour display 1280 W x800 H pixels capacitive touchscreen 2mm float glass Brightness 391 cd m Housing material PA 6 6 GF 30 Rear plate aluminium Housing dimensions Installed H x W x D 175 x 255 x 71 8mm without plug mating plug Panel cut out 125 x 85 mm Protection class IP 67 mit Stecker Hardware Processor Freescale i M...

Page 19: ...05 07 2017 Author ehb electronics gmbh Hannover Changes Version Editing on by 1 0 First edition of user manual 05 07 2017 Mö Ak 1 0 Layout 28 11 2017 Hag 1 0 Adaption Technical Data Power consumption Adaption Wiring diagram 23 01 2018 Mö Hag Hk Hag 1 1 Adjustment output pin 11 16 10 2019 Mx Hag 1 2 Section 2 1 Connection modified 10 04 2019 Hk Hag 9 1 Imprint Customer service Tel 49 511 123207 0 F...

Reviews: