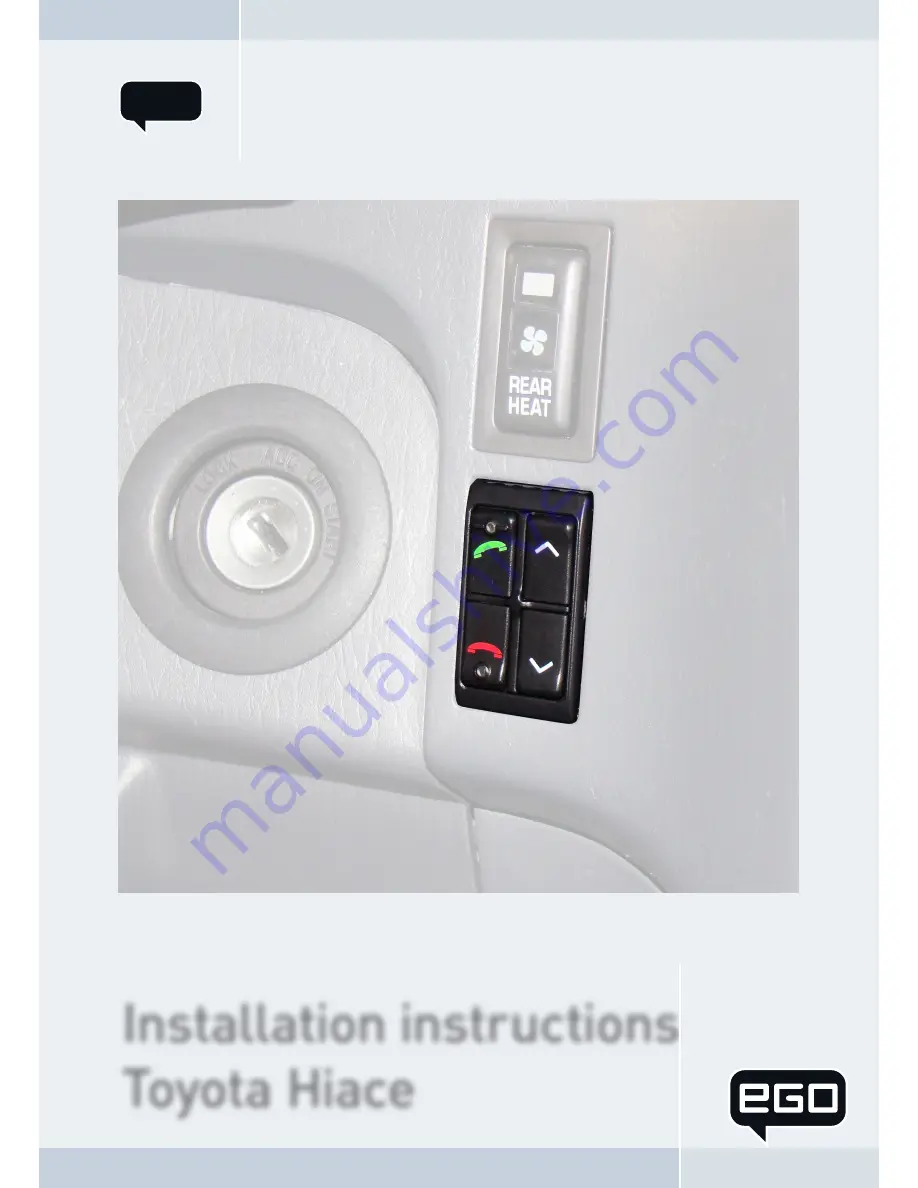
Installation instructions
Toyota Hiace
128 8229 1.02
(Built from 1996)
GB
English
Page 1: ...Installation instructions Toyota Hiace 128 8229 1 02 Built from 1996 GB English ...
Page 2: ... 7 5 2 3 Selection of the point of installation for the microphone 8 5 3 Mounting Components 9 5 3 1 Mounting the electronics box 9 5 3 2 Mounting the microphone 9 5 4 Connection Concept 10 5 5 Installation of the components 10 5 6 Functional Test 15 5 7 Symbols 15 5 7 1 Key functions 15 5 8 Getting started 15 5 8 1 On Off function 15 5 8 2 Coupling 16 5 8 3 Automatic coupling 16 5 8 4 LED status ...
Page 3: ...ledge and skills We recom mend that the installation be carried out in a qualified professional workshop Before installation in your car please make sure that your mobile phone is fully compatible with EGO TS If you are uncertain please consult your dealer or a professional workshop Our service team will also be happy to help you with any information you may require You can find further informatio...
Page 4: ...tion of airbags 6 Insulation damage Damaged insulation can lead to equipment and wiring damage The cables and leads may not be under tension when installed Install the cables and leads in such a way as to avoid pinching or abrasion 7 Polarity and shorting damage Cables connected with reversed polarity or in such a way as to produce a short circuit can lead to serious damage to your equipment Befor...
Page 5: ...nd do not use your equipment if you are unsure whether its use is permitted in particular countries you may be visiting Bluetooth is a registered brand name of Bluetooth SIG Inc The firm of Funkwerk Dabendorf GmbH Märkische Straße D 15806 Dabendorf herewith declares that the hands free system EGO TS in accordance with the essential requirements and other relevant provisions of the Directive 1999 5...
Page 6: ...EGO TS Scope of Delivery Package content 4 À Electronics box Á Control unit  Microphone à Extension cable Ä Quick Guide À ...
Page 7: ...essential safety equipment Checking cable lengths 5 2 1 Before you fix the components securely check that the installation locations have been selected in such a way that the length of the cables is sufficient to connect the individual components Selection of the installation location for the electronics box 5 2 2 The Bluetooth antenna for the connec tion to the mobile phone is installed in the el...
Page 8: ...allation for the microphone 5 2 3 Suitable for the microphone where voice can reach the microphone unhindered distance between the spea ker and the microphone should be ap prox 35 cm on the A column between windscreen and side window next to the driver s sun visor on the dashboard The illustration shows one of the po tential microphone mounting locations Alternatively the microphone may be attache...
Page 9: ...rip on the microphone holder The location selected must allow the microphone cable to reach the electronics box Locate the microphone with its head in the direction of speech Cleaning and degreasing the mounting location The mounting location must be clean and free from grease and dirt dust Clean the proposed area with a cleansing product such as methylated spirits Only use cleansing products that...
Page 10: ...ause any damage while dismantling the interior panelling it is advisable to use the so called dismantling wedges These leave no marks on the plastic parts Remove the ashtray to be able to remove the screws behind it 1 Microphone Mounted charger optional Control unit Connection cable ...
Page 11: ...ully remove the cover of the ventilation unit 2 Loosen the connectors from the covering of the ventilation unit 3 Loosen the screws carefully pull the radio out of the slot and remove the connectors 4 10 11 ...
Page 12: ...TS Loosen the screws of the panelling to dismantle the speedometer unit 5 Loosen the screws of the speedometer unit and remove it carefully 6 Loosen the panelling of the ignition below the steering column 7 ...
Page 13: ...vering and 8 replace it by the control unit Control panel element on the left next to the steering wheel Example 1 Control panel element on the right next to the ignition Example 2 Lay the microphone at a convenient spot pay attention to our explanatory notes in 9 Chapter 5 2 3 12 13 ...
Page 14: ... box Please pay attention to our explanato ry notes in Chapter 5 2 2 Installation in legroom on the right of the driver Connect the adapter cables specific for the car to the radio 11 NOTE To prevent rattling sounds that may possibly occur we recommend that the cables be fastened with cable straps and to position the electronic box tightly in the car ...
Page 15: ...e of the system in combination with your phone First of all make a few calls to determine the ideal volume and the best voice pick up di rection before using the system in traffic The best way of optimising conditions of use is to park your car in a quiet place especially for this purpose It is also helpful if another phone user can take some time to assist you when making test calls On Off functi...
Page 16: ... connected with the system the EGO TS tries to couple to this phone When a connection has been successfully made the two LEDs are permanently on The connection is always made to the most recently coupled phone If this phone is out of range the system will search for other phones registered in the system When the search is successful the connection to this phone is completed automatically If the se...
Page 17: ...etween micro phone and speakers too small Increase distance or decrease volu me Volume too high Decrease volume Your phone cannot find EGO TS during coupling EGO TS already connected to another device Disconnect existing connection Sound is unclear dis torted Poor Bluetooth connec tion Reduce the distance between your phone and the EGO TS or remove any metallic obstructions No connection to couple...
Page 18: ... 15 25 Option Wide2DIN TNS310 B Avensis T25 Standard Toyota DENGS 00983 07 FWD 1284 02000 Full Map Navigation Yaris XP9 Standard Corolla Verso R10 Standard MY2004 Full Map Navigation Corolla E12 Standard Full Map Navigation Prius RAV4 A3 Standard Full Map Navigation Hilux KUN 15 25 Standard SOL MP3 Auris Standard Full Map Navigation HIACE Avensis T27 Standard Verso Standard C Land Cruiser J12 Full...
Page 19: ...l unit 230 mm Operating voltage 11 V to 15 V Quiescent current ignition off max 0 1 mA Fuse Permanent positive 2 A Fuse Ignition 1 A Temperature range 10 C bis 55 C Supported Bluetooth Profiles Handsfree Certification 9 0681 Fully compliant with the EU R TTE Directive 1999 5 EC Model certification according to EU Directive 72 245 EWG 2006 28 EC Electromagnetic com patibility in motor vehicles Blue...
Page 20: ...ur problem as precisely as possible You can contact our Hotline Team at the following numbers From Germany Phone 0800 0 393 393 From outside Germany Phone 49 0 3377 316 233 49 0 3377 316 234 Fax 49 0 3377 316 244 Funkwerk Dabendorf GmbH Märkische Straße D 15806 Dabendorf Germany Phone 49 0 3377 316 0 Fax 49 0 3377 316 300 Email info fwd online de service fwd online de Internet www fwd online de A ...