


4
4. Hardware
Installation
4.1.
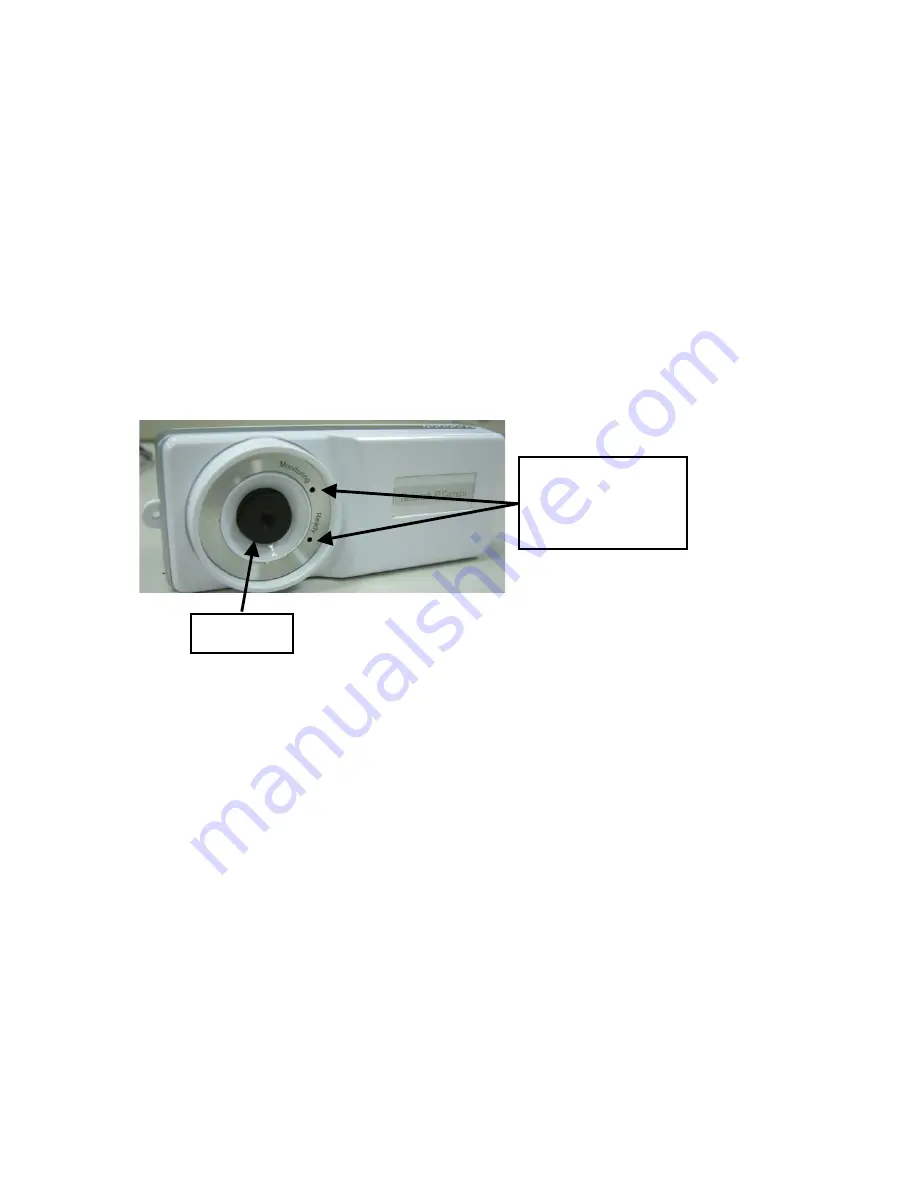
LED and focus ring
The Camera head and its focus ring allow you to modify the aim and focus of the Camera.
To adjust the Camera’s focus, rotate the dark focus ring.
LED
Monitoring: When someone is viewing the camera, the LED will light.
Ready: When the camera is power on and ready for access, the LED will light.
4.2. Camera
Ports
The Camera features two ports and a Reset button.
Power:
The Power port is where you will connect the power adapter.
LAN:
The LAN port is where you will connect the Ethernet network cable.
Reset:
The Reset
button is what you will press if you need to reset the Camera. Insert a paper clip into
the hole. Then press the button and hold it in for five seconds.
Install the camera
1. Connect the Ethernet network cable to your router or switch.
2. Plug the power adapter into an electrical outlet.
Focus ring
LED
Green: Monitoring
Orange: Ready


