Page
19
4
Settings
4.1
Assistants & Setup Instructions
Installation assistants configure the most important settings using simple questions:
Setup instructions:
Shows how to setup the printer (image slide show).
Basic settings:
Prompts the most important basic printer settings, which suffice for the majority
of applications. Starts automatically when the printer is powered-up for the first time (see 2.3).
Logo assistant:
Upload logos to your printer, that can be used in new messages. On the
printer, upload is only possible using the included USB stick, which must be formatted in FAT32.
On an external browser (PC connection or smart phone/tablet with the printer) logos can be
uploaded from the file system. Logos must be created in .
bmp
format. The full print height of
12.7 mm (25 mm for the in-line 25 model) corresponds to an image height of 300 pixels,
therefore this is also the maximum image height.
Firmware Update:
Firmware update of the printing system via Ethernet or USB. To do this, the
USB stick must be formatted in FAT32 format. The USB stick may only contain the update file
and the SHA verification file without subfolders.
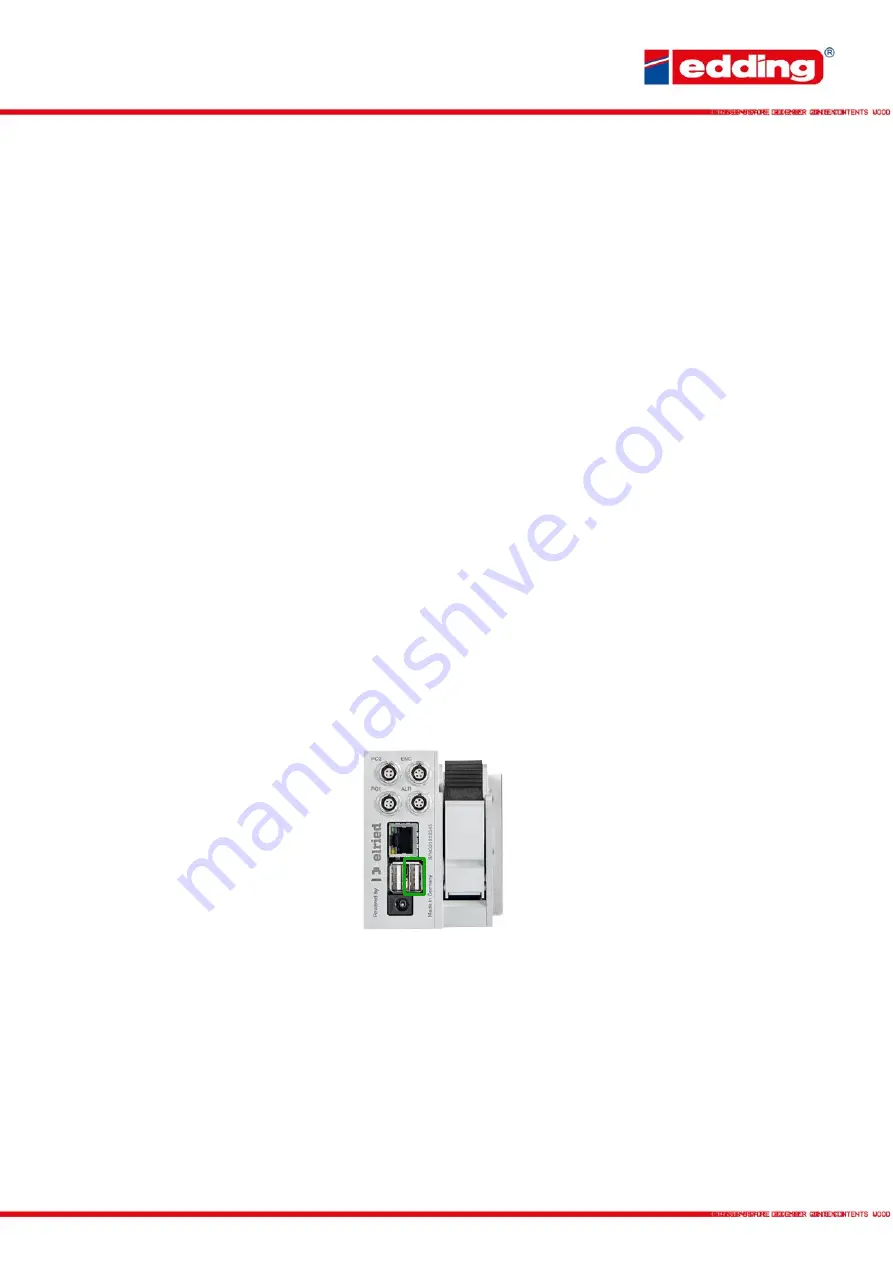
To execute the update, plug the USB stick with the update file into the right USB port (marked
green) and then start the update. Device must not be disconnected from the power supply
during the update! You will not see a progress bar during the update. The update takes up to 20
minutes.
Backup / Restore:
Backup: Copy all messages and logos to an USB stick (.dmp format).
Restore: Restore the messages and logos from the .dmp file. It is recommended that the printer
is empty. Existing messages and logos are not restored and causes an error message, even if
other messages and logos are restored.
Export / Import:
Export: Copy all message to an USB stick (.txt format). Import: Import the
messages from the .txt file. Existing messages are overwritten.
X
Summary of Contents for in-line 12
Page 1: ...www edding tech User manual edding in line...
Page 40: ......


