EcoSpeed Motor
Controller
Other Parts
Electric Mountain Drive Components
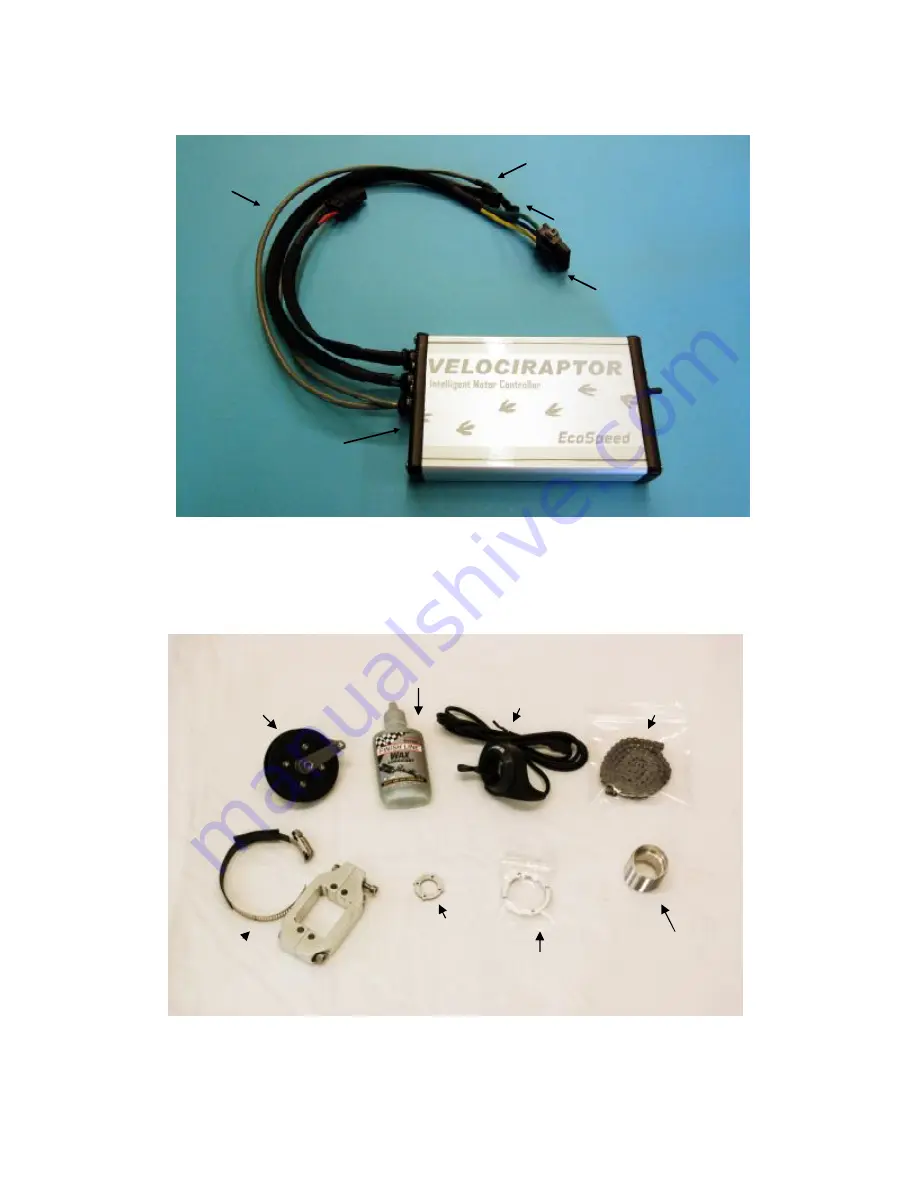
Phase Leads
Throttle Lead
Hall Sense Leads
Power Lead
EcoSpeed’s Digital
Motor Controller
Return Chain
Idler
Wax Lube
Throttle
Motor Chain
Adjust Cup
Lock Ring
Adjust
Cup Insert
Tool
Possible
Clamp-sets


