


79
A
udio
The SOURCE MENU screen can easily be displayed from the audio/DVD/VTR
operation screens.
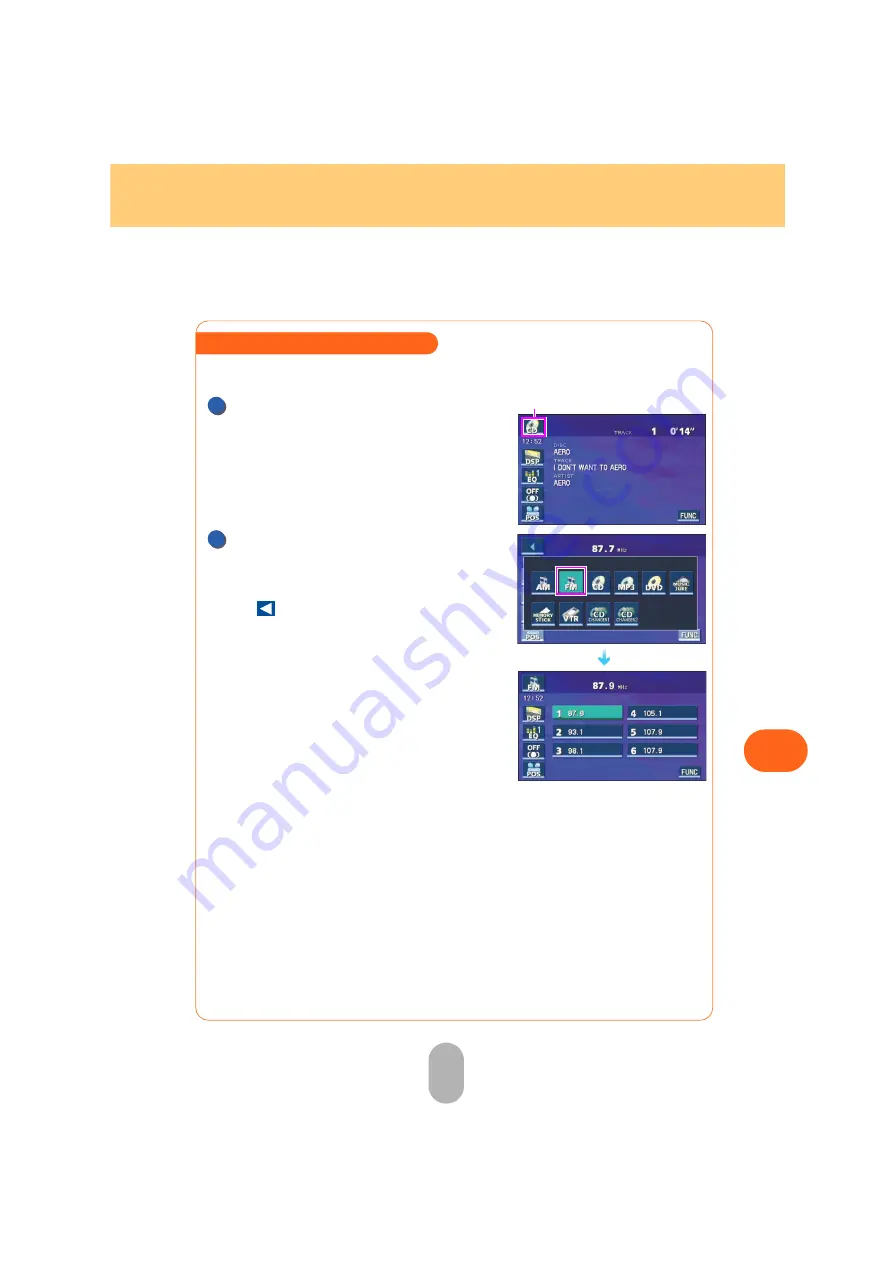
Touch the SOURCE MENU RECALL
switch in the audio/DVD/VTR
operation screens.
Touch the switch for the preferred
source.
●
The operation screen for the selected source
appears.
●
Touch
to return to the original operation screen.
Switching audio sources easily
SOURCE MENU RECALL
1
2


