background image

34008030EN/AD  - Page 28

5. Troubleshooting

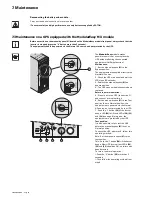
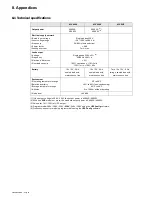
5.1 Troubleshooting LEDS (21) and (22)  

5.2 Troubleshooting not requiring EATON after-sales support 


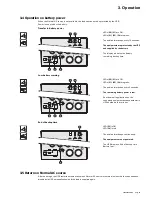
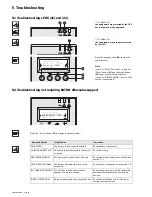
If LED 

(21)

 is ON:

the equipments are protected by the UPS 
but the operation is downgraded.


If LED 

(22) 

is ON:

the equipments are no longer protected 
by the UPS.


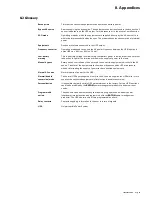
Press the escape button 

(24)

 to stop the 

audible alarm.

Note : 

In case of "MULTIPLE FAULT", press the 
"Enter" button 

(27)

 and the scroll button 

(25) 

to get access to further details.

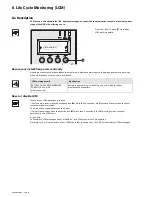
In case of "LCM WARNING", refer to LCM 
section (see section 6).


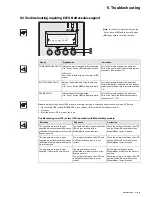
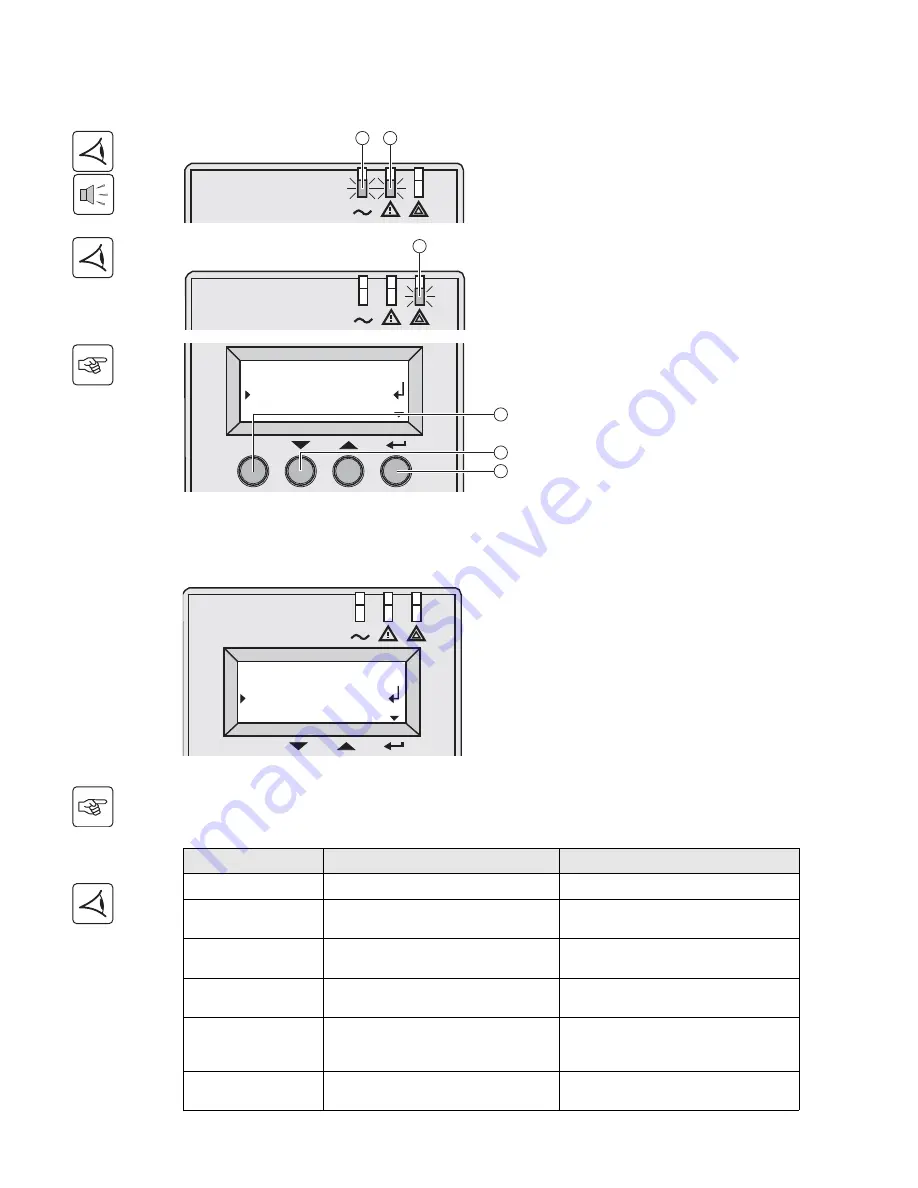
Press the "Enter" button 

(27) 

to display the details below :

Displayed details

Signification

Correction


NO BATTERY

The battery is incorrectly connected

Check battery connections

I/O BAD CONNECTION

AC source is not connected to the correct 
terminals

Check AC wiring

NO POWER MODULE

The power sub-module is not inserted

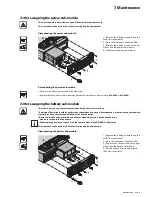
Check power sub-module connections (see 
section 7.1)

NO BATTERY MODULE

The battery sub-module is incorrectly 
connected

Check battery connections (see section 7.2)

INV THERM OVERLOAD The UPS shuts down automatically 

because of a major overload.

Check the power drawn by the connected 
devices and disconnect any non-priority 
devices.

INVERT LIMITATION

Short circuit conditions on output devices

Check the installation at the UPS output 
(wiring, fault equipment)

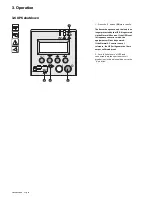
21

20

22

ESC

25
27

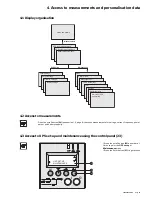
LOAD PROTECTED

x.xkVA / xxx% LOADED

x x x x x x x x  FAULT

SINGLE UPS

24

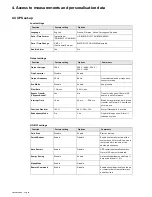
ESC

LOAD PROTECTED

x.xkVA / xxx% LOADED

ENVIRONMENT  FAULT

SINGLE UPS

Summary of Contents for MX 4000 RT

Page 1: ...www eaton com Installation and user manual English Fran ais Deutsch Italiano Espa ol Nederlands MX 4000 RT 5000 RT Pulsar Series...

Page 2: ...d batteries that must be processed according to applicable local regulations concerning batteries The battery may be removed to comply with regulations and in view of correct disposal Thank you for se...

Page 3: ...ter sales support 29 6 Life Cycle Monitoring LCM 6 1 Description 30 Secure your installation power continuity 30 Reset or disable LCM 30 7 Maintenance 7 1 Hot swapping the power sub module 31 7 2 Hot...

Page 4: ...x 700 17 5 x 5 16 x 27 56 MX EXB RT 444 5 x 131 x 650 17 5 x 5 16 x 25 6 Weights in kg lbs MX 4000 RT 57 125 MX 5000 RT 57 125 MX EXB RT 70 154 Dimensions H x W x D in mm Inches MX 4000 RT 131 x 444 5...

Page 5: ...lot for optional communication card 11 Connector for parallel operation 12 USB communication port 13 RS232 communication port 14 Communication port by relay 15 Connector for automatic detection of bat...

Page 6: ...tons scroll down scroll up 27 Enter confirm button 28 UPS OFF button 29 UPS ON button 30 Rectifier LED 31 Battery LED 32 Inverter LED 33 Bypass LED 34 Load powered LED Telescopic rails for MX RT mount...

Page 7: ...unit mode MX ModularEasy combined with one MX UPS adds a second level of availability to your installation The manual bypass mode allows the replacement of the UPS without any interruption to the con...

Page 8: ...ry Integration System Battery extension cable 1 8 m 6 ft This extended battery cable will be used instead of the standard battery cable when battery modules are distant from each other located in two...

Page 9: ...n Pac power management suite CD ROM 48 Network Management card optional or standard in NetPack version 49 4 IEC 10A output cables Packaging must be destroyed according to waste management standards Re...

Page 10: ...tallation 2 3 Installation in tower position Follow steps 1 to 3 to adjust the tower stands for the upright position Always keep 150 mm free space behind the UPS rear panel The distance between the to...

Page 11: ...s required MX RT is very heavy To ease its rack integration we strongly recommend to remove the battery tray as shown below 1 Remove the 6 fixing screws to free the main front panel bezel 2 Place the...

Page 12: ...vironment without any exchange of air Follow steps 1 to 4 for rack mounting the UPS onto the rails The rails and the necessary mounting hardware are supplied by EATON Note for step 1 it is possible to...

Page 13: ...able to the serial port on the computer equipment 2 Connect the other end of the communication cable 42 to the RS232 13 communications port on the UPS The UPS can now communicate with various EATON po...

Page 14: ...when the two position switch is released 2 If not the output devices will remain powered several seconds after the RPO activation Please notice that the internal batteries will remain connected to the...

Page 15: ...output circuit downstream of the UPS If these recommendations are not followed protection discrimination is not achieved and may result in a potential power interruption to the connected devices 4000...

Page 16: ...open 0 Use included insulated ferrules with stranded wires 1 Remove the terminal block cover 2 screws with the included screwdriver 2 Insert the Normal AC cable through the cable gland 8 3 Connect th...

Page 17: ...2 and the non priority equipments to the four outlets 1 that can be programmed in pairs 1 and 2 Connect any high power devices to the 16 A outlet 3 To program shutdown of outlets 2 during operation o...

Page 18: ...ents are powered via the Normal AC source but not protected by the UPS Batteries are recharging an 8 hour recharge period is necessary to get full backup time LEDs 22 is ON LEDs 33 and 34 are green If...

Page 19: ...ents are protected by the UPS The main advantage of the Eco mode see glossary is that it reduces the consumption of electrical power Under normal condition Normal AC source available LED 20 is ON LEDs...

Page 20: ...d is supplied again LEDs 20 21 are ON LEDs 31 32 34 are green The audio alarm beeps every 10 seconds The equipments are protected by the UPS and supplied by the battery The display indicates the batte...

Page 21: ...t is powered via the Normal AC source If the UPS is set in frequency converter mode the equipments will not be powered If the Normal AC source is out of tolerance the UPS will generate a 10ms output c...

Page 22: ...er output and battery capacity Press the scroll button 25 a number of times to point the UPS set up or Maintenance menu Press the Enter button 27 to get access Status and Alarms Measurements UPS input...

Page 23: ...If bypass Ac nok Yes No Transfer to bypass if Normal AC source is out of tolerance Interrupt Time 10 ms 20 ms 200 ms Break time calibration during load transfer on Normal AC source out of tolerance O...

Page 24: ...Yes Manual Batt Test Manual Battery Test No Yes Led Buzzer Test Led Buzzer Test No Yes Life Cycle Monitoring LCM Enable Disable Life cycling monitoring alarms Statistics Auto Statistics Statistics Cus...

Page 25: ...BATTERY The battery is incorrectly connected Check battery connections I O BAD CONNECTION AC source is not connected to the correct terminals Check AC wiring NO POWER MODULE The power sub module is no...

Page 26: ...e load a sequence enable to start with an UPS alone 1 On the failed UPS on MAINTENANCE menu choose Start other UPS see section 4 5 2 Press yes 3 Start the other UPS to protect the load Indication Diag...

Page 27: ...ENDED CONTACT EATON AT www eaton com Battery is approaching its reliability end of life Risk to reduce dramatically backup time In case of any LCM messages displayed For temporary reset press the esca...

Page 28: ...ty power sub module by another one with same power rating MX 4000 or MX 5000 Caution a battery can cause electrocution and high short circuit currents Servicing of batteries should be performed or sup...

Page 29: ...stops 30 seconds 3 Padlock the manual bypass 61 on bypass position 4 The UPS can now be disconnected and replaced Return to normal operation 5 Properly wire the UPS see section 2 and connect internal...

Page 30: ...ning centre To fully master operation of your EATON product and carry out level 1 servicing see our complete range of technical training courses available in both French and English For further inform...

Page 31: ...ply network Rated input voltage Input voltage range Frequency Power factor Leakage current Single phase 230 V 120 156 V to 280 V 3 50 60 Hz autoselection 0 99 7 mA max Load output Voltage Frequency Ha...

Page 32: ...ak in the supply of power to the load Manual bypass Rotary switch controlled by the user used to connect the equipments directly to the AC source Transfer of the equipments to the manual bypass enable...

Reviews: