background image


Instruction Manual 


 Page 10 

6  Installation manual 

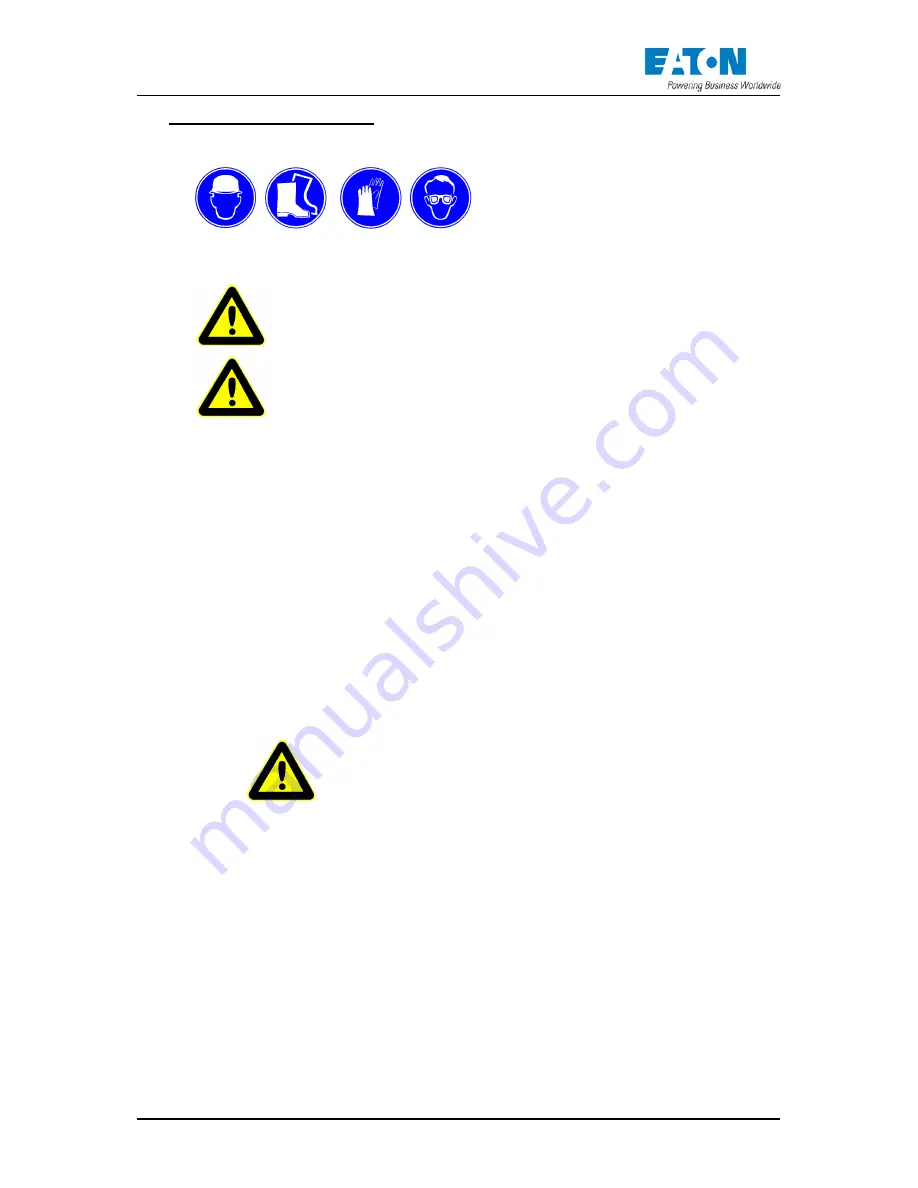
6.1  Personal protection 


6.2  How to remove protection material 


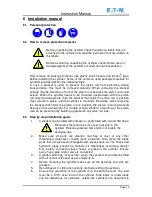
Before unpacking the cylinder check the warning labels that are 
attached to the cylinder and read the instruction that are written on 
the labels. 

Before and during unpacking the cylinder check if there are any 
damaged parts of the cylinder occurred during transportation. 


First  remove  all  package  material,  like  plastic  stretch  seals  and  Denso

®

  tape, 

before installing the cylinder. Some of the common used package materials for 
cylinders are described in the following lines: 
In  case  a  bracket  is  used,  to  prevent  the  piston  rod  from  extending  during 
transportation,  this  must  be  removed  carefully.  When  removing  the  bracket 
nobody may be standing in front of the piston rod, because the piston rod could 
extend.  When  the  cylinder  needs  to  be  mounted  upside-down  with  the  piston 
rod directing  downwards, then the bracket that  holds the piston rod in position 
must remain in  place, until the cylinder is mounted. Be aware,  when removing 
the  bracket  that  holds  the  piston  rod  in  position  the  piston  rod  could  extend 
because of its own weight. For double acting cylinders, extending of the piston 
rod can be prevented by building up pressure on piston rod side.   

6.3  Step by step installation guide 

1. 

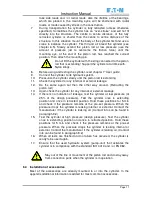
Cylinders can be filled with nitrogen or partly filled with oil and VSI dope.    

Be careful, there can be some over pressure in the 
cylinder. Release pressure first and do not breath the 
escaping gas.  

2. 

Make  sure  all  parts  are  cleaned  and  free  of  dust  or  any  other 
threatening  materials  or  media  (such  as  water).  Also  clean  the  blank 
parts that are greased or equipped with preservation oil. The hoses and 
hydraulic  pipes  should  be  flushed  (oil  cleanliness  according  chapter 
8.3),  before  connecting  these  hoses  or  pipes  to  the  cylinder.  Ensure 
every hose, pipe and/or valve is connected.  

3. 

Cylinders which go “over-centre”, when they extend, should first be filled 
with oil and air-released, as per chapter 6.5. 

4. 

Before  mounting  the  cylinder  make  sure  all  the  bearings  and  pins  are 
greased. 

5. 

Read chapter 4 ‘Lifting instructions’ first before lifting the cylinder.  

6. 

Ensure  the  centreline  of  the  cylinder  is  in  line  with  the  load.  The  load 
must  be  a  100%  axial  load  on  the  cylinder.  Side  loads  or  radial  loads 
can  be  disastrous  for  cylinders,  unless  the  cylinders  are  designed  to 

Summary of Contents for Hydrowa

Page 1: ......

Page 2: ......

Page 3: ......

Page 4: ......

Page 5: ......

Page 6: ......

Page 7: ......

Page 8: ......

Page 9: ......

Page 10: ......

Page 11: ......

Page 12: ...Instruction manual Specialized in Custom Built hydraulic cylinders Hydrowa cylinders Release 8 October 2011 ...

Page 13: ...peration is the production of special custom build hydraulic cylinders To support customers needs the repair and service unit initiates repair and service activities on own competitors cylinders Our core business implies engineering to order we tailor our products to customer needs and wishes The custom products we manufacture can have all imaginary dimensions and specifications Eaton Industries c...

Page 14: ..._______________________________ 10 6 1 Personal protection ___________________________________________ 10 6 2 How to remove protection material _______________________________ 10 6 3 Step by step installation guide __________________________________ 10 6 4 Installation of accessories______________________________________ 11 6 5 Filling the cylinder with oil and release air from the cylinder ______...

Page 15: ...Instruction Manual Page 3 1 Type code cylinder 1 HYPOS is an integrated stroke measuring system ...

Page 16: ...on Manual Page 4 2 Symbols Safety helmet Ear protection Safety glasses Safety boots Safety gloves General warning or important note Warning this material contains corrosive substances Do not expose to open fire ...

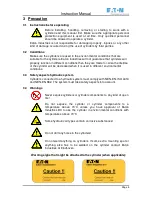
Page 17: ...ade for Also the lifetime of the cylinder will be decreased when it is used in different environmental conditions 3 3 Safety aspects hydraulic system Cylinders connected to a hydraulic system must comply with NEN EN ISO 4413 and NEN EN 982 The system must take safety aspects into account 3 4 Warnings Never expose cylinders or cylinder components to any kind of open fire Do not expose the cylinder ...

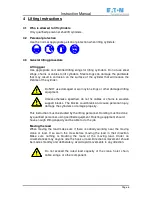
Page 18: ...cified do not fix cables or chains to wooden support blocks The blocks could break and cause personal injury damage the cylinders or damage property This instruction must be studied by the lifting personnel Hoisting must be done by qualified personnel using certified equipment Hoisting equipment should have enough lifting capacity and be able to do the job Moving the load When moving the load make...

Page 19: ...ger cylinders made by Eaton Industries have special hoisting eyes mounted at the cylinder itself Always use these eyes when lifting cylinders If it isn t possible to use the hoisting eyes when mounting the cylinder in its construction use the normal procedure of lifting heavy loads ...

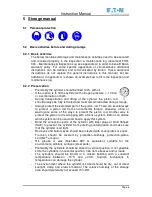
Page 20: ...here are several ways to protect a piston rod from environmental threats Greasing oiling or waxing are some of the ways to protect the piston rod Another way to protect the piston rod is wrapping with a Denso system Eaton can advise which system can be used and how to apply this system Blind the connection ports of the cylinder with steel plugs or blind flanges SAE to prevent the cylinder from ent...

Page 21: ...e no leakages oil spill nitrogen pressure drop below 3 bar 3 Check cylinder for paint damages Any damage to the paint should be repaired immediately Make sure the same paint is used according to the specifications of the cylinder 4 Check if piston rod protection is in place Storage more than 6 months after FAT New pressure test required before installation Storage more than 2 years after FAT The c...

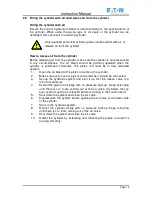
Page 22: ... in position the piston rod could extend because of its own weight For double acting cylinders extending of the piston rod can be prevented by building up pressure on piston rod side 6 3 Step by step installation guide 1 Cylinders can be filled with nitrogen or partly filled with oil and VSI dope Be careful there can be some over pressure in the cylinder Release pressure first and do not breath th...

Page 23: ...n but then the other way around Retracting the piston rod 13 Again check the cylinder for any internal or external leakage 14 If there is no indication of leakage test the cylinder at low pressure at 25 of the design pressure Test the cylinder once in extending position and once in retracted position Hold these positions for 5 min and check if the pressure remains at the pre set pressure When the ...

Page 24: ...etracted position 1 Open the air bleed at the piston rod side or the cylinder 2 Make sure every hose or pipe is connected as it should be connected 3 Set up the hydraulic system and start it up Set the relieve valve to a minimum pressure 4 Extend the piston rod slowly with no pressure built up Keep extending until there is oil foam coming out of the air valve Cylinders that go over centre must be ...

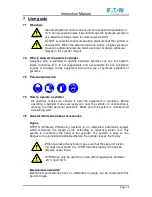
Page 25: ...rotection 7 4 How to operate a cylinder As operator make sure nobody is near the equipment in operation Before operating a cylinder make sure everyone near the cylinder or construction is wearing the right personal protection Make sure the system is checked and functioning well 7 5 General information about accessories Hypos HYPOS HYdrowa POsitioning System is an integrated positioning system whic...

Page 26: ...from extending or retracting The sensor detects that the cylinder is in the end position Adjusting of proximity switches shall be done by qualified personnel When accessories are part of the constructed cylinder there will be a detailed description of this system in the appendix of this document Read this first before connecting and operating these accessories 7 6 How to use manifold blocks and va...

Page 27: ... replaced contact the manufacturer of the cylinder Warranty expires when disassembly is done by third parties None Eaton personnel 8 2 Maintenance description for basic parts Piston rod Fresh water environment fully actuate the piston rod minimum once a month Brackish or salt water environment the frequency of retracting and extending should be minimum twice a week Check every month the surface of...

Page 28: ...an of bearings will decrease rapidly when it s not greased or oiled well Maintenance free bearings should not be greased Maintenance free spherical ball bearings can be provided with protection flanges with extra seals The chamber between the bearing and the seals can be filled with grease as an extra barrier against water and dirt 8 3 Oil maintenance Changing oil and oil filters can be done by pe...

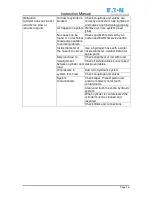
Page 29: ...m When cylinder is contaminated the cylinder must be cleaned and resealed Cylinder piston binding Check filters and connections Cylinder piston binding Have equipment serviced by an authorised EATON service centre Inside diameter of the hose is too small Use a hydraulic hose with a wider inside diameter Contact Eaton for spare parts Oil flow to cylinder is blocked Check couplings and valves are co...

Page 30: ... EATON service centre Inside diameter of the hose is too small Use a hydraulic hose with a wider inside diameter Contact Eaton for spare parts Side load due to misalignment between cylinder and load Check alignment of rod with load Check if side load does not exceed design variables Oil pressure in system is too low Add oil to hydraulic system Check couplings and valves System contaminated Check w...

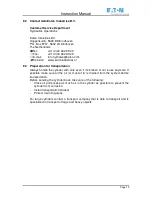
Page 31: ...r transportation Always handle the cylinder with care even if it s broken or not in use anymore If possible make sure all the oil or most of it is drained from the system before transportation Before sending the cylinder back take care of the following Close oil ports keep as much oil in the cylinder as possible to prevent the cylinder from corrosion Install transportation bracket Protect mounting...

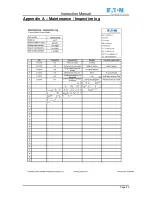
Page 32: ...Instruction Manual Page 20 Appendix A Maintenance Inspection log ...

Page 33: ...aintenance manual added maintenance inspection log REL 6 General update and change of font type REL 7 Update maintenance manual REL 8 Update chapter 5 2 2 Preservation EATON Fluid Power Hydrowa Products Hoppenkuil 6 5626 DD EINDHOVEN P O Box 9707 5602 LS EINDHOVEN The Netherlands Telephone 31 0 40 262 99 00 Fax 31 0 40 262 33 25 Quality System Certified Products in this catalog are manufactured in...

Page 34: ...cts Hoppenkuil 6 5626 DD EINDHOVEN P O Box 9707 5602 LS EINDHOVEN The Netherlands Telephone 31 0 40 262 99 00 Fax 31 0 40 262 33 25 Quality System Certified Products in this catalog are manufactured in an ISO9001 2000 certified site ...

Page 35: ......

Page 36: ......

Page 37: ......

Page 38: ......

Page 39: ......

Page 40: ......

Page 41: ......

Page 42: ......

Page 43: ......

Page 44: ......

Page 45: ......

Page 46: ......

Page 47: ......

Page 48: ......

Page 49: ......

Page 50: ......

Page 51: ......

Page 52: ......

Page 53: ......

Page 54: ......

Page 55: ......

Page 56: ......

Page 57: ......

Page 58: ......

Page 59: ......

Page 60: ......

Page 61: ......

Page 62: ......

Page 63: ......

Page 64: ......

Page 65: ......

Page 66: ......

Page 67: ......

Page 68: ......

Page 69: ......

Page 70: ......

Page 71: ......

Page 72: ......

Page 73: ......

Page 74: ......

Page 75: ......

Page 76: ......

Page 77: ......

Page 78: ......

Page 79: ......

Page 80: ......

Page 81: ......

Page 82: ......

Page 83: ......

Page 84: ......

Page 85: ......

Page 86: ......

Page 87: ......

Page 88: ......

Page 89: ......

Page 90: ......

Page 91: ......

Page 92: ......

Page 93: ......

Page 94: ......

Page 95: ......

Page 96: ......

Page 97: ......

Page 98: ......

Page 99: ......

Page 100: ......

Page 101: ......

Page 102: ......

Page 103: ......

Page 104: ......

Page 105: ......

Page 106: ......

Page 107: ......

Page 108: ......

Page 109: ......

Page 110: ......

Page 111: ......

Page 112: ......

Page 113: ......

Page 114: ......

Page 115: ......

Page 116: ......

Page 117: ......

Page 118: ......

Page 119: ......

Page 120: ......

Page 121: ......

Page 122: ......

Page 123: ......

Page 124: ......

Page 125: ......

Page 126: ......

Page 127: ......

Page 128: ......

Page 129: ......

Page 130: ......

Page 131: ......

Page 132: ......

Page 133: ......

Page 134: ......

Page 135: ......

Page 136: ......

Page 137: ......

Page 138: ......

Page 139: ......

Page 140: ......

Page 141: ......

Page 142: ......

Page 143: ......

Page 144: ......

Page 145: ......

Page 146: ......

Page 147: ......

Page 148: ......

Page 149: ......

Reviews: