background image

Page 10

620-00082-02-i (en)

2.6 Display functions
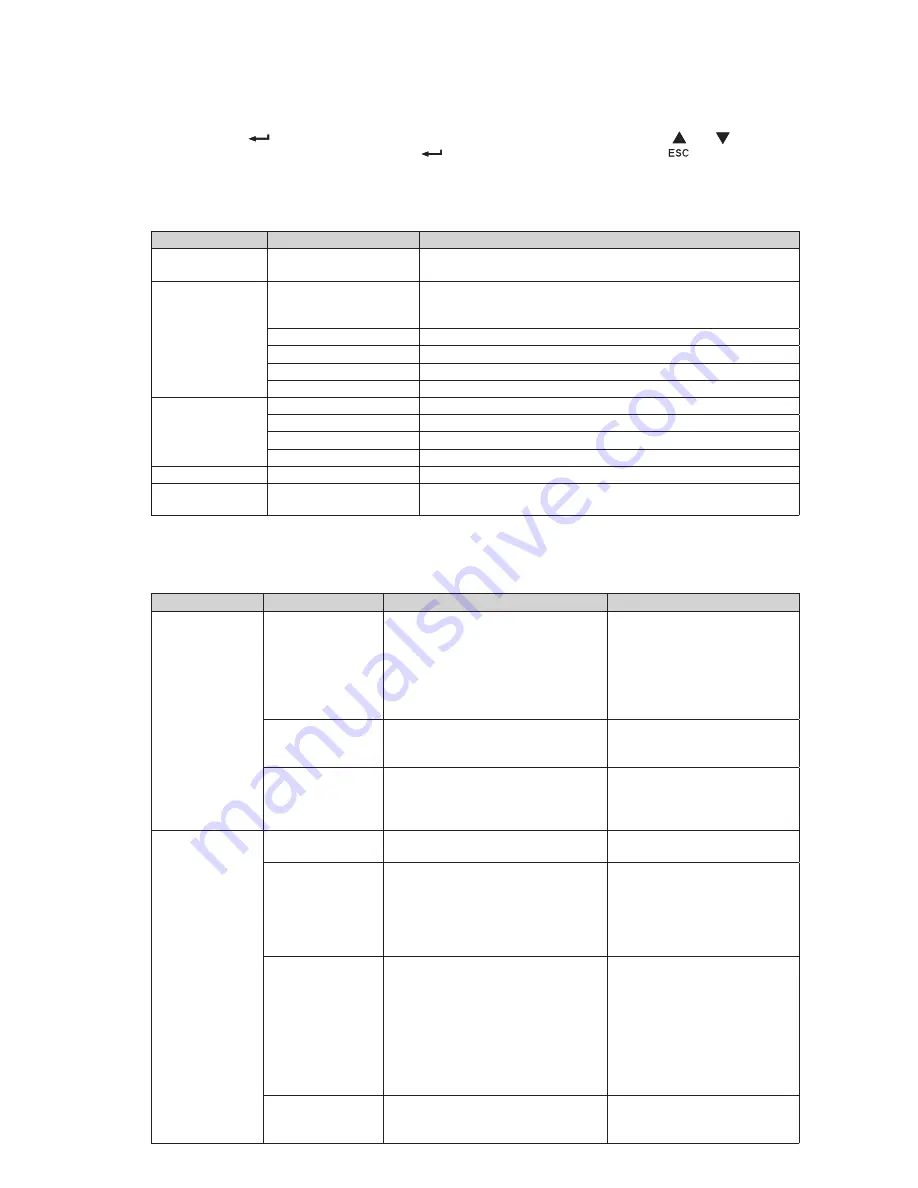
Press the Enter (

) button to activate the menu options. Use the two middle buttons (  and  ) to scroll 

through the menu structure. Press the Enter (

) button to select an option. Press the 

 button to cancel 

or return to the previous menu.

Menu map for Display Functions.

Main menu

Submenu

Display information or Menu function

Measurements

Load W VA / Load A pf / Output V Hz / Input V Hz /  

Battery V min / Efficiency / Power usage

Control

Load Segments

Group 1: ON / OFF

Group 2: ON / OFF

These commands overrule user settings for load segments.

Start battery test

Starts a manual battery test

Reset fault state

Clears active faults

Restore factory settings Returns all settings to original values (UPS restart required)
Reset power usage

Clears power usage measurements

Settings

Local settings

Sets product general parameters

Input / output settings

Sets Input and output parameters

ON / OFF settings

Sets ON / OFF conditions

Battery settings

Sets battery configuration

Fault log


Displays event log or alarms

Identification


UPS Type / Part Number / Serial Number / Firmware release / 

Com card address

2.7 User settings

The following table displays the options that can be changed by the user.

Description

Available settings

Default settings

Local settings

Language

[English] [Français] [Deutsch] 

[Italiano] [Português] [Español] 

[

Русский

Menus, status, notices and alarms, 

UPS fault, Event Log data and  

settings are in all supported  

languages.

English 

User selectable when UPS is 

powered for the first time.

LCD settings

Modify LCD screen brightness and 

contrast to adapt to room light 

conditions.

Audible alarm

[Enabled] [Disabled on battery] 

[Always disabled] 

Enable or disable the buzzer if an 

alarm occurs.

Enabled

In/Out settings

Output voltage

[200 V] [208 V] [220 V] [230 V]  

[240 V]

User selectable when UPS  

is powered for the first time.

Input thresholds

[Normal mode] [Extended mode] 

Extended mode reduces lower 

input voltage to 150 V before UPS 

transfers to battery.  

This can be used if the load can 

withstand low voltage supply.

Normal mode

Sensitivity

[High] [Low] 

High: for sensitive equipment,  

UPS will easily transfer to battery 

when utility conditions are  

becoming bad. 

Low: for equipment that can  

withstand bad utility conditions,  

in that case, the UPS will not  

transfer to battery.

High

Load segments - 

Auto start delay

[No Delay] [1 s] [2 s]…[65354 s] 

The connected load is powered 

after the specified delay.

Group 1: 3 s 

Group 2: 6 s

2. Presentation

Summary of Contents for 5P 650i

Page 1: ...All rights reserved Service and support Call your local service representative 620 00082 02 i en Tower models 5P 650i 5P 850i 5P 1150i 5P 1550i 1U Rack models 5P 650i R 5P 850i R 5P 1150i R 5P 1550i R...

Page 2: ...aste center This symbol indicates that you should not discard waste electrical or electronic equipment WEEE in the trash For proper disposal contact your local recycling reuse or hazardous waste cente...

Page 3: ...f tower models 13 3 3 Wall installation of rack models 650i R 850i R 1150i R 13 3 4 Installation of rack models 650i R only 14 3 5 Installation of rack models 850i R 1150i R 1550i R 14 3 6 Communicati...

Page 4: ...s over 50 of recycled cardboard Sacks and bags are made of polyethylene Packing materials are recyclable and bear the appropriate identification symbol 01 PET Materials Abbreviations Number in the sym...

Page 5: ...233 13 6 x 5 9 x 9 2 5P 1150i 10 91 24 10 345 x 150 x 233 13 6 x 5 9 x 9 2 5P 1550i 15 95 35 20 445 x 150 x 233 17 5 x 5 9 x 9 2 Rack models H W D Description Weights kg lb Dimensions mm inch D x W x...

Page 6: ...unication port 2 RS232 communication port 3 Slot for optional communication card 4 Connector for ROO remote ON OFF or RPO Remote Power Off control 5 Outlets for connection of critical equipment Primar...

Page 7: ...communication port 2 RS232 communication port 3 Slot for optional communication card 4 Connector for ROO remote ON OFF or RPO Remote Power Off control 5 Outlets for connection equipment Primary group...

Page 8: ...0 720W 800VA Efficiency 98 Escape Up Down Enter On Off button Rack models Normal mode 100 10min 100 720 W 800VA Efficiency 98 Alarm Indicator red On battery Indicator yellow Power On Indicator green O...

Page 9: ...Equipment is not powered until button is not pressed Normal mode The UPS is operating normally The UPS is powering and protecting the equipment In AVR mode No beep The UPS is operating normally but t...

Page 10: ...ss 2 7 User settings The following table displays the options that can be changed by the user Description Available settings Default settings Local settings Language English Fran ais Deutsch Italiano...

Page 11: ...ble Energy saving Disable Enable If enabled UPS will shutdown after 5min of back up time if no load is detected on the output Disable Sleep mode Disable Enable If disabled LCD and communication will t...

Page 12: ...CDROM 4 2 connection cables for the protected equipment 5 RS232 communication cable 6 USB communication cable 7 Cable locking systems 1 x 4 outlets 650i R and 850i R models 1 x 6 outlets 1150i R and...

Page 13: ...Page 13 620 00082 02 i en ENGLISH 3 Installation 3 2 Installation of tower models 3 3 Wall installation of rack models 650i R 850i R 1150i R 1 1 2 2...

Page 14: ...s 850i R 1150i R 1550i R Follow steps 1 to 4 for module mounting on the rails 3 Installation 1 1 2 2 3 3 4 4 The rails and necessary hardware are supplied by EATON 3 4 Installation of rack models 650i...

Page 15: ...stallation of the communication cards optional 3 It is not necessary to shutdown the UPS before installing a communication card 1 Remove the slot cover 3 secured by screws 2 Insert the communication c...

Page 16: ...ee the Cold start setting in ON OFF Settings on page 11 To start the UPS on battery 1 Press the button on the UPS front panel until the UPS front panel display illuminates and shows a status of UPS st...

Page 17: ...UPS These functions are obtained by opening a contact connected between the appropriate pins of connector 4 on the rear panel of the UPS see figures below 4 Remote control connection and test 1 Check...

Page 18: ...ove some of the equipment from the UPS The UPS continues to operate but may shutdown if the load increases The alarm resets when the condition becomes inactive End of battery life The end of the batte...

Page 19: ...n insulated handle Battery tray removal on tower models A A Remove the front panel B B Disconnect the battery block by separating the two connectors never pull on the wires C C Remove the plastic prot...

Page 20: ...he two connectors never pull on the wires D D Remove the metal protection cover in front of the battery two screws E E Pull the plastic tab to remove the battery block and replace it Mounting the new...

Page 21: ...er 1 x 12 V 9 Ah 2 x 12 V 7 Ah 2 x 12 V 9 Ah 3 x 12 V 9 Ah Rack 2 x 6 V 9 Ah 4 x 6 V 7 Ah 4 x 6 V 9 Ah 6 x 6 V 9 Ah Environment Operating temperature range 0 to 35 C 0 to 40 C Storage temperature rang...

Page 22: ...Page 22 620 00082 02 i en...

Reviews: