


- 6 -
4. CONNECTIONS
Before connecting, make sure to turn off power of all apparatus.
After finishing connection, turn on the power again.
Wires must be connected properly, depended on the silkscreen on the rear panel. Especially the play shall be
fully inserted.
Warning:
Do not connect any amplifier with coaxial connector that does not contain Dolby digital AC 3 or DTS decoder.
Any attempt to do so and play of DVD disc will result in damaging your speakers and causing possible
hearing injury. Other than DVD disc, VCD and CD can be operated normally without conforming to the above
restriction.
Setting of TV system
If you find the image like non-fully zoomed picture, brim picture covered or black & white picture etc, please
select PAL or NTSC by systems setting or press N/P button to switch the TV system on the remote control.
This DVD disc is capable of supporting different scales picture, as a result, non-full zoomed picture could
appear or picture be partially covered on user
’s TV set.
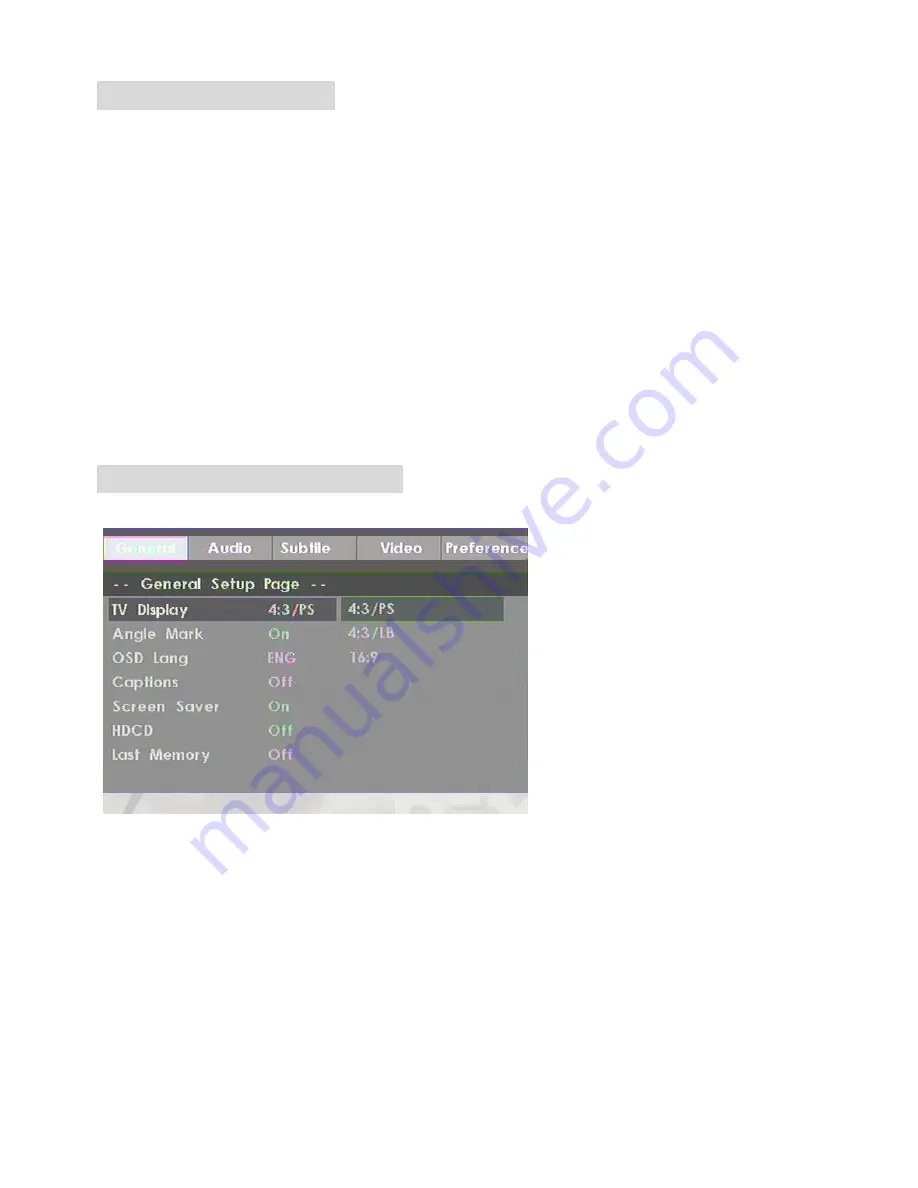
5. FUNCTION OPTIONS
You can use the player's setup menu to configure its functions and preferences.
How to configure the player
Press the SETUP button to enter the setup menu.
①
Main menu:
Use the left and right arrow (
/
) buttons to move the cursor to highlight the header of the main menu's submenu.
②
Submenu:
Press
PLAY
to enter the submenu. Pressing the
button exits the submenu and returns you to the main menu. Press
the
/
buttons to browse the various submenu options.
③
Option menu:
Select the option that you want to configure and then press
PLAY
or
to enter the option's setup menu. Use
the
/
buttons to select the required setting and then press
PLAY
to enable it. Pressing
returns you to the
submenu.