5) Playback Speed Setup
15
PLAYBACK Speed Setup
ALL ABOUT IMAGE RECOGNITION & PROCESSING
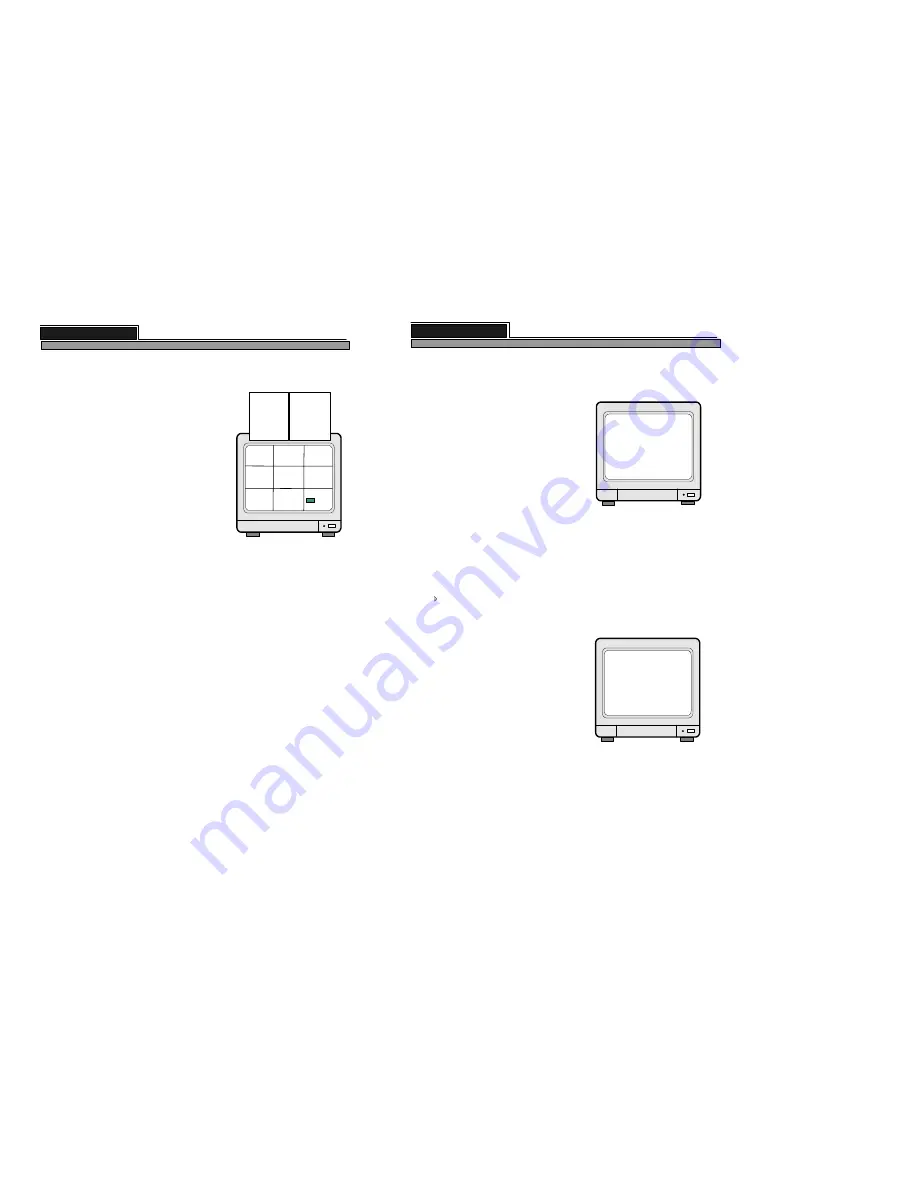
In playback mode, you can adjust speed of playback by pressing
[UP] or [DOWN] button easily. Just press [UP] button, and you
can increase playback speed from 1x to 2x, 4x, 8x, 18x, 32x, or
64x step by step. In playback speed from 2x to 64x, DVMR
system skips a certain numbers of pictures recorded in sequence
as per playback speed selected for fast search.
To the contrary, playback speed is down from 1x to ½ or ¼ by
pressing [DOWN] button, Playback speed lower than ¼ is
practically meaningless, and we recommend our users to freeze
picture by pressing [FRZ] button and move picture by picture by
pressing [LEFT] or [RIGHT] button for more precise search.
CH-01
CH-02
CH-03
CH-04
CH-05
CH-06
CH-07
CH-08
[UP] button
1X PLAY SPEED
2X PLAY SPEED
4X PLAY SPEED
8X PLAY SPEED
16X PLAY SPEED
32X PLAY SPEED
60X PLAY SPEED
[DOWN] button
1/2 PLAYSPEED
1/4 PLAYSPEED
03 / 10 / 25
16 : 11 : 38
R 12.34%
P 5.03%
8 channel stand-alone DVMR
3. Operation
1. Basic Operation
To go back to the very first SETUP condition recommended by manufacturer, set at FACTORY DEFAULT.
16
SYSTEM SETUP
HDD MANAGEMENT
RECORD SETUP
CAMERA SETUP
TIME/DATE SETUP
MISCELLANEOUS SETUP
FACTORY DEFAULT
SELECT UP/DOWN , ENTER
SYSTEM SETUP
Items remain unchanged even after FACTORY DEFAULT is done.
1. value of TIME/DATE SETUP
2. Date stored on HDD
4. ADMIN password
3. ALARM LIST SETUP
ALL ABOUT IMAGE RECOGNITION & PROCESSING
You can set at FACTORY DEFAULT all in one (as a whole) or group by group. When cursor is at
ALL SETUP, you can set at ON or OFF by pressing [ENTER] button. If you set ALL SETUP at ON, all
groups of settings are SET as per FACTORY DEFAULT recommended by manufacturer. If you set
ALL SETUP at OFF, then you are requested to set each group of settings separately one by one, ON or
OFF, and groups of settings set at ON shall be reset whenever you set at FACTORY DEFAULT.
To reset, you have to select ALL SET or each group of settings (ON or OFF), and then move to
RUN and press [ENTER].
In SYSTEM SETUP, we can change different parameters
for operation of DVMR system, as you like.
However, we basically recommend our users to set at
FACTORY DEFAULT, until you have full understanding
about operation of DVMR system.
To enter into SYSTEM SETUP, first press [MENU] button,
and enter password. After password, press [ENTER]
button and you can enter into SYSTEM SETUP.
In the first operation of DVMR unit after you first install
HDD or add 2nd HDD to DVMR unit, delete all data on
HDD, whether it is used HDD or brand-new HDD, and set
at FACTORY DEFAULT.
TCP/IP SETUP
2. CAMERA SETUP
CAMERA SETUP
MOTION SETUP
EDIT CAMERA TITLE
ADJUST COLOR
SELECT [UP]/[DOWN] , PRESS [LEFT]/[RIGHT]
CAMERA SETUP
In camera setup, we have 3 different sub-menu as follows.
1) Edit camera title
Edit camera title.
2) Adjust color
Adjust brightness, contrast and others relating to color of
camera channel by channel.
3) Motion setup
Set motion detection area, sensitivity, and detection
window which specifies minimum size of object detected
by the system.
8 channel stand-alone DVMR
3. Operation
3-4. SETUP


