


Assembling the new tensioning plate
Additional Instructions H-TYPE - 00.0 - 09/2017
9
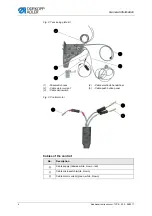
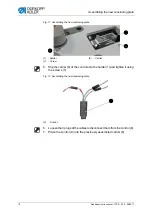
Fig. 9: Assembling the new tensioning plate
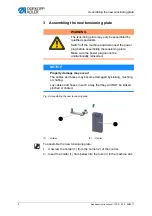
3.
Tighten the screw (4) from above.
The screw (4) will clamp itself in place.
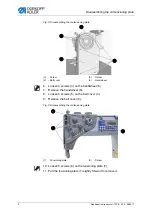
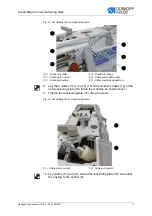
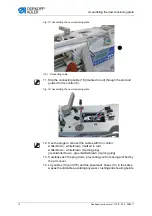
Fig. 10: Assembling the new tensioning plate
4.
Secure the holder (1) to prevent it from shifting using the adjusting
screws (6) and the counternuts (5).
(1) - Holder
(3)
- Hole
(4)
- Screw
③
④
①
(1) - Holder
(5)
- Counternut
(6)
- Adjusting screw
⑤
⑥
⑤
①