31
) Enter
"http://192.168.1.10/"
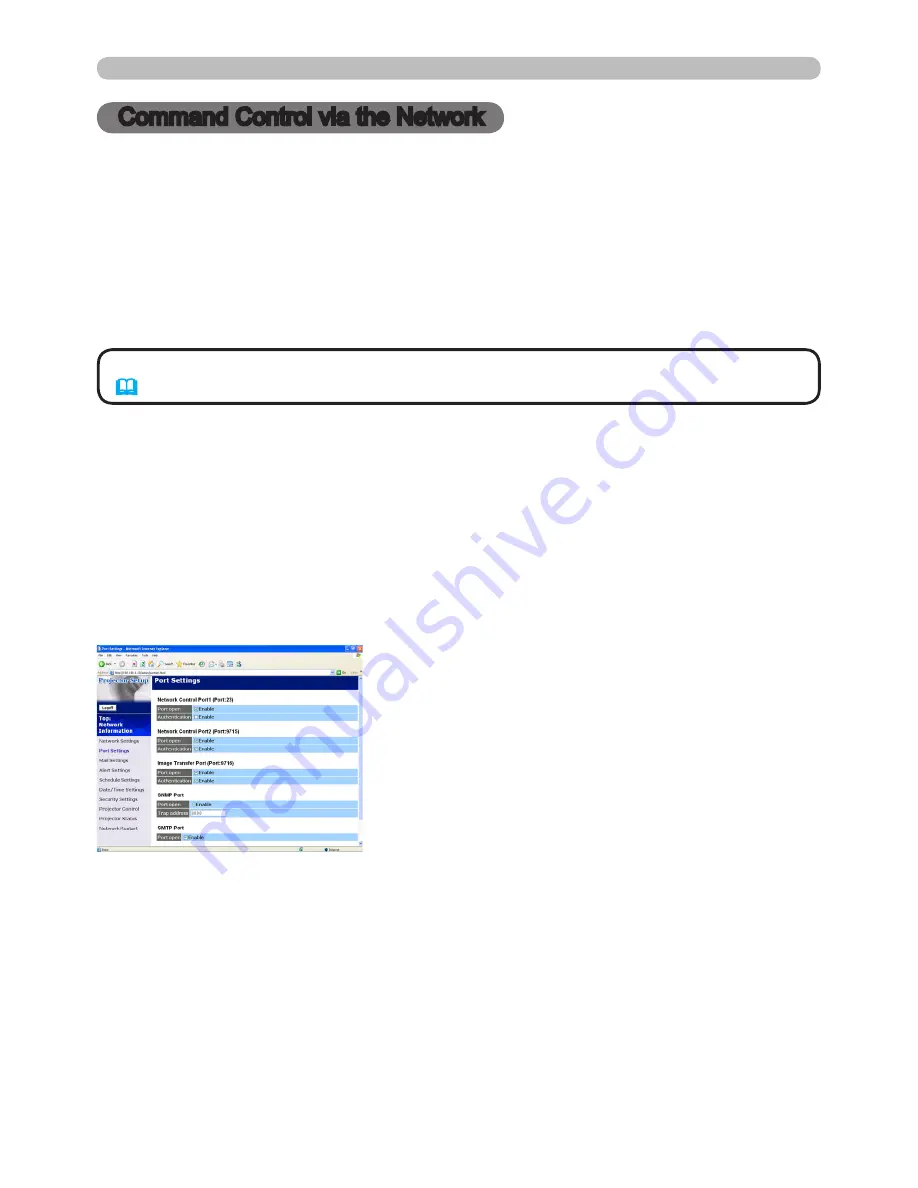
into the address bar of the web browser.
2) Enter the Administrator ID and password and click
[Logon]
.
3) Click
[Port Settings]
on the main menu.
4) Click the
[Enable]
check box to open
Network Control Port1 (Port: 23)
to use
TCP #23. Click the
[Enable]
check box for the
[Authentication]
setting when
authentication is required, otherwise clear the check box.
5) Click the
[Enable]
check box to open
Network Control Port2 (Port: 9715)
to
use TCP #9715. Click the
[Enable]
check box for the
[Authentication]
setting
when authentication is required, otherwise clear the check box.
6) Click the
[Apply]
button to save the settings.
Command Control via the Network
Command Control via the Network
You can configure and control the projector via the network using RS-232C
commands.
Communication Port
The following two ports are assigned for the command control.
TCP #23
TCP #9715
Command Control Settings
Configure the following items from a web browser when command control is used.
Example: If the IP address of the projector is set to 192.168.1.10:
• Command control is not available via communication port (TCP #9716)
(
9
) that is used for the e-SHOT transmission function.
NOTE


