background image

5

DXV3D

Operation

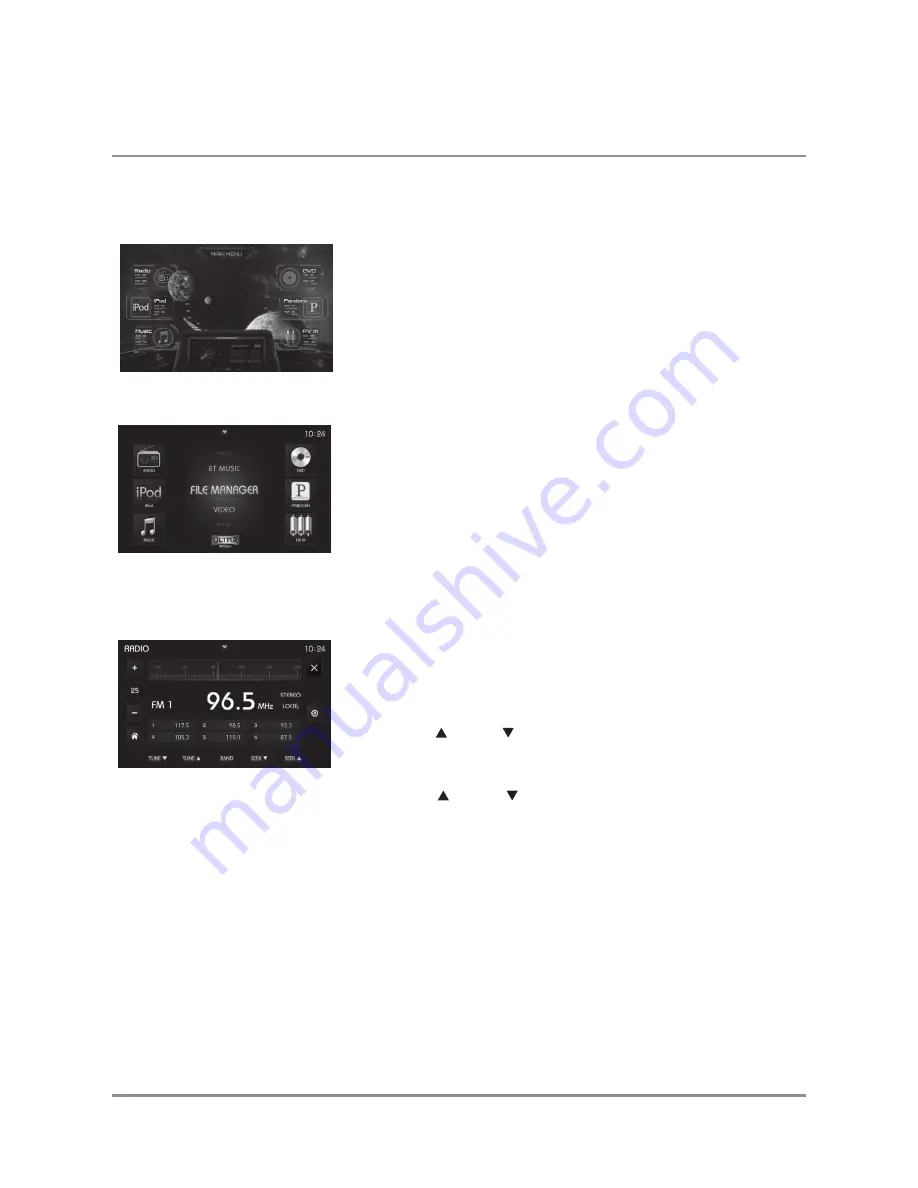
The UltraMotion™ display allows you to customize the layout of the Main 

Menu by re-arranging the mode icons on the left and right sides of the 

screen. Simply choose a mode from the scrolling menu in the middle of 

the screen, press and hold it for 2-3 seconds, then drag it to where you 

want the mode icon to be positioned and release. 

Band

Press 

BAND

 to toggle between FM1, FM2, FM3, AM1, and AM2. Each band

allows the user to store 6 preset radio stations for quick access.

Main Menu

Tuner Mode

Manual Tuning

Press 

TUNE

      or 

TUNE

      momentarily to change the radio frequency up 

or down, one step at a time.


Seek Tuning

Press 

SEEK

       or

 SEEK

      for more than 2 seconds to seek to the next 

strong station.

Automatically Store

Press 

AST

 to scan and preset 6 radio stations with the strongest signal.

Preset Scan

Press 

P.SCAN

 to play each of your preset station for a short amount of time. 

Press the button again to stay on the station that is currently playing.

The UltraMotion™ Menu displays availabe modes of operation. Press

a mode icon to select and begin playback of the corresponding mode.

Press the Main Menu icon at the top of the screen to access the Main Menu.

UltraMotion™ Menu

Summary of Contents for DXV3D

Page 1: ...le is in park and the parking brake is engaged It is illegal in most states for the driver to view video while the vehicle is in motion Safety Notes Multimedia DVD Receiver with UltraMotion Display ThisQuickStartGuidegivesyouthebasicstostartusingyourDXV3D Pleasevisithttp www dualav com support manualstodownload acompleteOwner sManualorcallcustomerserviceat1 866 382 5476 DXV3D Quick Start Guide 240...

Page 2: ...ing sleeve Install mounting sleeve into opening bending tabs to secure Connect wiring harness and antenna Consult a qualified technician if you are unsure Certain vehicles may require an installation kit and or wiring harness adapter sold separately Test for correct operation and slide into mounting sleeve tosecure Snap trim ring into place Dash Board Head Unit KEYS Mounting Sleeve ...

Page 3: ...ule sold separately Red White Yellow Yellow Black Yellow Back up Camera Input Subwoofer Out Video Output AUX Video Input AUX Line Input L AUX Line Input R Steering Wheel Interface Input Antenna Input Dual Zone Out L Dual Zone Out R Line Out FL Line Out RL Line Out FR Line Out RR Red Red Red White White White ...

Page 4: ...le Track Up SUB T Volume Down Volume UP Mode Home Mute Power Up Back Play Pause Enter Track Down Repeat RDM Down Home iPod Radio SD Card Open Mute Disc Slot Eject Trim Ring DVD Pandora Main Menu Set up Music Remote Control USB Reset AV IN 1 Volume Select Push Back ...

Page 5: ...n Menu Tuner Mode Manual Tuning Press TUNE or TUNE momentarily to change the radio frequency up or down one step at a time Seek Tuning Press SEEK or SEEK for more than 2 seconds to seek to the next strong station Automatically Store Press AST to scan and preset 6 radio stations with the strongest signal Preset Scan Press P SCAN to play each of your preset station for a short amount of time Press t...

Page 6: ... Press again to end random playback Connect an iPod iPhone Device sold separately To play video from an iPod iPhone device connect the USB Video cable sold separately to the USB port AV IN 1 port of unit To play music from an iPod iPhone device connect the USB cable included with your iPod iPhone device to the unit s USB port Playback will begin automatically Song Select Press to skip to the next ...

Page 7: ...ack Press again to resume playback Thumbs Up Press to customize the station to play more songs like the song that is currently playing Thumbs Down Press to customize the station to play songs that are different from the song that is currently playing Note Pandora may use large amounts of data and carrier data charges may apply For best results we recommend that you connect your device to trusted W...

Page 8: ... use a Bluetooth device it must be paired and connected Make sure that Bluetooth is activated on your device before you begin the pairing process Pairing a New Device The BTM100 Bluetooth interface module sold separately broadcasts the pairing signal constantly when no devices are currently connected Complete the pairing sequence from your Bluetooth device Refer to the owner s manual for your devi...

Page 9: ...ontrol your music from the front panel of the head unit using AVRCP audio video remote control profile Note Placing a phone call from your cell phone will also use the Bluetooth function of the BTM100 Press from Bluetooth mode with a compatible cell phone connected Press at the bottom of the screen to display downloaded phone book names Press the desired name on the phone book then select between ...

Page 10: ...o track The button will skip to the previous audio track The button will toggle between play and pause during playback The button will stop the audio playback it may be necessary to control the music from the device Brightness Control Source Level Control The source level menu allows you to adjust the volume level of each source Select AUTOMATIC to enable adjustment of the time and brightness sett...

Page 11: ...n adjust the equalizer band by pressing the level you desire Adjust up or down as desired 1 Connect the factory steering wheel wire to the brown wire on the receiver Tap the steering wheel icon for the screen shown on the left to appear 2 Tap any button on the screen to enter into a learning mode The button will change color to blue yellow 3 Press the corresponding buttons on the steering wheel to...

Page 12: ...s supplied with the product or damage occurring during return shipment of the product Specific license conditions and copyright notices for the software can be found via www dualav com What to do 1 Before you call for service check the troubleshooting guide in your owner s manual A slight adjustment ofanycustomcontrolsmaysave you a service call 2 Ifyou require serviceduringthe warranty period you ...

Reviews: