Please ensure your display has been correctly connected and powered on.
Power on the ioBox-100HD via the rear power switch.
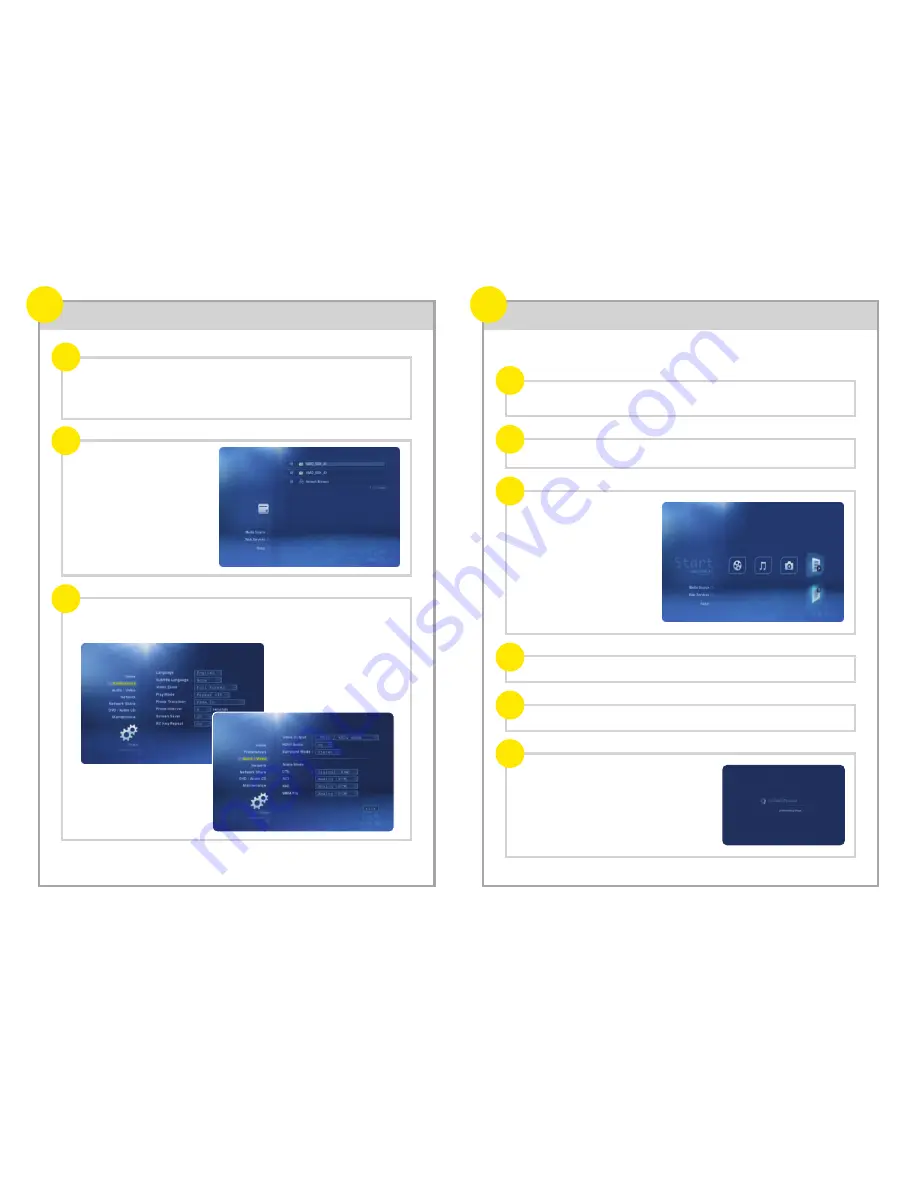
A welcome screen will appear, followed by a menu listing of the available media sources
(the boot process of the ioBoxHD will take about 1 minute).
From time to time, new firmware is released to add new enhancements and fix reported problems.
Please visit www.ioboxhd.com/downloads.html to download the latest firmware for
ioBox-100HD, and de-compress the files to the root directory of a USB flash drive.
www.ioboxhd.com/downloads.html to
Plug the USB flash drive into the player and browse it.
Select the fourth media type (Text)
and then press ENTER.
Select the html file (e.g. usbupdate.html), and press ENTER.
Choose the firmware version, and press ENTER.
The system will perform firmware upgrade
automatically.
Important!
Don't interrupt the update process.
Once the process is finished, the system will restart.
If you cannot see this screen,
please make sure you have selected
the correct input from your HDTV.
You may also need to use TV
MODE + numeric button on the
remote control to select a correct
output mode for ioBox-100HD.
Now you may customize the player and select your preferences. Press SETUP on the
remote to enter setup menu, and then select Preferences and Audio/Video for common
settings.
Congratulations - ioBox-100HD is now ready to use! Most users can stop here and enjoy this new
toy. Advanced users may go to section 7.
The first power up
6
Firmware upgrade (optional)
7
a
c
b
a
c
b
d
e
f


