3 PK3646_07_18
dormakaba
Oracode 660i Wireless Lock Activation/Programming
ORACODE SMART CONTROLLER DIAGNOSTICS
CONNECT Z-WAVE DEVICES
1. LOCK TO SMART CONTROLLER “CONNECTION” STATUS
• Entering # # # 2 on the lock keypad triggers a “Lock to Smart Controller” status test.
• A green LED and a high-pitched beep at the end of the test indicates the lock is connected to the
Smart Controller.
• A red LED and a low-pitched beep at the end of the test indicates the lock is not connected to the
Smart Controller.
2. WIRELESS LINK TEST
• This test requires the Smart Controller to be put in ZigBee “Join” mode (by enabling “Join” on the BeHome247
website) if the Lock is not already connected to the Gateway (see 3.1).
• Entering # # # 1 on the lock keypad triggers a “Lock to Gateway” wireless link test.
• The lock’s LEDs alternate green and red during the test, which may be very quick or last over 30 seconds
(depending on if the lock is already connected to the Smart Controller network or not).
• A green LED and a high-pitched beep at the end of the test indicates a good link quality (success).
• A red LED and a low-pitched beep at the end of the test indicates a bad link (fail).
• If the Wireless Link Test fails, improve the Smart Controller positioning (see 1.1) and re-execute the Wireless
Link Test.
3. SMART CONTROLLER RESET TO FACTORY DEFAULT
NOTE:
You will need to get a new Activation Code from the Oracode Live web site to re-activate the lock (see
Point 2) after you perform a Reset to Factory Default of the
Smart Controller.
METHOD 1
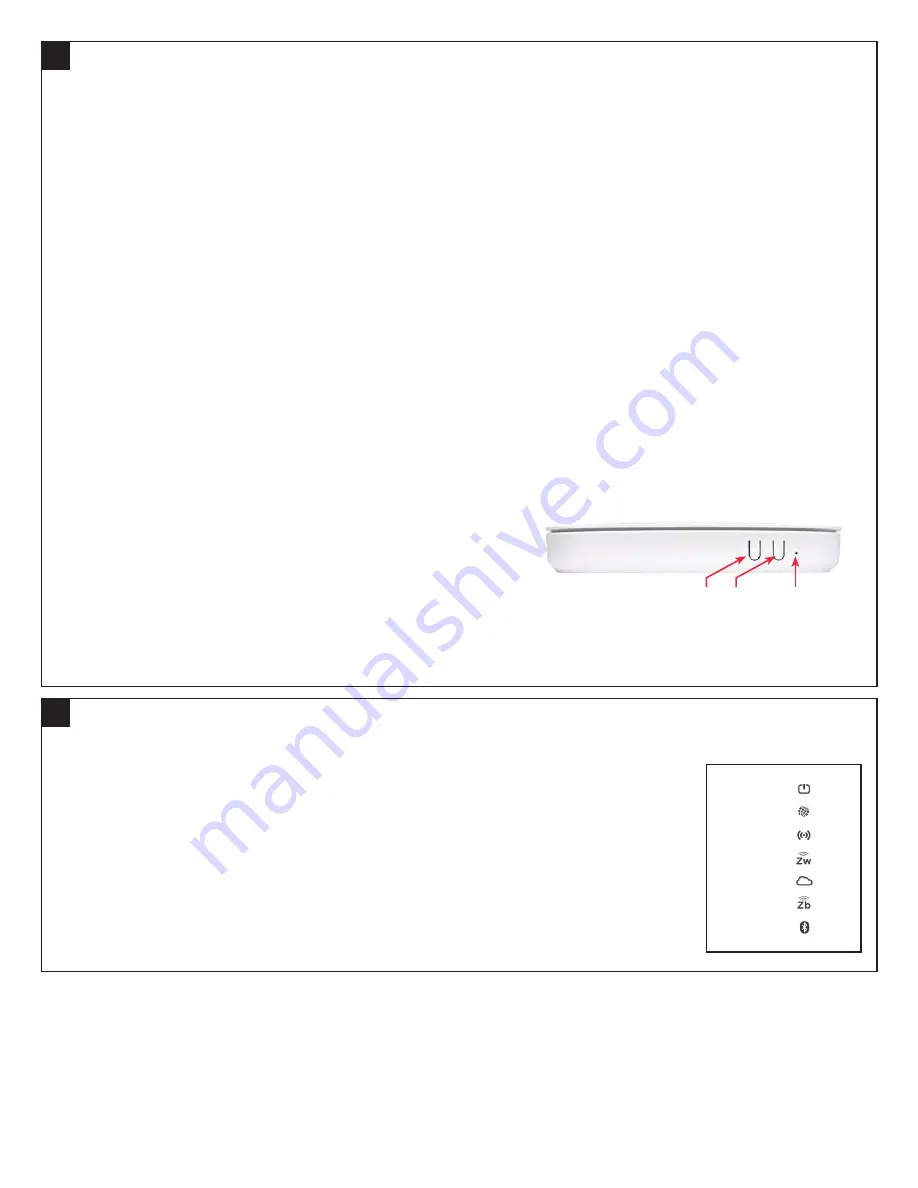
• Use a paperclip or pencil to press the “Reset” button (on the
front of the Smart Controller) six times within six seconds. The
Smart Controller will be reset to factory default.
METHOD 2
• Log into your BeHome247 account (vr.behome247.com).
• Select the property where the Smart Controller is installed,
then click the “Settings” tab.
• Scroll down to the ‘KABA Lock System’ area, check the “Show
advanced controls” box, and click “Reset.” The Smart Controller
will be reset to factory default.
3
4
1. ENABLE Z-WAVE JOIN MODE
• Press the “Select” button on the front of the controller until the LED by the Z-Wave icon is
blinking (approx. 3x).
• Press the “Sync” Button. The Smart Controller will be in Z-Wave “Join” mode for
10 minutes.
2. JOIN Z-WAVE DEVICES
• Follow the instructions for the Z-Wave device to enable Z-Wave join/search mode.
• The Z-Wave device will indicate if it was successfully added to the Z-Wave network. This
process can take from a few seconds to a few minutes.
• The Z-Wave device should be accessible in the BeHome247 website under the
“Settings” tab.
Select Sync
Reset
Smart Controller (Front)
1. Power
2. Internet
3. Wi-Fi
4. Z-wave
5. Service
6. ZigBee
7. Bluetooth
Smart Controller
(LED Panel)


