background image


- 5 -

Install Scanner hardware 


a)


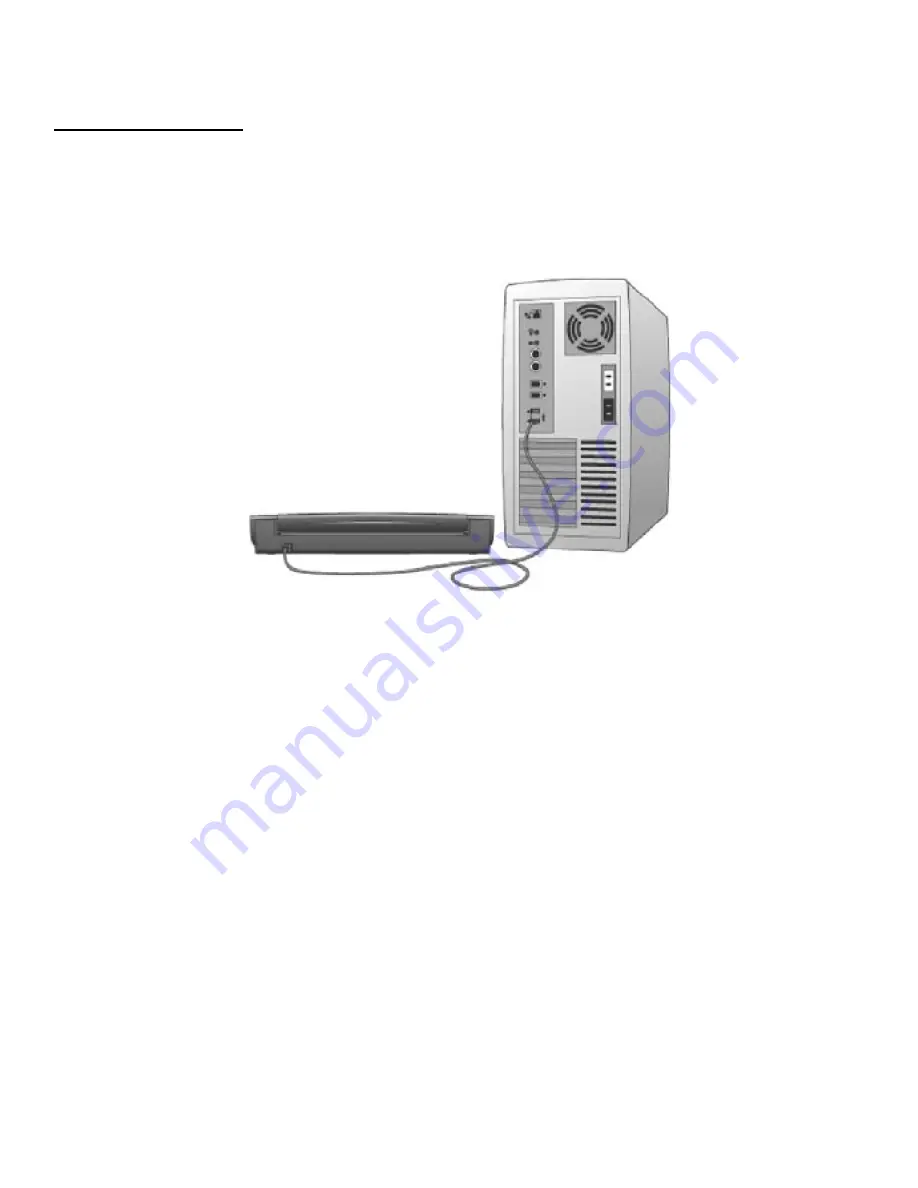
Connect the USB cable (provided) to your computer and scanner (Fig. 1).


b)


Make sure the red warning label is removed before connecting this end to your computer.


c)


You may need to reconnect the cable to another USB port on your computer if the scanner cannot be detected. (Check your 

computer’s user guide to identify other available USB ports and their locations.)


Fig. 1


d)


Once your scanner is connected to your computer, “Installing Device Driver Software” balloon will pop out from the system tray 

and your scanner will be automatically installed. 

e)


Scanner is ready to use when you see “DocketPORT 488 Device driver software installed successfully” balloon. 


Summary of Contents for DocketPORT 488

Page 1: ...Compact Fast and Easy to Use User Guide...

Page 2: ...no guarantee that interference will not occur in a particular installation If this equipment does cause harmful interference to radio or television reception which can be determined by turning the equ...

Page 3: ...ool to capture manage and archive documents of many types We encourage you to read this short but important User Guide carefully Your DocketPORT 488 scanner has the latest technology and compatible dr...

Page 4: ...llation program will begin automatically c Select Install Scanner Driver option Fig 1 and follow the installation instruction Fig 2 Fig 1 Fig 2 d If your CD does not start automatically then double cl...

Page 5: ...t your computer even though you are not requested by Windows to do so Uninstall Scanner Driver Software a If you should need to uninstall the scanner driver you can do so from Uninstall or change a Pr...

Page 6: ...port on your computer if the scanner cannot be detected Check your computer s user guide to identify other available USB ports and their locations Fig 1 d Once your scanner is connected to your compu...

Page 7: ...TWAIN user interface appears Fig 1 c Insert the calibration target that came with your scanner then select Calibrate Fig 2 Fig 2 Fig 1 Fig 3 NOTE If scanned image quality has become unsatisfactory we...

Page 8: ...f adhesive material even POST IT paper Make sure the leading edge of your documents are straight and not wrinkled or folded Insert document at level to the intake slot If your document has a fold shar...

Page 9: ...ace of purchase for warranty service information Warranty for Machines The manufacturer warrants that each machine if free from defects in materials and workmanship and conforms to the manufacturers p...

Reviews: