


10
11
2
channel
Mini
DVR
Manual
2
channel
Mini
DVR
Manual
3.
Movie Size
(
detail resolution please see the list below)
QVGA:
QVGA
r
esolution
D1:
D1
r
esolution
4.
File overwrite
Choose ON to turn on overwrite, OFF to turn it off.
5.
TV Output
Choose PAL or NTSC mode to work with monitor.
Resolution in different status
Video
Snapshot
Status
1 camera
2 camera
1 camera
2 camera
D1&HIGH
720x576
720x480
720x576
720x480
D1&Standard
720x576
720x480
720x576
720x480
D1&Low
720x576
720x480
720x576
720x480
QVGA&HIGH
360X288
360X288
720x576
360X288
QVGA& Standard
360X288
360X240
720x576
360X240
QVGA& Low
360X288
360X288
720x576
360X288
2012/08/10 10114921-1
11:49:20 AVI
Playback
Press “Playback” key in standby mode. You can see the
video recorded time at the left corner. Press “←”“→” keys
to choose the video you want to play back, and press
“Rec.”key to play videos.
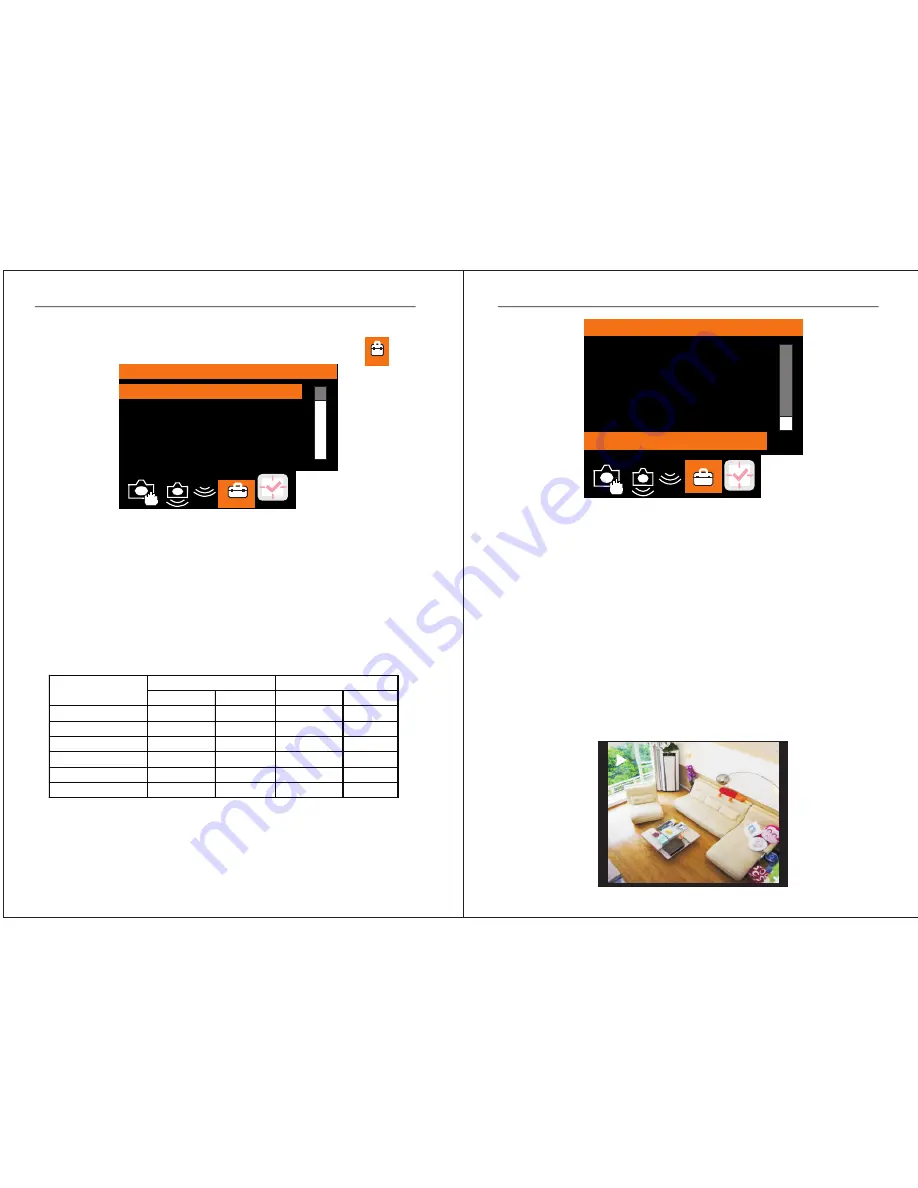
Picture quality and TV mode setting
1
.
Press
"
OK
"
key enter into main menu
and choose
icon
.
2
.
Photo Quality
(detail resolution please see the list below)
High
: High resolution
Standard
: Standard resolution
Low
: Low resolution
Advanced Setting
Photo
Quality
Movie Size
File OverWrite
TV Output
Format
Card
Beep
Advanced Setting
Format Card
Beep
Set to Default
Disk Info
FW Version
EXIT
6.
Format Card
Format the SD card when first time use
7.
Beep
(Not available for now)
8.
Set to Default
Use it to set to default when problems happen
9.
Disk Info
Check SD card capacity used
10.
FW Version(
)
Ver 2.42 UI2.57


