13 A
Before running the MOVEMENT, you should setting the Assign/Reverse DMX channels first.
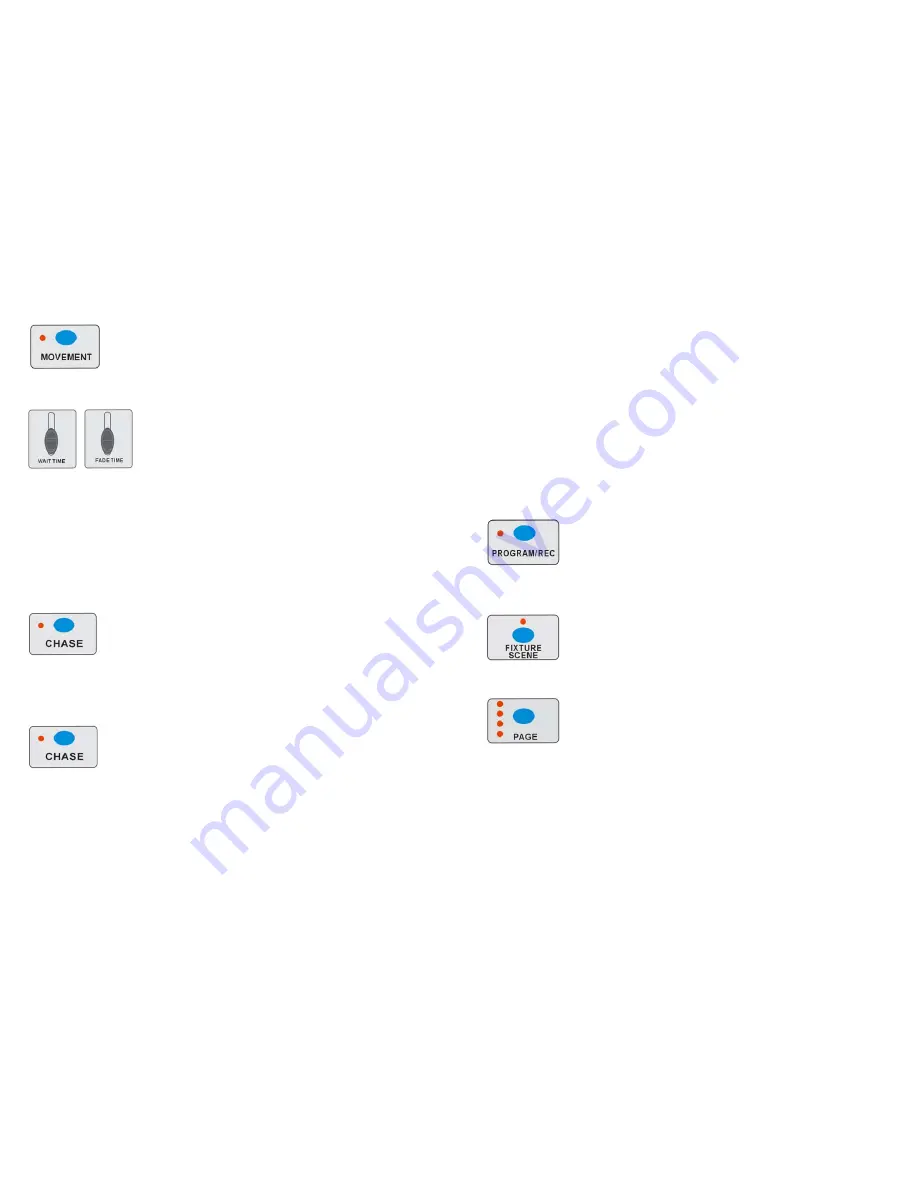
You can also run the MOVEMENT, pressing 1-16 to select the built-in movement:
1. Press the fixtures you would like to run the movement, then press MOVEMENT button to select the
movement, turn the PAN/TILT to adjust the fixtures to the right place.
2. Move the FADE TIME fader to adjust the range of the pattern, or move the WAIT TIME to adjust the
speed of the PAN/TILT.
Note: when adjust the movement of PAN/TILT, please do not use faders to change the position of
PAN/TILT, otherwise, the position cannot be controlled by the PAN/TILT wheels.
4-7 Running Chases
Manual mode/Auto Mode/Music Mode will be available when running chases.
4-7.1 Manual Mode
1.
Press the CHASE button to enter into the chase mode.
2. You can open it by press the button directly. After you open it, the LED indicator will light up, if there is
no any CHASE store in it, it will show “NULL” on the LCD display.
3.
You can use the UP/DOWN button to run the CHASE manually.
4-7.2 Auto Mode
This function allows you to run programmed chases in a sequential loop.
1. Press the CHASE button to enter into Auto Mode.
6 A
Step 002 The 2nd step of a chase
Data 151 DMX value(000-255)
WT: 1M36S The current Wait Time is 1 minute and 36 seconds
TP: 5.32S The time of the last two taps is 5.32 seconds
FT: 10.5S Fade Time is 10.5 seconds
ASS 07 08 Assign DMX channels 7 and 8
RES 10 13 Reverse DMX Channels 10 and 13
SN 6 Scene 6
4-1 Program Enable
When the power is turned on, the firmware version will show on the LCD display for 1 second,
then this unit will enter Manual mode automatically. Press the PROGRAM/REC button for 3
seconds to activate Program mode, the LED indicator near to this button flashes slowly indicating
Program in active.
4-2 .1Programming Scenes
1. Hold PROGRAM/REC button for 3 seconds to enter program mode.
2. Press the FIXTURE/SCENE button, the LED indicator above it will light up but not flash. Then select the
fixtures you want to program.
3. Move the faders to select your desired dimmer intensity if you are using a dimmer
.
You can also use the two jog wheels to control the Pan or Tilt movement of the scanner.
4. Press FIXTURE/SCENE button, when the LED indicator above it flashing, the fixture which you choose
will quench out.
5. Tap PAGE button to select the page you want to store your scene into. There are total 4 pages (A, B, C,D)
you can select. The button1-8 light up means there has scene stored in it, if you press it again, the
before scene will be replaced.
6. Click the PROGRAM/REC button, then press the button1-8, all the LED indicator will flash fast for 3
times, that means you have store the scene successfully.
7. Repeat steps 2-6 until all desired scenes have been programmed into memory.
8. After you finish your programming, hold PROGRAM/REC button for three seconds to exit Program mode,
the LED goes out indicating this selection.
Summary of Contents for CA-3216W
Page 2: ...1 A 18 A ...


