62
Ordercode: 101600
LS-190 LED Screen Processor
13)
Press the menu control (02) to confirm your choice and press the MENU/EFFECT button to return to
the previous menu.
14)
Turn the menu control (02) to select <SEND TO RECEIVER> and press the menu control (02) to save.
15)
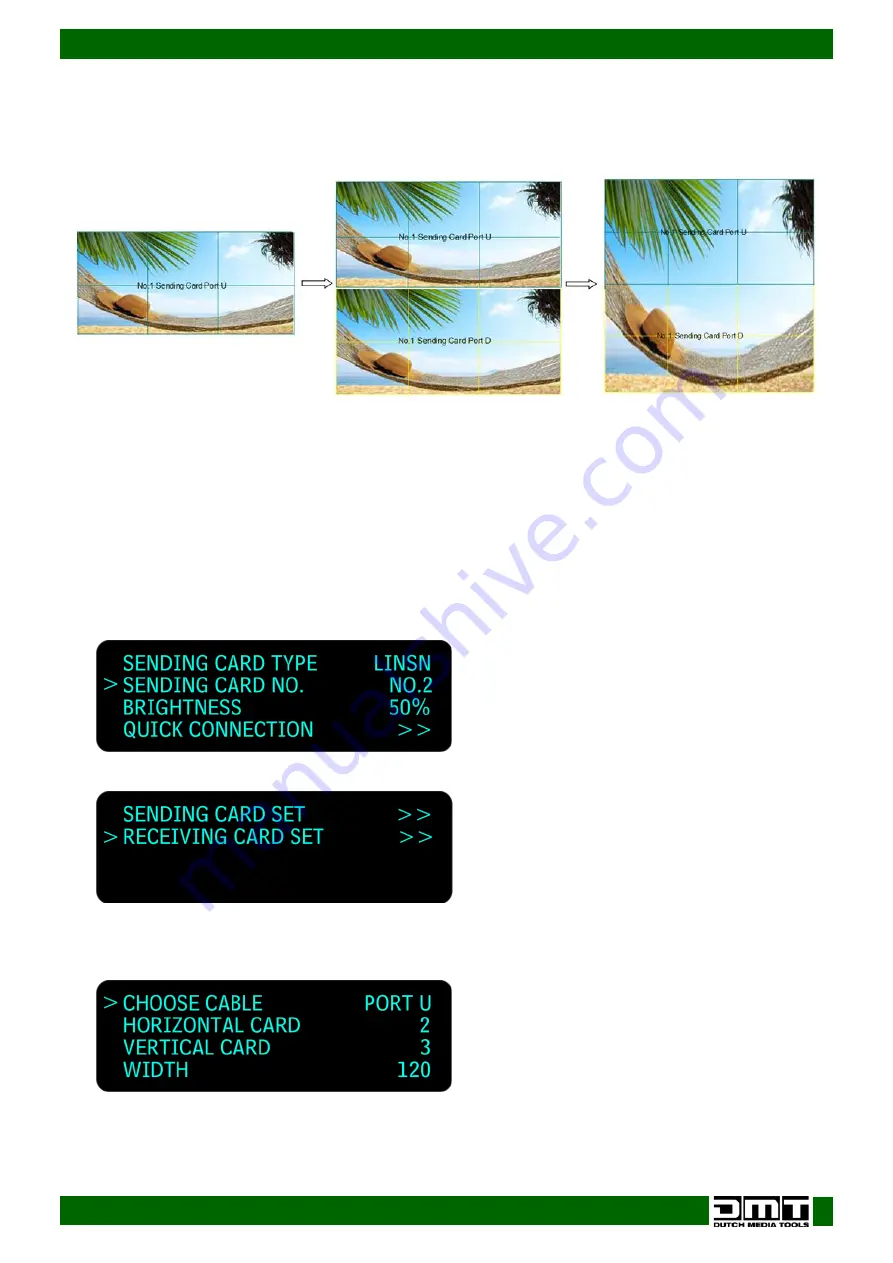
Repeat the above steps for the U1 port. Look at the preview below.
Connect the ports D and U of Two Sending Cards to a LED Display
01)
Make sure that the device is operating in normal mode: both red power indicators and both green
signal indicators are on, when the device receives signal input.
02)
Choose the input signal, for example, DVI.
03)
Connect four cables to the ports: U1, D1, U2 and D2.
04)
Connect the D1 and U1 ports of No.1 sending card to the LED display. Follow the instructions from
page 61.
05)
Connect both ports (D2 and U2) of No.2 sending card to the LED display.
06)
Turn the menu control (02) to select <DISPLAY CONNECTION> and press the menu control (02) to
enter. Press the menu control (02) to select <SENDING CARD NO.> and press the menu control (02) to
enter. Turn the menu control (02) to select NO.2 and press the menu control (02) to confirm.
07)
Turn the menu control (02) to select <QUICK CONNECTION> and press the menu control (02) to enter.
08)
Turn the menu control (02) to select <RECEIVING CARD SET> and press the menu control (02) to enter.
09)
Turn the menu control (02) to select <CHOOSE CABLE> and press the menu control (02) to enter. Turn
the menu control (02) to select <PORT U> and press the menu control (02) to confirm.
Summary of Contents for LS-190
Page 14: ...13 Ordercode 101600 LS 190 LED Screen Processor Menu Overview ...
Page 45: ...44 Ordercode 101600 LS 190 LED Screen Processor DVI Gamma VGA Gamma ...
Page 65: ...64 Ordercode 101600 LS 190 LED Screen Processor ...
Page 74: ...73 Ordercode 101600 LS 190 LED Screen Processor Dimensions ...
Page 75: ...74 Ordercode 101600 LS 190 LED Screen Processor ...
Page 76: ... 2016 DMT ...


