COM SERIES HOW-TO GUIDE: ECP PASSTHRU | DIGITAL MONITORING PRODUCTS
4
STEP 3: PROGRAM THE VISTA KEYPAD
In this step, you will program VISTA Keypad 5 Device Address 20. This enables the VISTA panel to
communicate with a CellCom or DualCom. This step must be performed locally at the VISTA panel.
1. Power down and then power up the VISTA panel.
2. Within 1 minute of powering up the VISTA panel, simultaneously press and hold the
#
and
*
buttons on
the keypad.
3. The keypad displays
INSTALLER CODE
. Enter the installer code (default is
4112
), followed by
8 0 0
.
4. Enter
*193
, then enter
1 0
.
5. To save and exit programming, enter
*99
.
STEP 4: CONFIGURE ECP SETTINGS
For the communicator to properly process data from the VISTA panel, keypad input must be set to
ECP
. You
can perform this programming remotely with Dealer Admin or locally with a programming keypad.
Remote programming requires communicators with firmware Version 212 or higher. Local configuration
requires communicators with firmware Version 202 or higher.
During configuration, refer to
“Troubleshooting”
for programming messages and troubleshooting steps.
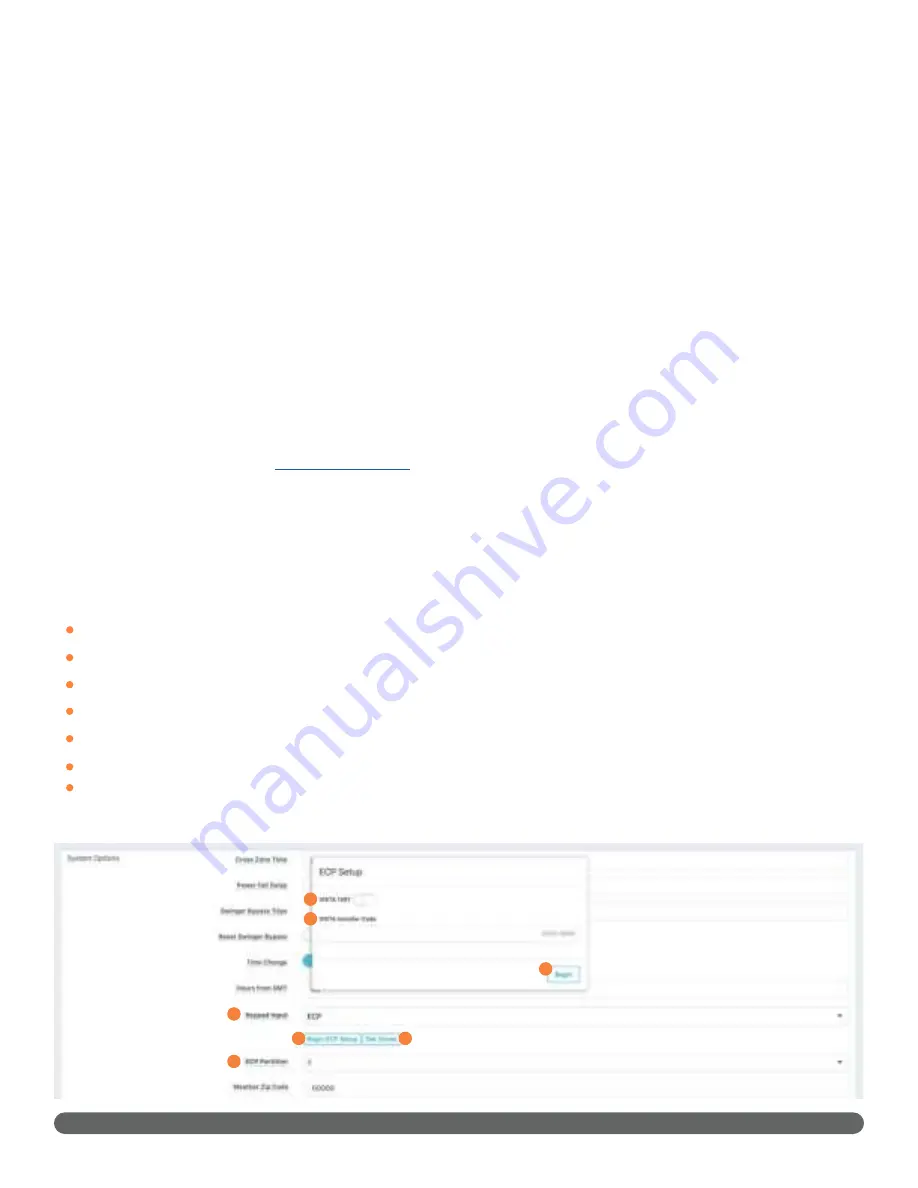
Remotely (Dealer Admin)
Before programming, ensure the ECP panel’s IP address is set as default.
1. Go to
Customers
.
2. Find and select the system name.
3. Go to
Full Programming > System Options
.
4. In
Keypad Input
, select
ECP
.
5. In
ECP Partition
, enter the number of the partition where you want the communicator to operate.
6. Press
Begin ECP Setup
.
7. If the host panel is a VISTA 128, turn on
VISTA 128
.
8. Enter the host panel’s installer code in
VISTA Installer Code
.
9. Press
Begin
.
10. After setup is complete, Dealer Admin automatically retrieves zones from the host panel. If you need to
retrieve zones again later, open
System Options
and select
Get Zones
.
4
5
6
7
8
9
10
Summary of Contents for Com Series
Page 1: ...HOW TO GUIDE ECP PASSTHRU...


