


!
7
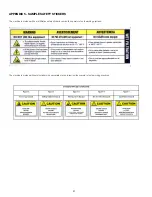
3.1 To Setup or Install Safely
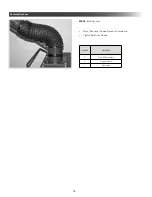
3.2 Un-Packaging
3.4 Mounting Options
• If you purchased a mobile model, see
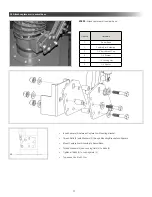
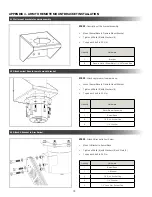
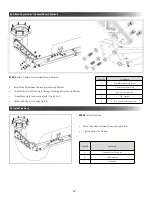
APPENDIX 3: Installation
of Fred SR/SR2.
• If you purchased a wall/ceiling mounted model, see
APPENDIX 6: Installation of Fred SR2 C/SR1 C
.
3.5 Electrical Options
SECTION 3 - PRE-INSTALLATION
• Single-Phase Unit: See
APPENDIX 1A: Electrical Diagram [120 VAC] Single-Phase Power
for wiring
instructions. Have a certified electrician install unit according to local regulations.
• 3-Phase Unit: See
APPENDIX 1B: Electrical Diagram [230/460/575 VAC] 3-Phase Power
for wiring instructions.
Have a certified electrician install unit according to local regulations.
3.3 Tools Required
1. 7/16 Socket or Wrench
2. 9/16 Socket or Wrench
3. Torque Wrench
The tools above are required for unit assembly.
1. Immediately upon receiving the unit, carefully examine the carton for damage during transit.
2. Use lift forks or truck to move
3. Remove packing material.
4. Avoid tipping or inverting during handling.
5. The item serial number, model, and electrical ratings are listed on the nameplate. Record this information in the
Maintenance Record provided in
APPENDIX 2: Maintenance Record
, or your own preventative maintenance system.
• Do not place unit near flammables or combustible surface.
• Refer to
SECTION 2: Specifications
, to know the electrical requirements of the unit you are
installing and ensure adequate input power that is properly sized, rated, and protected.
• This unit must be grounded for safe operation.
Summary of Contents for FRED SR
Page 22: ...22 NOTES...
Page 23: ...NOTES 23...