DITEX CarScope VISO Getting Started Manual Download Page 8

CarScope VISO                          Getting started manual                                     

DITEX


Version 2.0/2016-08-30                              - 8 -                              www.autoditex.com 


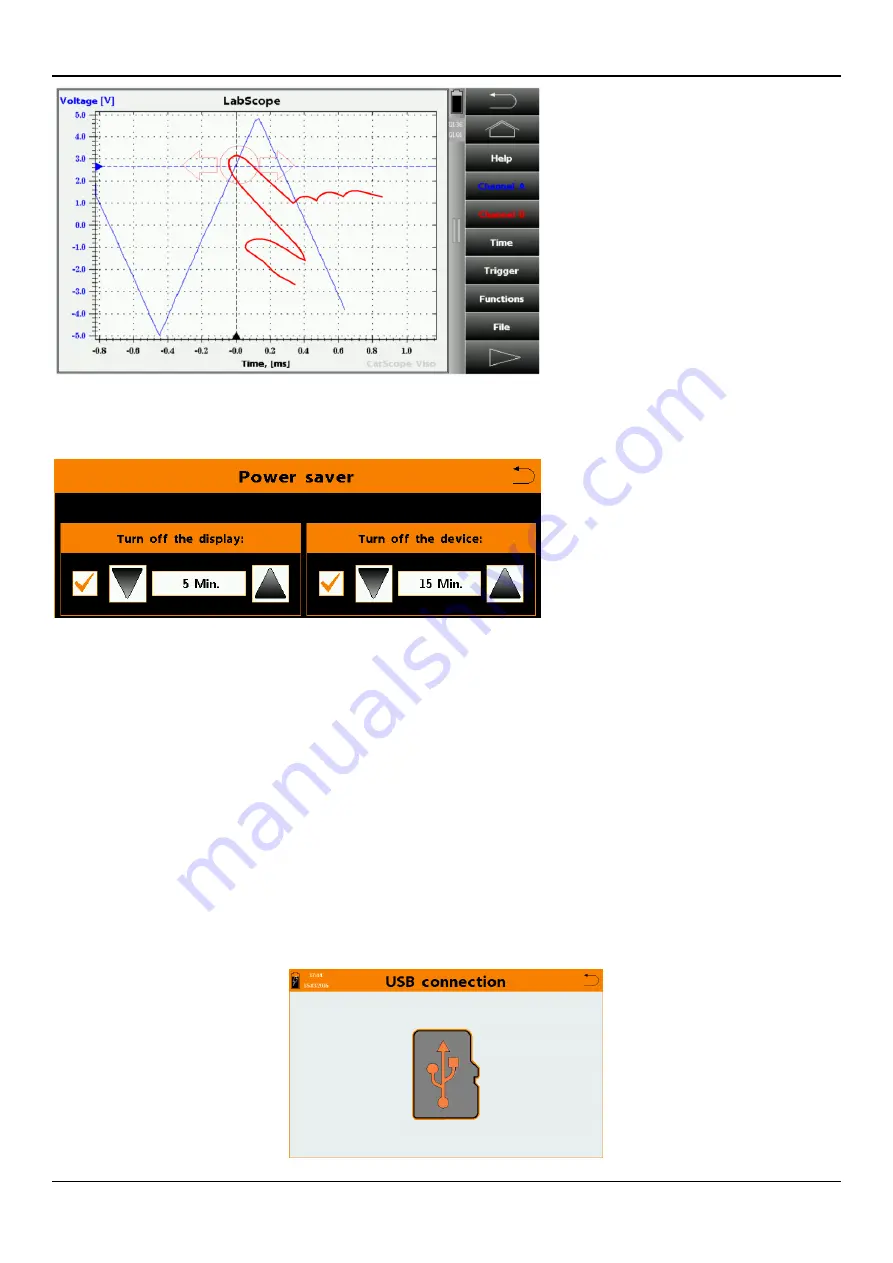
11. Power saver panel 


You can access the power saver panel from: 

Home screen > Settings > Power saver 


The power saver system allows you to save battery power and has two options: 


Turn off the display option specifies the time after the display will be turned off when no activity 
is detected. 
Note: To wake up device when it’s in sleep mode and display is off, just tap anywhere on the 
screen. 


-  Turn off the device option specifies the time after the device will be turned off when no activity 

is detected. 
Note: If the device is switched off, you can switch it on again by pressing and holding the 
“multifunctional button” for approximately 4 seconds! 


Each of these two parameters can be enabled or disabled. 


12. USB connector function 


This mode allows you to transfer files between CarScope VISO and a computer using a USB 
cable.                                                                


Summary of Contents for CarScope VISO

Page 1: ...erview of connectors LEDs and multifunctional button 2 2 Installing and replacing the battery 2 3 Charging the battery 3 4 Multifunctional button description 3 5 Switching the device ON and OFF 3 6 LE...

Page 2: ...CarScope VISO uses a rechargeable Li ion battery 18650 type 2600mAh capacity To install the battery do the following remove the red protective rubber on the left side of the CarScope VISO device put...

Page 3: ...switch on the device 2 Press and hold down the multifunctional button for approximately 10 seconds to make an emergency power off 3 Press the multifunction button briefly to get back to the previous...

Page 4: ...or Channel A B Vertical scale for Channel B Vertical scale for Channel A The unit and values of the vertical axis for Channel A B depend on Input probe and Range selected You can change them using Cha...

Page 5: ...9 Trigger level Trigger level is part of Trigger setup and determines the height of the signal that must be met to trigger and display the acquired signal Trigger level control and adjustment In case...

Page 6: ...l DITEX Version 2 0 2016 08 30 6 www autoditex com In case Channel B is selected for trigger source channel tap over Vertical axis for Channel B Slide over the touch screen in vertical direction for f...

Page 7: ...in horizontal direction allows you to capture what a signal did before a trigger event called pre trigger viewing In other words it determines the length of viewable signal both preceding and followin...

Page 8: ...o activity is detected Note To wake up device when it s in sleep mode and display is off just tap anywhere on the screen Turn off the device option specifies the time after the device will be turned o...

Page 9: ...ral cable the kind that s usually used for printers 1 Connect CarScope VISO and the computer using the USB cable 2 Select Data Management from CarScope VISO home screen 3 Wait the computer to recogniz...

Page 10: ...irmware file for example CSViso88 SUF with new firmware from the computer to X CSVISO FWUPDATE CSViso88 SUF on CarScope VISO X is the drive letter of the removable device 4 Go back to the home screen...

Page 11: ...r other hardware problem Hold the power button for at least 10 seconds to turn off the device and try again If the problem persists again than contact us Other not listed reason Remove the battery and...

Reviews: