background image

ENG

DEU

48

ENG

Displays

8.2 

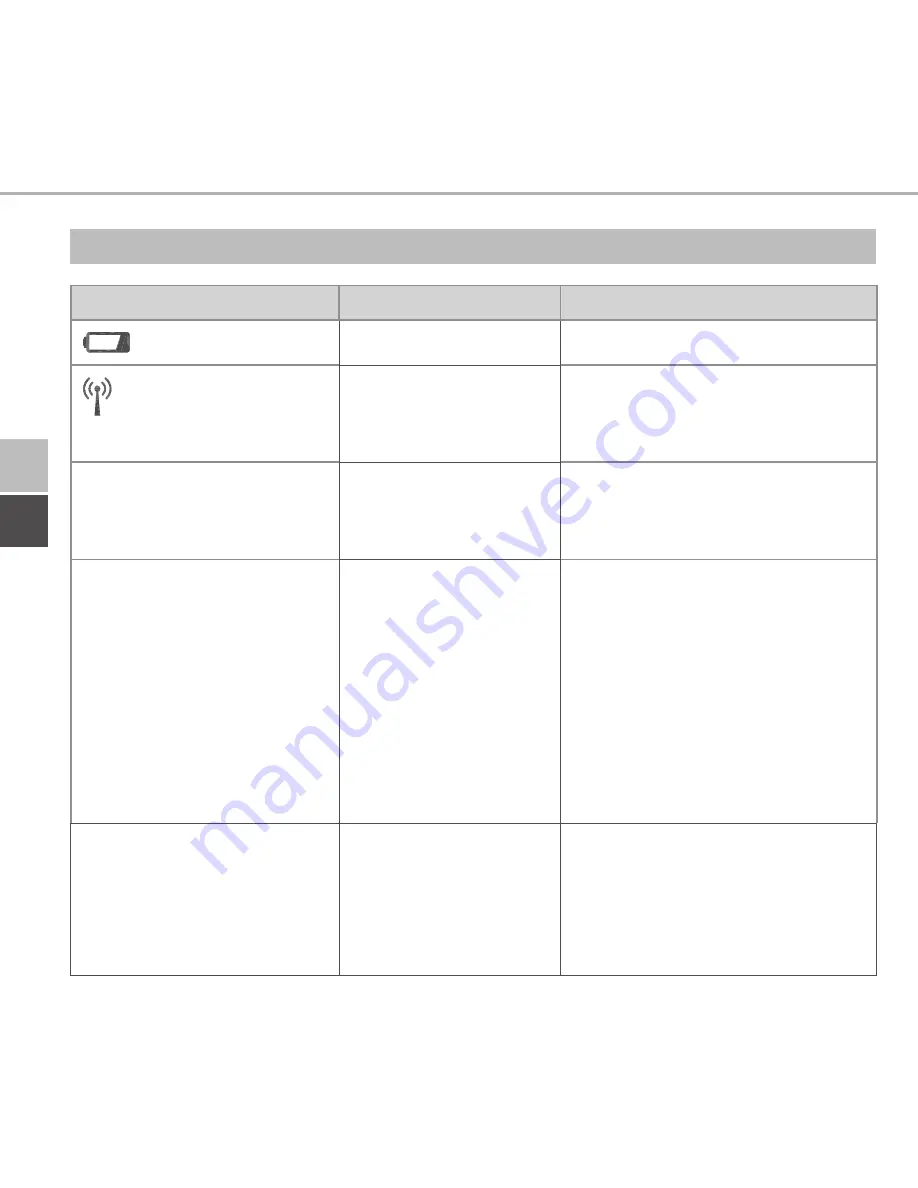
Error indications

Display

Meaning

Solution

Battery voltage low.

Change the batteries.

 (flashes)

Bad connection to 

the Central unit

Check the connection.

Short illumination in 

orange (after reception 

signal)

Batteries dead

Change the batteries.

Long illumination in red

Transmission error, 

transmission limit 

reached (duty cycle)

•  Re-send the command, in 

case of exceeding the duty 

cycle after one hour at the 

latest.

•  Check the device for a 

defect, e. g. mechanical 

blocking.

•  Eliminate radio interfer-

ence.

6 x long illumination 

in red

Device defective

•  Observe the indication in 

the app.

•  Have the device checked 

by a specialised dealer. 

•  Replace the device.

Summary of Contents for DT5638

Page 1: ...ENG DEU DT5638 134456 1812 Bedienungsanleitung Instruction manual DITECH Smart Home iL AP Raumbedienger t mit Display AP Room Control Unit Display...

Page 2: ...DEU 2 ENG DEU 6 3 4 29 1x 1x 2x 2x 2x 2x 3 0 x 30 mm 5 mm Key SGTIN QR 1x ENG...

Page 3: ...3 ENG DEU 150 cm 30 cm...

Page 4: ...DEU 4 ENG 2a 2b 2c 1 B C D E A...

Page 5: ...5 ENG DEU 3 4...

Page 6: ...bnahme 13 5 1 Ger t anlernen 13 5 1 1 Anlernen ohne Zentraleinheit Standalone Betrieb 13 5 1 2 Anlernen an DITECH Smart Home iL Zentraleinheit 14 5 2 Montage 15 5 2 1 Montage Aufputz 15 5 2 2 Montage...

Page 7: ...Luftfeuchtigkeit 21 6 1 9 Konfiguration der Basisstation 21 6 1 10 Verbindungstest 22 7 Bedienung 22 8 Anzeigen 24 8 1 Statusanzeigen 24 8 2 Fehleranzeigen 25 9 Batterien wechseln 26 10 Reinigen 26 11...

Page 8: ...ergabe der Anleitung Diese Anleitung gilt f r das DITECH Smart Home iL AP Raumbedienger t mit Display DT5638 Die Anleitung enth lt Informationen die f r die Inbetriebnahme und Be dienung notwendig sin...

Page 9: ...andere Verwendung nderungen und Umbauten sind ausdr cklich unter sagt Eine nicht bestimmungsgem e Verwendung f hrt zu Gefahren f r die der Hersteller nicht haftet und zum Gew hrleistungs und Haftungs...

Page 10: ...werden um so die Heizphasen indivi duellen Bed rfnissen anzupassen Das Raumbedienger t misst die Temperatur und Luftfeuchtigkeit im Raum und gibt diese zyklisch an die DITECH Smart Home iL Ba sisstat...

Page 11: ...Display C Display D Systemtaste Anlerntaste und LED E abnehmbares Stellrad Soll Ist Temperatur Luftfeuchte Warnung vor Betauung Fenster auf Symbol Batteriesymbol Funk bertragung Boost Modus Manueller...

Page 12: ...nsdauer 2 Jahre typ Schutzart IP20 Verschmutzungsgrad 2 Umgebungstemperatur 0 bis 50 C Abmessungen B x H x T 86 x 86 x 24 6 mm 32 mm Gewicht 110 g inkl Batterien Funkfrequenz 868 3 MHz 869 525 MHz Emp...

Page 13: ...ten Anlernen erfolgt die Konfiguration am Ger t beim Anlernen an die Zentraleinheit ber die DITECH Smart Home iL App 5 1 1 Anlernen ohne Zentraleinheit Standalone Betrieb Beim Anlernen einen Mindestab...

Page 14: ...nlernmodus zu aktivieren 9 9 Der Anlernmodus wird automatisch f r 3 Minuten aktiviert 9 9 Die Ger te LED blinkt orange Nach einem erfolgreichen Anlernvorgang leuchtet die LED gr n Leuchtet die LED rot...

Page 15: ...Den Anweisungen in der DITECH Smart Home iL App folgen 5 2 Montage Aufgrund des Batteriebetriebs kann der Montageort flexibel gew hlt werden Die Montage erfolgt aufputz per Schraubmontage mit den beig...

Page 16: ...eil k nnen f r die Montage auf einer Unterputzdose verwendet werden vgl Abb 2b auf Seite 4 1 Das Ger t falls erforderlich mit einem geeigneten Schraubendreher vom Monta geunterteil l sen vgl Abb 3 auf...

Page 17: ...nen 5 Das Ger t an der gew nschte Position horizontal ausrichten und festdr cken 6 Betriebsmodi und Konfiguration ber das Stellrad E vgl Abb 1 auf Seite 4 stehen am Ger t die Bedienfunktio nen zur Ver...

Page 18: ...eb Zur Aktivierung des manuellen Betriebs wie folgt vorgehen 1 Lange auf das Stellrad E dr cken um das Konfigurationsmen zu ffnen 2 Das Symbol ausw hlen und durch kurzes Dr cken Auswahl best tigen 3 S...

Page 19: ...hlen um die Bediensperre zu aktivieren oder OFF um die Bediensperre zu deaktivieren Auswahl durch kurzes Dr cken best tigen 6 1 5 Programmierung der Heizprofile Unter diesem Men punkt werden Einstell...

Page 20: ...des Stellrads E best tigen 4 Gew nschte Temperatur f r die Startzeit durch Drehen Dr cken ausw hlen und best tigen 5 Die im Display gezeigte Uhrzeit durch Drehen Dr cken des Stellrads ausw hlen und b...

Page 21: ...cken Auswahl best tigen 3 Stellrad drehen und gew nschten Offset max 3 5 C durch kurzes Dr cken des Stellrads best tigen 6 1 8 Auswahl der Temperaturanzeige Luftfeuchtigkeit Je nach Wunsch werden die...

Page 22: ...fung sendet das AP Raumbedienger t mit Display einen Schaltbe fehl an die Basisstation Je nachdem in welchem Schaltzustand sich die zugeordnete Heizzone befindet wird diese nach Erhalt des Befehls zu...

Page 23: ...ist das ber die DITECH Smart Home iL App eingestellte Heizprofil aktiv Im manuellen Betrieb kann die Temperatur am Ger t oder ber die App eingestellt werden und bleibt bis zur n chsten manuellen nderu...

Page 24: ...iv Keine Bedienung m glich Kurzes oranges Blinken Funk bertragung Sendeversuch Daten bertragung Warten bis die bertragung beendet ist 1x langes gr nes Leuchten Vorgang best tigt Mit der Bedienung fort...

Page 25: ...dung Batterien leer Batterien wechseln Langes rotes Leuchten bertragungsfehler Sendelimit erreicht Duty Cycle Den Befehl erneut senden bei Duty Cycle berschrei tung nach sp testens einer Stunde Ger t...

Page 26: ...ung Die Batterien durch neue ersetzen 1 Das Ger t vom Montageunterteil abnehmen vgl Abb 3 auf Seite 5 2 Auf der R ckseite die Batterien entnehmen 3 Zwei neue Batterien vom Typ LR03 Micro AAA entsprech...

Page 27: ...rung in den Batterief chern wieder ein setzen Gleichzeitig die Systemtaste C f r 4 Sekunden gedr ckt halten bis die LED schnell orange blinkt 4 Die Systemtaste C loslassen 5 Die Systemtaste C weitere...

Page 28: ...ronik Altger te ber die rtlichen Sammelstellen f r Elektronik Altger te zu entsorgen Dieses Handbuch ist urheberrechtlich gesch tzt Alle Rechte vorbehalten Es darf weder ganz noch teilweise ohne vorhe...

Page 29: ...ning 35 5 1 Teaching the device 35 5 1 1 Teach in without Central unit stand alone operation 35 5 1 2 Teaching in to Central unit 36 5 2 Installation 37 5 2 1 On surface installation 37 5 2 2 Installa...

Page 30: ...temperature display humidity 43 6 1 9 Configuration of Base station 44 6 1 10 Connection test 44 7 Operation 45 8 Displays 46 8 1 Status indications 46 8 2 Error indications 47 9 Changing the batterie...

Page 31: ...ons apply to the DITECH Smart Home iL room control unit Display DT5638 These instructions include information necessary for commissioning and operation These instructions must the read completely and...

Page 32: ...cation in the DITECH Smart Home iL System Every other use modification and conversion is expressively forbidden Improper use leads to dangers the manufacturer cannot be held liable for and to an exclu...

Page 33: ...time controlled way in order to adapt the heating phases to your individual requirements The room control unit measures the temperature and trans mits these data cyclically to the DITECH Smart Home i...

Page 34: ...C Display D System button teaching button and LED E Removable setting wheel Target actual temperature humidity Condensation warning Window open symbol Battery symbol Radio transmission Boost mode Man...

Page 35: ...e 2 years normally Protection type IP20 Contamination degree 2 Ambient temperature 0 to 50 C Dimensions W x H x D 86 x 86 x 24 6 mm 32 mm Weight 110 g including batteries Radio frequency 868 3 MHz 869...

Page 36: ...done via the DITECH Smart Home iL app 5 1 1 Teach in without Central unit stand alone operation For teach in keep a minimum distance of 50 cm between the devices The teach in process can be interrupt...

Page 37: ...the process 5 1 2 Teaching in to DITECH Smart Home iL central unit For a control via the DITECH Smart Home iL app the teaching in must of the DT5638 must be performed via the DITECH Smart Home iL cent...

Page 38: ...screws with the supplied adhesive strips or in a flush type box 5 2 1 On surface installation Select an appropriate installation position 1 Ensure that the installation position is free from hidden li...

Page 39: ...he flush type box 3 Install the installation bottom with suitable screws see fig 2b page 4 4 Position the room control unit Display onto the installation bottom and latch it into the clips see fig 3 p...

Page 40: ...to the DITECH Smart Home iL app 6 1 Configuration menu The configuration menu is opened by pressing and holding the setting wheel E The following symbols menus are available by rotating the setting wh...

Page 41: ...ting wheel in order to set the desired temperature 6 1 3 Holiday mode The holiday mode can be used if a fixed temperature shall be kept during a certain span of time e g for a vacation or during a par...

Page 42: ...of heating profiles This menu item allows to make settings for heating or cooling profiles and the cre ation of week profiles according to own requirements 1 Press and hold the setting wheel E in orde...

Page 43: ...ssing the setting wheel E 4 Select the desired temperature for the starting time by turning pressing and confirm 5 Select and confirm the time indicated in the display by turning pressing the setting...

Page 44: ...ture up to 3 5 C 1 Press and hold the setting wheel E in order to open the configuration menu 2 Select the symbol and confirm the selection by shortly pressing the set ting wheel 3 Turn the setting wh...

Page 45: ...meters ChAn are avail able in the configuration menu for the Base station these parameters allow the modification of the pump lead and follow up times setback temperatures time intervals and many othe...

Page 46: ...t manual change is made Manual and automatic operation Press the setting wheel for 3 seconds in order to change between manual and automatic operating mode In automatic operation the heating profile s...

Page 47: ...eration possible Short flashing in orange Radio transmission Transmission attempt data transmission Wait until the transmission has finished 1 x long illumination in green Process confirmed Proceed op...

Page 48: ...teries dead Change the batteries Long illumination in red Transmission error transmission limit reached duty cycle Re send the command in case of exceeding the duty cycle after one hour at the latest...

Page 49: ...dicates low battery voltage Replacing the batteries 1 Take off the device from the installation bottom see fig 3 page 5 2 Remove the batteries from the back side 3 Insert two new batteries type LR03 M...

Page 50: ...L central unit app 1 Ensure that the device is active 2 Delete the device from the app Stand alone operation 1 Take off the device from the installation bottom see fig 3 page 5 2 Remove the batteries...

Page 51: ...ctrical and Electronic Equipment at the local collection points for waste electronic equipment This manual is protected by copyright All rights reserved It may not be copied reproduced abbreviated or...

Page 52: ...134456 1812...

Reviews: