Discount Car Stereo A2DIY-GM3X Quick Start Installation Manual Download Page 7

Module pairing 

Pairing varies among devices but basic steps are the same. This process is done 
upon initial install and will not have to be repeated. 
 

1.


Turn ignition and r

adio “ON”


LED inside module peephole will flash rapidly (pairing mode) 

2.


Open device (e.g. Smartphone)

 Bluetooth Settings 


3.


Verify 

Bluetooth 

is enabled otherwise turn it on 

4.


Tap 

Scan or search for devices

5.


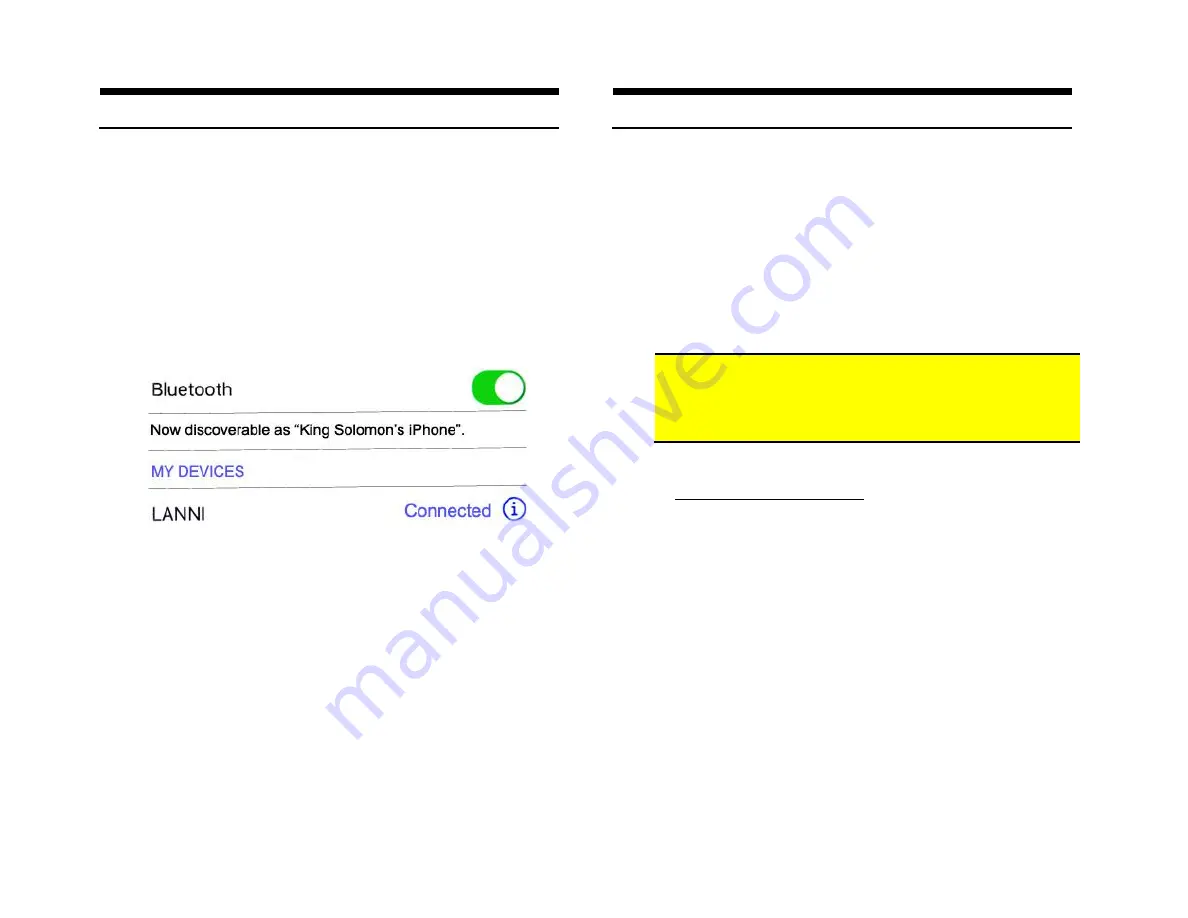
Wait for Bluetooth device name (See 

Fig. 19

) to appear and tap it. 

Once 

paired confirmation tone is heard on car speakers 


Fig. 19 

 
Noteworthy

: Renaming Bluetooth device to something of your choosing is 

possible on some Android devices and may not be possible on newer iOS 
devices. Please consult device manual.


Operation 


1.


Turn ignition and radio “ON”


2.


Press “

BAND

” or “

XM

” button on radio 


3.


Launch smartphone music streaming application   

4.


Use smart remote to change tracks, adjust device volume, pause etc.  

5.


Place test call or ask someone to call. Use push button to accept call 
(iPhone and Android) or press 

Pause/Play

 on smart remote (Android 

only)


6.


If correct operation is confirmed go ahead and reinstall radio. 


Warning:

 Caller ID and text are 

not shown on radio display

. Operate 

Bluetooth device via wireless remote control, VR (voice recognition) or 
smartphone built-in controls. Radio buttons can be used to adjust 
playback level


Listening to XM or AUX:


a. Press radio 

“BAND” or “XM”

 button  

b. Press media button 

Pause/Play


Control XM from radio buttons as customary.


2. To return to music streaming:  
Press pause/play on media button. 

Note:

 Music Streaming has priority once audio device is paired. 

XM/AUX playback is possible when audio device un-paired, out of 

Bluetooth range or enabled via the media button. 


Summary of Contents for A2DIY-GM3X

Page 1: ...Courtesy of DiscountCarStereo com Serving the internet community since 1995 A2DIY GM3X QUICKSTARTINSTALLATIONGUIDEFORGMCLASSIIWITHXMTUNERMODULE...

Page 2: ...18 regardless of subscription status If subscription has expired an AUX input jack is provided for users to connect and play portable audio devices such as MP3 players iPod etc If subscription is Act...

Page 3: ...r under driver kick panel and across to radio cavity and connect to module MIC jack See Fig 5 Be cautious not to damage or cut both microphone cable 7 Connect installation harness Red wire to 12V Acce...

Page 4: ...s without drilling A Flush to Dash or Panel drilling required 1 Drill a hole in the dash or panel using a step drill bit or equivalent See Fig 10 Fig 10 Step drill bit 2 Insert male terminal from supp...

Page 5: ...support bracket See Fig 15 using adhesive tape or screws included Fig 15 mounting bracket 2 Insert USB cable male terminal through hole in bracket See Fig 16 and connect to installation charging port...

Page 6: ...e Because the media button pairs with your Smart device it can also be used at home in the park or wherever you decide to play your tunes Operation Once paired with smart device e g Phone Tablet etc u...

Page 7: ...or XM button on radio 3 Launch smartphone music streaming application 4 Use smart remote to change tracks adjust device volume pause etc 5 Place test call or ask someone to call Use push button to acc...

Page 8: ...r module which is a metal box installed in remote area See Fig 18 XM Tuner Module is not built into the AM FM Radio in the dash don t ignore this 7 How do I listen to XM Press BAND XM button on radio...

Reviews: