


of
7
28
4. Setting up your DPC-5 Gen3 - Hardware Options
The DPC-5 Gen3 has several hardware options that we can access in the Setup menu. These options reconfigure the way the DPC
responds and change how its hardware functions work.
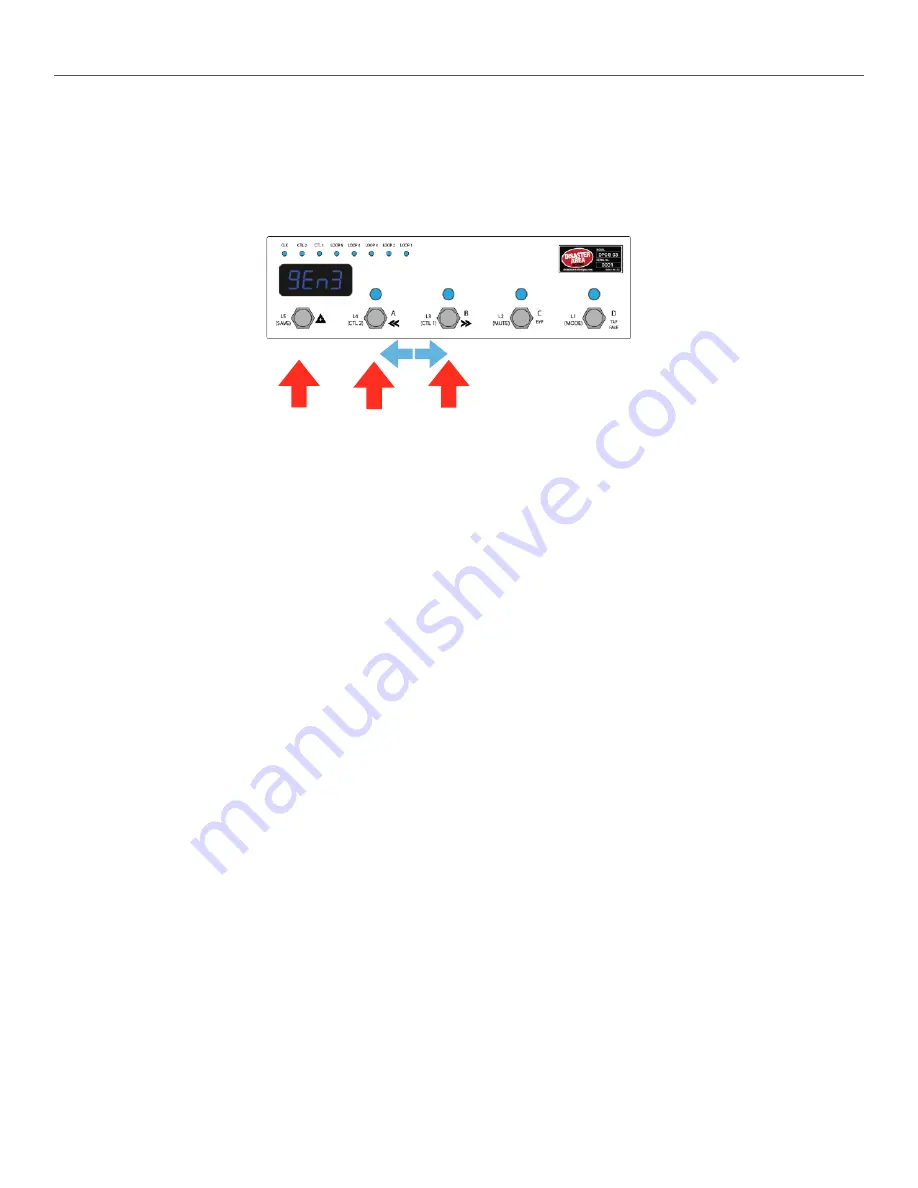
To enter the setup menu, power the DPC-5 Gen3 on and wait until you see “Gen3” on the display, then hold the A and B buttons. When
the display scrolls “SETUP” release the buttons. Once you are in the setup menu, tap the A and B buttons to select from the available
menus and tap the SAVE button to enter / exit the menus. Once you’re inside a menu, you can tap the A and B button to change the
menu options. When you’re done, hold SAVE to save the setup and start using the controller.
There are lots of setup options here, but we will focus on the ones that change how the loop switching and amp control functions work.
Loop 1 Buffer
Tap the A or B button until you see “BUFF.” This menu allows you to bypass or engage the signal buffer for Loop 1. The other loops
have their own buffer that is always engaged. Tap SAVE to edit the buffer, then tap A or B to change the buffer setting. If you’re using a
vintage fuzz in Loop 1, set this to “bOFF.” Otherwise leave it as “b ON,” and tap SAVE to exit the setup menu.
Loop Pop-Stopping
Next, we have the loop pop-stop function, labeled as “POP.” This menu has four settings:
OFF
- no noise reduction
p LO
- the main output will mute for a very short time when loops are changed
pMED
- the main output will mute for a slightly longer time when loops are changed
p HI
- the main output will mute for the maximum time when loops are engage.
By default, POP is set to p LO. This will generally silence any troublesome pedals, preventing them from popping or clicking when you
change presets. If the delay bothers you, set POP = OFF. In most cases the popping won’t be objectionable even with noise reduction
disabled, but if the popping or clicking is irritating, increase POP until it stops.
Tuner Mute
The DPC-5 has a hardware tuner output, which is a buffered copy of the signal from the main input. The tuner output is always active,
and you can engage the DPC-5 hardware tuner mute from most modes by holding the C button. This will silence the main output but
the tuner output stays active.
Optionally, if one of your MIDI pedals is equipped with a tuner function (Eventide H9, Pitchfactor, Line 6 M-Series, Zoom MultiStomp,
Atomic AmplifFIRE and some others) then the DPC-5 Gen3 can activate this instead. If you plan to use one of your MIDI pedals for
tuning, we recommend that you place it either before or after the DPC-5, and not in one of its loops.
The tuner mute menu is labeled “TUNR.” It has five settings:
MUTE
- activating the tuner mute will silence the main output, allowing you to tune by using the hardware tuner out
tunA
- use the “A” device at MIDI channel 1 for tuning.
tunB
- use the “B” device at MIDI channel 2 for tuning.
tunC
- use the “C” device at MIDI channel 3 for tuning.
tunD
- use the “D” device at MIDI channel 4 for tuning.
Please note that the selected device must have a tuner function for this option to have any effect! If your device doesn’t have a
tuner, there’s no way we can use it to tune! The DPC-5 Gen3 will engage preset zero when you invoke the tuner, so make sure
that preset has all of your devices bypassed to ensure a good clean signal for tuning!
Disaster Area Designs
DPC-5 Gen3
TAP TO ENTER / EXIT MENUS
HOLD TO SAVE AND EXIT SETUP
TAP TO CHANGE MENU OPTION
HOLD DURING BOOT TO ENTER SETUP


