DIHL VC-HH216 Instructions Manual Download Page 1

Important Safeguards

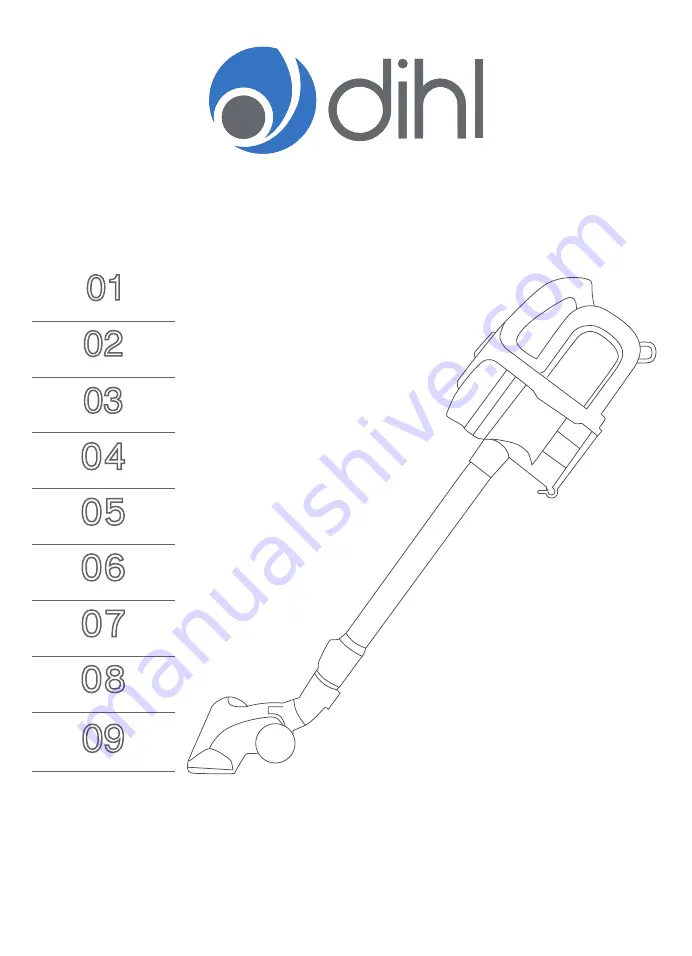
Parts and Accessories

How to Assemble

Charging

Technical Specifications

Troubleshooting

Cleaning

How to Use

1.

2.

3.

Please read the instructions and warranty information carefully before use and keep them 

handy for future reference.

The appliance may only be operated in accordance with these instructions.

Specifications, design and dimensions are subject to change without prior notice.

Important Notice

Cyclonic Vacuum Cleaner

VC-HH216

For household use only

Summary of Contents for VC-HH216

Page 1: ...ase read the instructions and warranty information carefully before use and keep them handy for future reference The appliance may only be operated in accordance with these instructions Specifications...

Page 2: ...op or bundle the power cord Do not pull on the power cord when removing the plug from the socket Children should be under supervision to ensure that they do not play with the appliance Never clean the...

Page 3: ...brush or telescopic extension tube After removing the obstruction leave the appliance to cool down until the thermal cut out resets approximately 60 minutes depending on the surrounding ambient temper...

Page 4: ...r brush position switch Telescopic extension release button Telescopic extension Air inlet Body Dust tank release switch On off switch 2 in 1 brush tool Dust tank empty lever Exhaust filter housing Re...

Page 5: ...air inlet Push the floor brush attachment onto the end of the telescopic extension Adjust the telescopic extension tube to the required length by pressing the telescopic extension tube button and slid...

Page 6: ...saving purposes Always unplug the mains power adapter after fully charging the vacuum cleaner Do not use any mains power adapter other than supplied as this could damage the unit or cause an electric...

Page 7: ...nd dirt from corners skirtings or other places that are hard to reach The small brush is good for cleaning curtains shelves books and other delicate objects STEP 1 STEP 2 STEP 3 NOTE Press the on off...

Page 8: ...ag Shake the dust tank gently to remove any remaining dust To close the dusk tank again simply push the lid closed until it locks back into place STEP 6 Replace the dust tank by aligning the bottom wi...

Page 9: ...ance Ensure that the filter is kept clean and is cleaned after every removal of the dust tank You can remove the central filter to access the inside of the dust tank for cleaning STEP 1 Remove the dus...

Page 10: ...has dried fully slot it back into the filter housing then place the housing back into the dust tank NOTE Do not clean the removable filter using detergent Do not use external heat sources such as a ra...

Page 11: ...period or a professional repair centre if not Loss of suction The appliance will not switch on Problem Possible Cause Solution Battery is depleted The thermal cut out device tripped Full or clogged du...

Page 12: ...HL S OR THE SUPPLIER S RETAILER S LIABILITY EXCEED THE AMOUNT YOU PAID FOR THE PRODUCT Specifications design and dimensions are subject to change without prior notice IMPORTANT NOTICE 09 WARRANTY DISP...

Reviews: