18
●
OSD Main Menu for Other User (1, 2, 3)
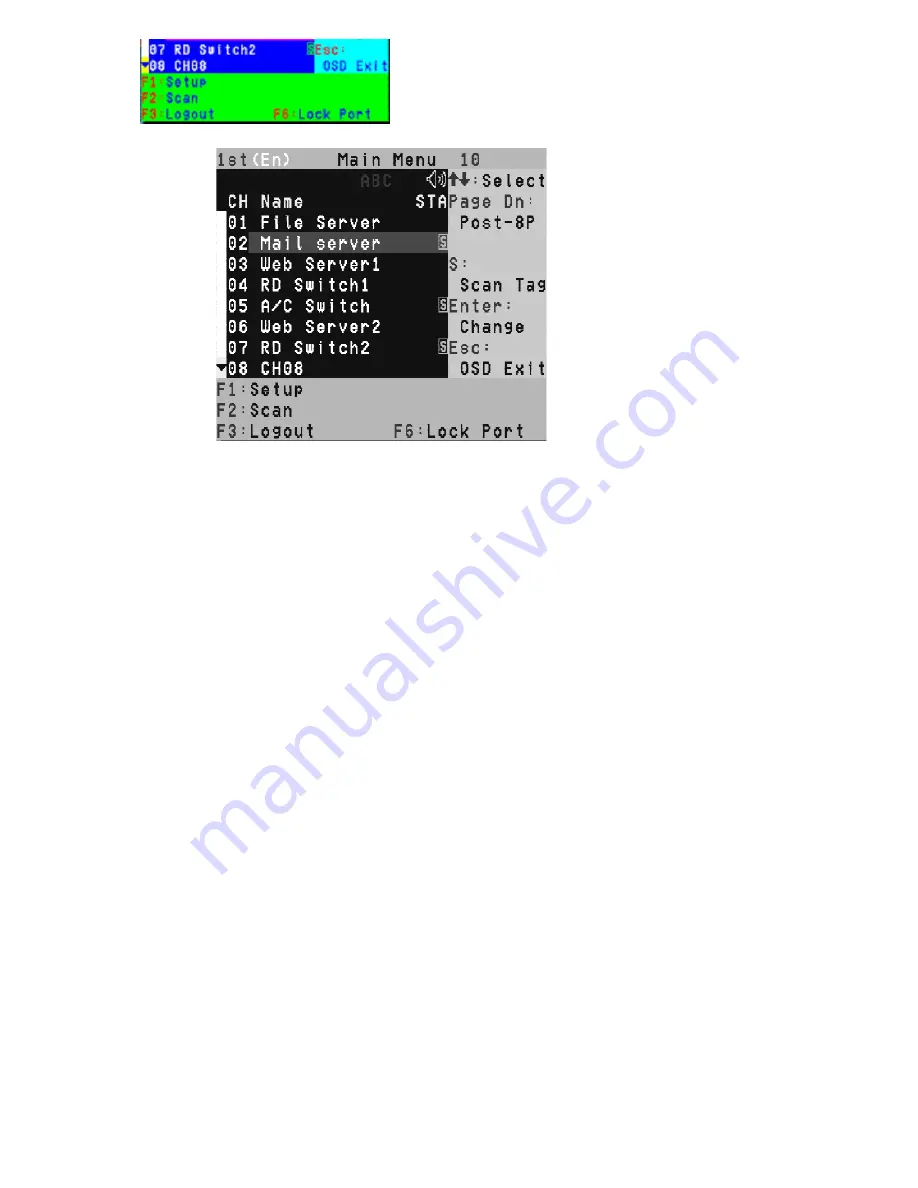
Figure 9 : User OSD
By pressing <
Scroll Lock
> twice and <
Enter
>, you will see an OSD '
Main Menu
'
popped up in the screen with channel number, names and other status and other
function keys, please see
figure 8 above
.
The channel of the currently selected
computer is displayed in the top right corner and a highlighted pink bar shown in the
selected channel row. The sign
¿
is displayed if computer has power on and ready
for being selected (its corresponding front panel indicator is green). If it doesn’
t
appear
¿
sign, it means no computer connected or no powered up. OSD menu will
update the sign
¿
when computer is activated. Use the <UP> and <DOWN> arrow
keys to highlight a computer and the <ENTER> to select it and leave OSD menu. Or,
you can press <ESC> to exit OSD menu.
A plus mark (+) showing in the left of a name indicates that the port has cascades.
The number at the up-left corner (below KVM layer number) shows the number of
port for the upper layer, i.e. 8 means link from upper KVM 8. If in master layer it will
show blank. <ENTER> brings you one level down and the screen pops up listing
the names of the computers on the
Slave KVM
. The name of the
Slave
will be
shown at the OSD menu. It is useful to group computers and still be able to see the
group name. Press <R> will return to upper layer OSD menu. Press <ESC> to
exit OSD and to return to the selected computer; the computer name is also shown
on the screen with a left-up banner.
Summary of Contents for 8/16-Port Combo KVM OSD Switch For Usb And PS/2
Page 1: ...User Manual ...
Page 11: ...11 Fig 6 ...


