background image

First start 

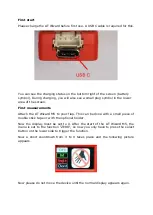
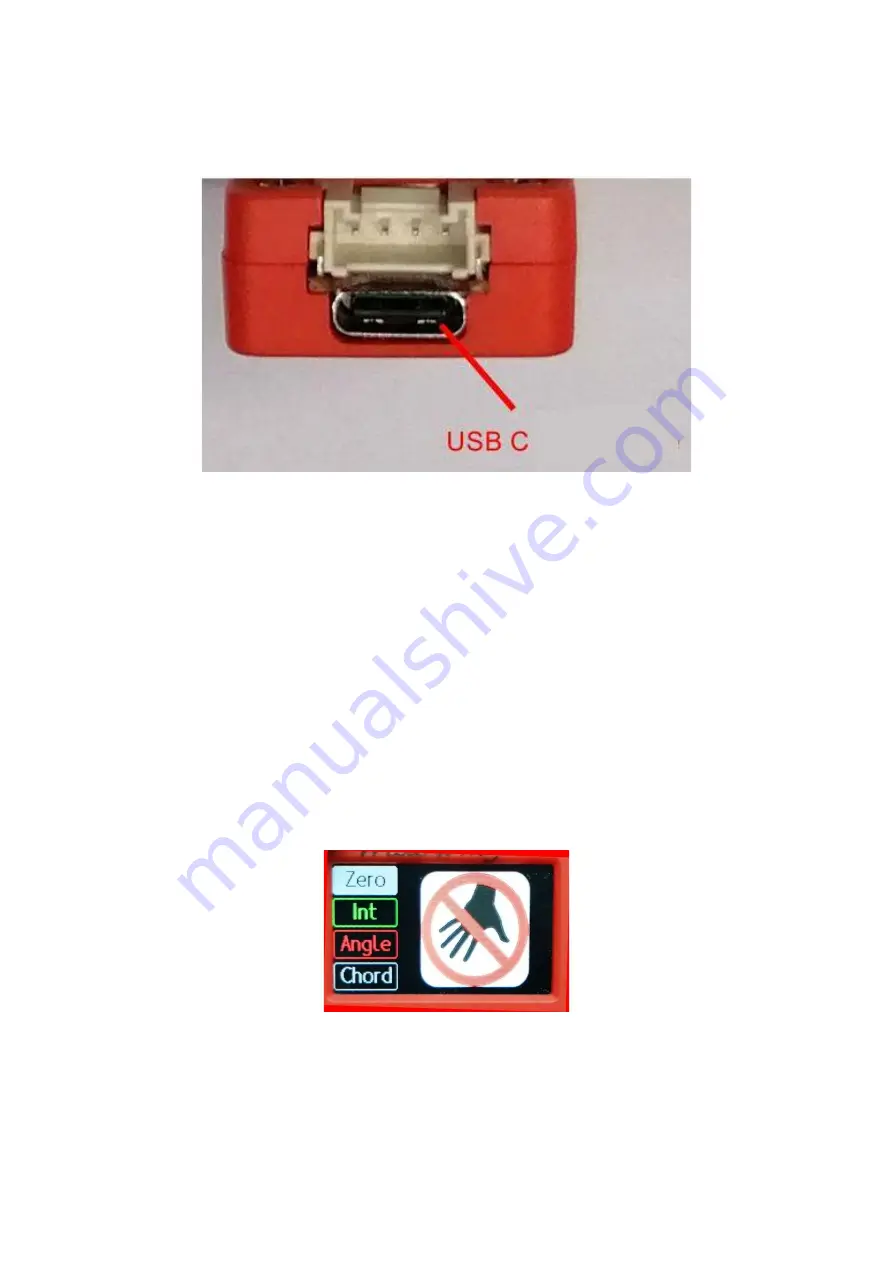
Please charge the AT Wizard before first use. A USB C cable is required for this. 


You can see the charging status on the bottom right of the screen (battery 
symbol). During charging, you will also see a small plug symbol in the lower 
area of the screen. 

First measurements 

Attach the AT Wizard M5 to your flap. This can be done with a small piece of 
double stick tape or with the optional holder. 

Now  the  display  must  be  set  to  0.  After  the  start  of the  AT  Wizard  M5,  the 
menu is set to the function "ZERO", so now you only have to press the select 
button on the lower side to trigger the function. 

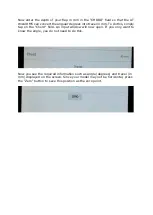
Now  a  short  countdown  from  3  to  0  takes  place  and  the  following  picture 
appears. 


Now please do not move the device until the normal display appears again.  


Summary of Contents for AT Wizard M5

Page 1: ...nd Apple IOS systems Normally all smartphones and tablets should work as long as they support the low power operation of Bluetooth It should work with Bluetooth from version 2 1 Download the app for Android or IOS Search for the app AT Wizard in the respective stores Android or Apple and install it If you are asked for location sharing permission when you first start it please enable it This is un...

Page 2: ... A further press of approx 6 seconds will swicth the device off again By pressing the menu key you can select the functions These are Zero Set Display to 0 INT Switching between 1 1 or 1 10 degree or mm Angle Switching between angle and travel Chord Enter the depth oft he flap in mm to convert angle to travel Pressing the select key selects the respective function ...

Page 3: ...ents Attach the AT Wizard M5 to your flap This can be done with a small piece of double stick tape or with the optional holder Now the display must be set to 0 After the start of the AT Wizard M5 the menu is set to the function ZERO so now you only have to press the select button on the lower side to trigger the function Now a short countdown from 3 to 0 takes place and the following picture appea...

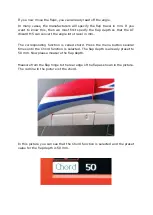
Page 4: ...nto travel in mm The corresponding function is called chord Press the menu button several times until the Chord function is selected The flap depth is already preset to 50 mm Now please measure the flap depth Measure from the flap hinge to the rear edge of the flap as shown in the picture The red line in the picture ist the chord In this picture you can see that the Chord function is selected and ...

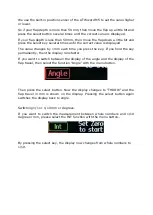
Page 5: ...s the key If you hold the key permanently then the display runs faster If you want to switch between the display of the angle and the display of the flap travel then select the function Angle with the menu button Then press the select button Now the display changes to THROW and the flap travel in mm is shown on the display Pressing the select button again switches the display back to angle Switchi...

Page 6: ...ease do not try to install the AT Wizard M5 or its Bluetooth connection manually via the Bluetooth Manager Just start the app and switch on the AT Wizard After starting please activate the communication to the AT Wizard M5 To do this tap on the Connect slider then your smartphone will search for the AT Wizard and the display will change from Disconnected to Connected After that a value is shown on...

Page 7: ... To do this simply tap on the Chord field An input window will now open If you only want to know the angle you do not need to do this Now you see the required information such as angle degrees and travel in mm displayed on the screen Since your model may not be horizontal press the Zero button to save this position as the zero point ...

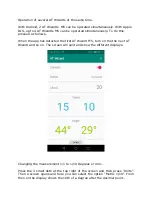
Page 8: ...en the app has detected the first AT Wizard M5 turn on the the next AT Wizard and so on The screen will split and show the different displays Changing the measurement 1 1 to 1 10 degrees or mm Press the 3 small dots at the top right of the screen and then press Units Then a screen opens and here you can select the option Metric 1 10 From then on the display shows the 10th of a degree after the dec...

Page 9: ...detection must be turned on tu use the app After installing the AT Wizard app the following change only needs to be made once on Android 9 10 Go to Settings Apps Tap Apps at the very top and find the AT Wizard app Tap on the app and the app info will appear Tap on permissions here Now tap on Location and change the setting to Allow access only while using the app ...

Page 10: ...1 M5 button and hold 2 secondary button and hold 3 power button and hold 4 You will hear a series of beeps 5 Lay the device flat on its back on a level surface you will see the following screen and a red bar is slowly timing out from right to left 6 7 After the Red line timing out turn the device on ist side see picture 8 As soon the red line is also timed out turn the device upwards with the USB ...

Page 11: ...ssible the consumer is requested to take used and defective devices to the public collection points for electronic waste The sign of the crossed out wheeled garbage can means that this product must be taken to a collection point for electronic waste Die CE Erklärung des Herstellers Digitech liegt uns vor diese können wir Ihnen auf Anforderung gerne zusenden ...

Reviews: