Change the text YOUR PASSWORD HERE (below the Yellow line in the image) to whatever the Password of
your office network is set to. This text will be case sensitive and make sure you do not delete the
apostrophe character ' at the end of the line.
Once you have edited the Macro file for your network settings, save the file and in Tera Term select
Control>Macro and then select the file that you edited. You will immediately see a small pop up window
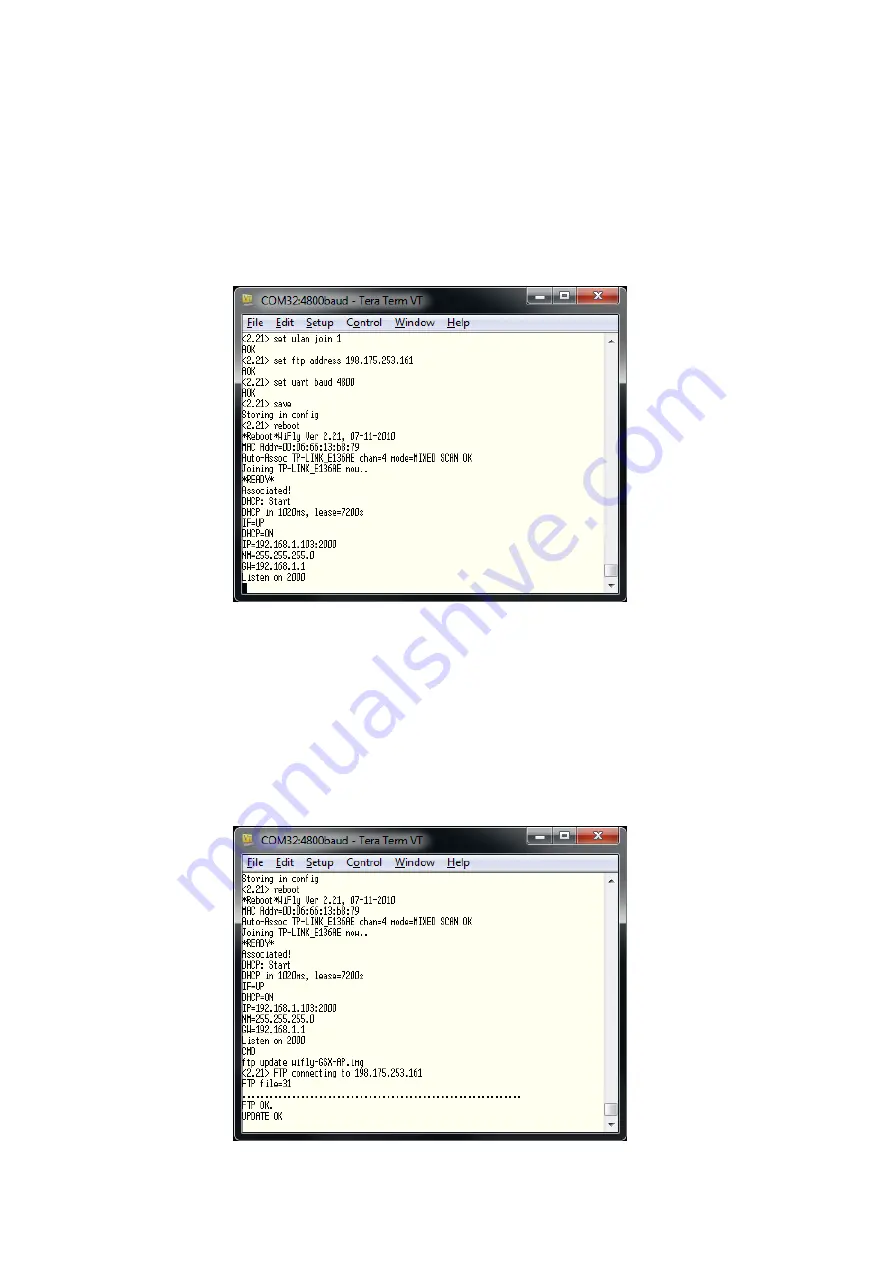
asking if you want to Start the WLN10 update. Click the OK button to start the process. You should now see
some commands being sent to the WLN10 and after a few seconds you should see a screen like the one
below and a pop-up window that is asking you to "Click OK if the WLN10 has rebooted in DHCP Mode".
If you can see the text "Associated !" then you know that the WLN10 has correctly connected to your
network and it should have an IP address (IP), a subnet mask (NM) and a Gateway address (GW) if it is to
connect to the internet OK. Assuming that all of these values are OK, click the OK button to start the FTP
transfer. You should now see an FTP transfer start and a series of dots will gradually display across the
screen to show the status. If everything works OK, then the WLN10 should display the text UPDATE OK as
shown in the image below.
On the pop-up window that has appeared, click the OK button if the update was successful.


