


Installation
Page 50
4.6 Changing the password
Following configuration of the transceiver the password should be changed from its default value of ‘00000000’
to another eight digit code. Password change is carried out by selecting the main menu ‘
Installation’
menu, then
high-octane
password’
submenu.
A prompt for the existing password will be shown, followed by entry of the new password then confirmation of
the new password before the new password is stored and active. The password should be recorded on the
installation record found in section 8.
4.7 Confirming correct operation
Following entry of the vessel identification and voyage related information the transceiver will commence
normal operation. To complete the installation correct operation should be verified as follows:
1.
Exit the menu system and return to the main operating screens. Press the '
Screen'
key until the ‘Own
dynamic data’ screen is displayed.
2.
Check that the displayed position, course, speed and heading are correct by comparing to the display
associated to the connected position and other data sources.
3.
Check that the status icon display shows ‘
OK
’ and that the ‘
TX’
icon flashes periodically.
4.
If the vessel is in an area where other AIS equipped vessels are present press the ‘
Screen
’ key until
the ‘
Target list'
screen is displayed. Check that data from other AIS equipped vessels is displayed.
The
Smarter Track Class A
transceiver is now operational and should remain powered unless authorised by
the local maritime authority. The installation record at the rear of this manual should be completed and left on
board the vessel.
4.8 Regional area settings
The transceiver can be manually programmed with regional area settings. These settings control the AIS radio
channel and transmission settings within a predefined area. Regional settings can also be remotely configured
by the local maritime authority via transmissions from an AIS base station. Manual entry of regional area
settings should only be carried out if required by the local maritime authority.
The transceiver can store eight regional area settings including both remote and manual entries.
4.8.1
Creating a new regional area setting
To enter a new regional area setting press the
‘Menu'
key and select the
‘Installation'
and then the
‘Regional
areas’
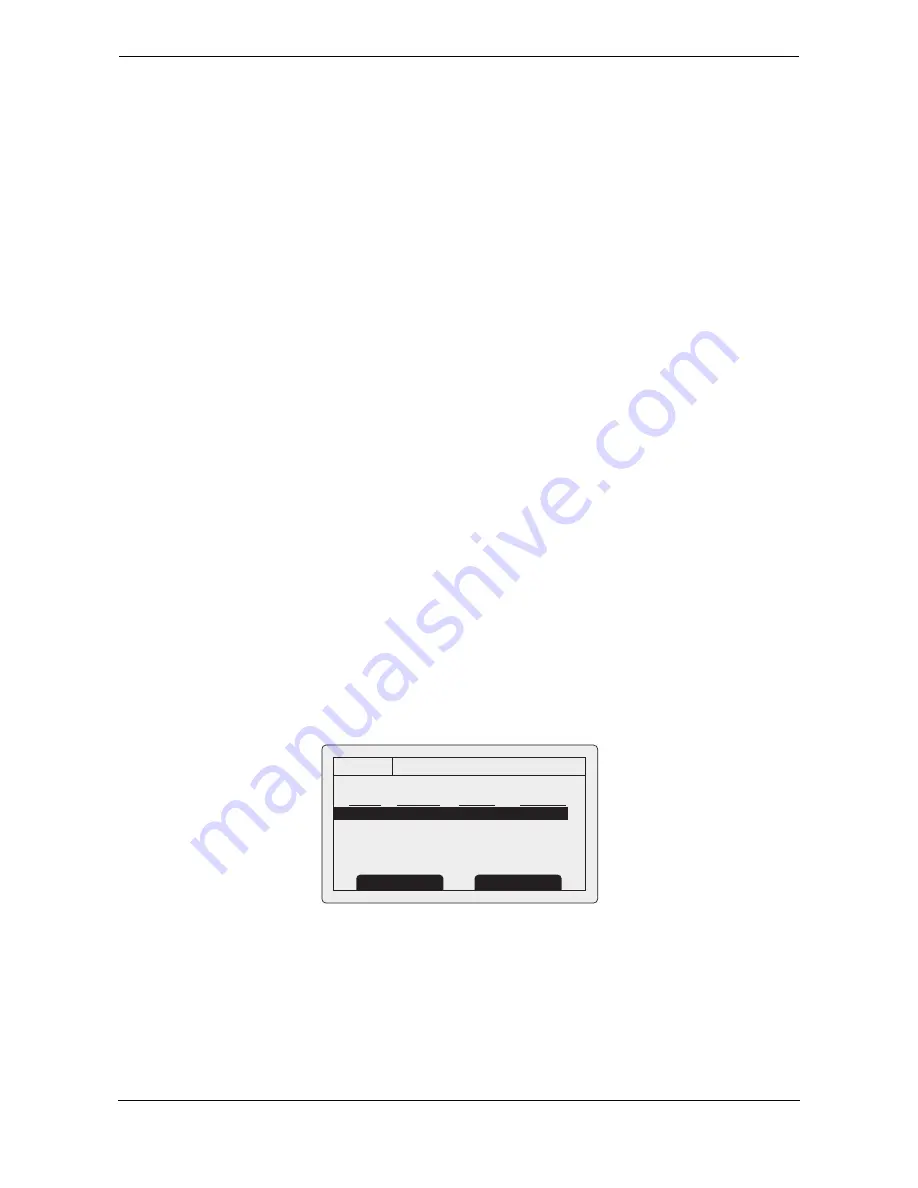
sub-menu. The display now shows a list of the current regional area settings as shown in Figure 50.
Figure 50 Regional areas list screen
13:20:47
REGIONAL AREA SET TINGS:
Lat NE Long NE Lat SW Long SW
> --°--N
---°--E
--°--N ---°--E
OK
GPS
INT
Edit
New


