To change the TV out format:
1. Open the Display Screen and press the Snapshot or Record button to turn on the
camera.
2. Use the OK button on the Navigation Pad to go to the Main Menu.
3. Press the Down Arrow button until Setup is highlighted and press the OK button to select.
4. From the Setup Menu, use the Up and Down Arrow buttons to highlight TV Out and
Lighting and press the OK button to select.
5. Use the Up and Down Arrow buttons to highlight either NTSC or PAL.
6. Press the OK button to set the TV out format.
Using the camera’s TV out feature
With the TV-out feature, you can use a regular TV to share your videos/pictures with
friends & family. You will need the TV-out cable included with your Digital Movie Creator
to use this feature.
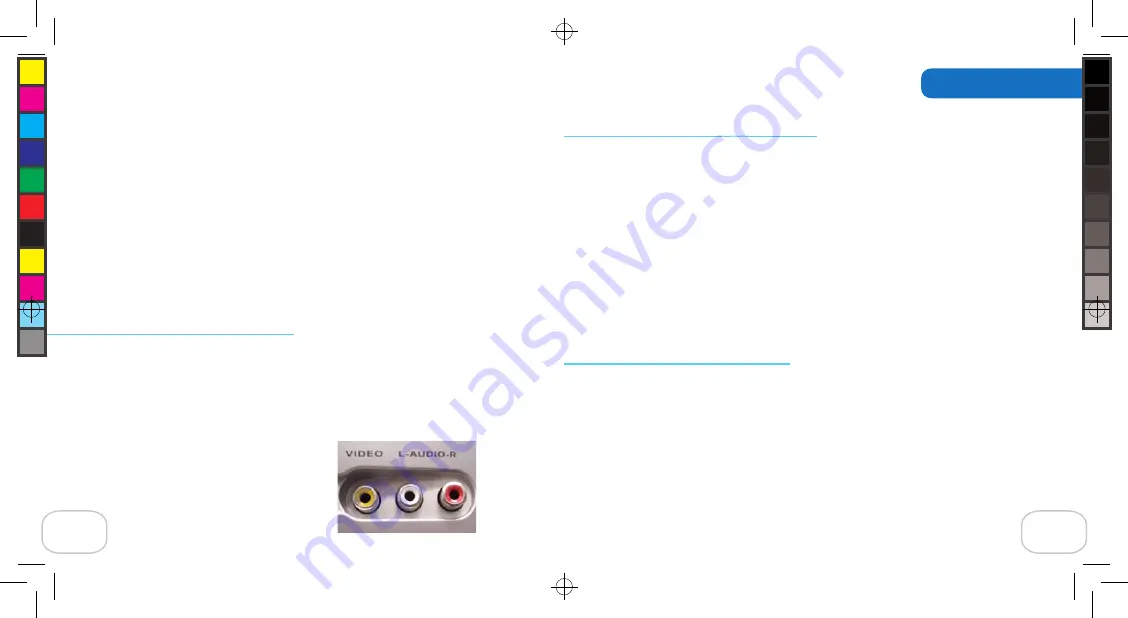
To connect your camera to a TV:
1. Carefully pull back on the top end of the cover and swivel it out of the way.
2. Locate the Audio/Video inputs on your TV.
20
To delete all items on the camera at once:
1. Open the Display Screen and press the Snapshot or Record button to turn on the camera.
2. Use the OK button on the Navigation Pad to go to the Main Menu.
3. Press the Down Arrow button until Delete is highlighted and press the OK button to select.
4. From the Delete Menu, highlight Delete All using the Down Arrow button and press the OK
button to select.
5. When asked to confirm that you want to delete all, use the Down Arrow to highlight “Yes.”
Press the OK button to select.
6. All items are now deleted.
To protect items from being deleted:
1. Open the Display Screen and press the Snapshot or Record button to turn on the camera.
2. Use the OK button on the Navigation Pad to go to the Main Menu.
3. Press the Down Arrow button until Playback is highlighted. Press the OK button to select.
4. Your first image or a still image of the first frame of your first video will be shown on the
Display Screen.
5. Use the Right Arrow button to scroll through images and videos until you see the item you
want to protect.
Using the Camera
13
D M C 3 _ 1 0 0 6 0 6 R S 0 4 . i n d d ,
S p r e a d
1 5
o f
1 8
-
P a g e s
( 2 2 ,
1 5 )
1 0 / 1 4 / 0 6
4 : 3 6


