


34
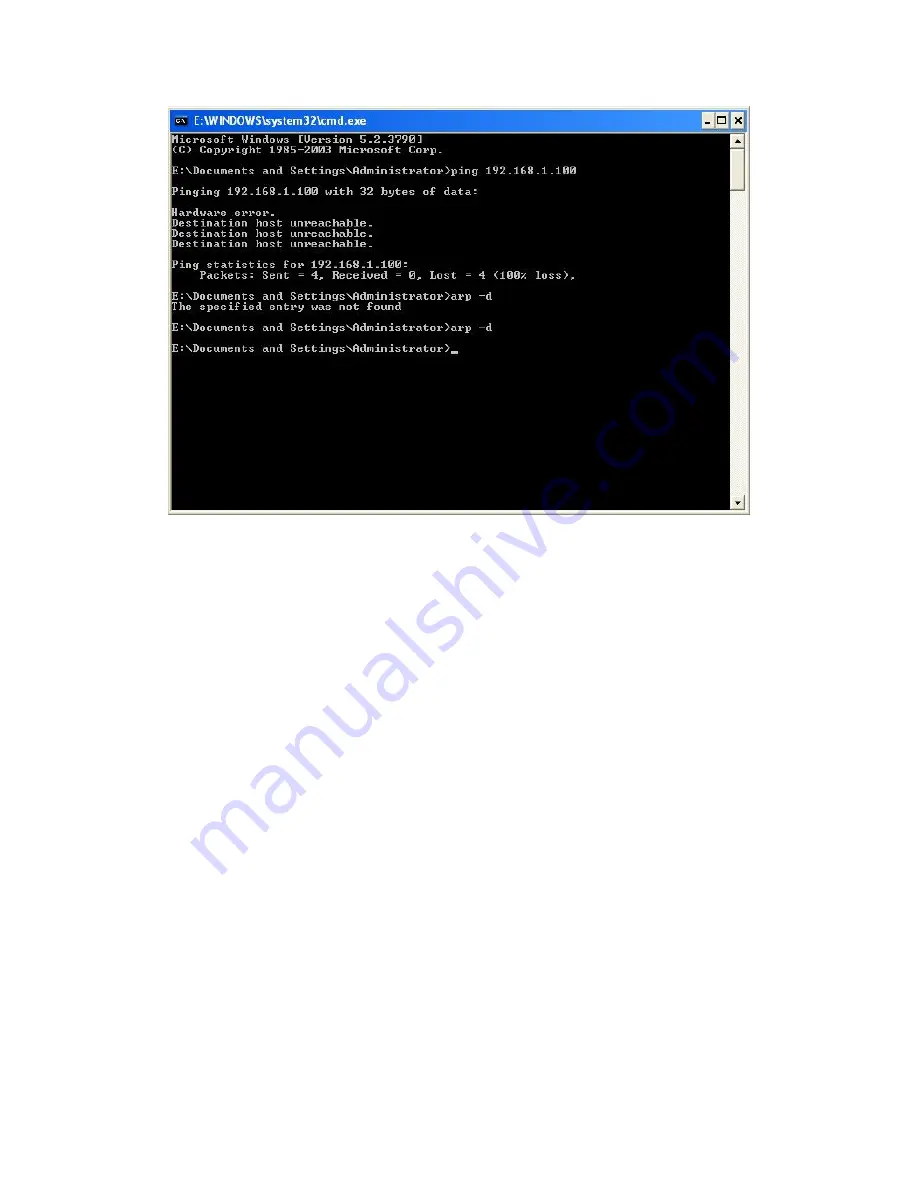
Image 6.9 run “arp -d”
4, After the operation the operation to the printer on again, this time to go up
the interface shown in “image 6.9” ping the printer, the format for ping ip
address (eg ping 192.168.1.100), as shown in “Image 6.10”. As follows after
the ping can reply to the white box shown in “Image 6.10” below, compared
with the printer and the computer can be connected. You can now keep up with
bit machine connection is normal for normal printing.
Summary of Contents for POS-7650
Page 1: ...80mm Series Thermal Receipt Printer Instruction Manual...
Page 14: ...11 8 Finish the driver installation as below...
Page 15: ...12 5 2 1 USB Port Connection If your desired port is USB 1 Open Properties then choose Ports...
Page 18: ...15 Open Properties then click Ports 2 Select Add Port we can see below jpg...
Page 19: ...16 3 Click Next 4 Next and choose Generic Network Card then click Next...
Page 20: ...17 5 Next 6 Click Finished and we can check the added ports as below jpg...
Page 23: ...20 2 Select COM1 Configure Port default setting as below jpg...
Page 47: ...44 Image 2 3 In Printer X will search BlueTooth Printer Image 3...


