background image


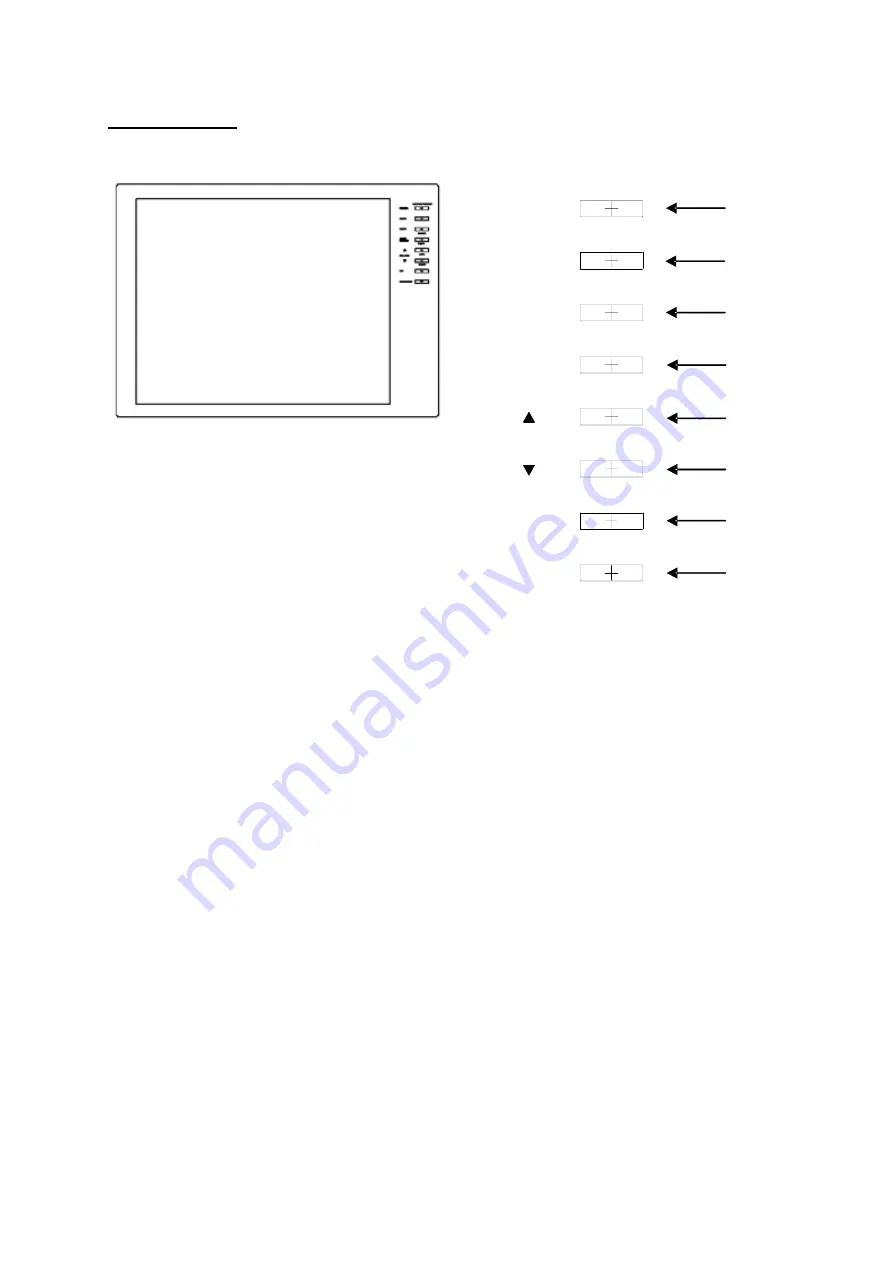
Front Controls 


1. 

POWER  

AUTO

CONFIG

DISPLAY ON/OFF

MENU

MODE

VOLUME

POWER

PIP

ENTER

LEFT

RIGHT

CH SELECT

MUTE

1

2

3

4

5

6

7

8

This button is used to power ON/Off the display.  


2.   MENU  
  

This button brings up the On Screen Display (OSD) Menu to allow for changes to Brightness, 
Contrast, H-Position, and V-Position. 


3.   MODE / ENTER 

When pressed in the normal state, it allows you to switch between VGA to Composite. If 
connecting to a PC, change the input to ‘VGA’. 
When in the menu settings, this button is used to select an item to change as well as to confirm 
once the change has been made. 


4.   AUTO CONFIG / MUTE 

When in the VGA Mode, this button will adjust SIZE, BRIGHTNESS, and CONTRAST to optimal 
settings. 
When in the NTSC mode, this button is used to mute the audio input. Pressing MUTE again will 
restore the audio. 


5.   VOLUME /


 / LEFT 

When the normal display screen is showing, this button allows you to increase the speaker 
volume.  
When in the menu screen, this button allows you to move to the LEFT. 
When in the VGA mode, this button allows you to adjust the CONTRAST. 
 

6. VOLUME 

 / RIGHT 

When the normal display screen is showing, this button allows you to decrease the speaker 
volume.  
When in the menu screen, this button allows you to move to the RIGHT. 

Summary of Contents for DM17TS

Page 1: ...17 Inch Flat Screen TFT Professional Monitor Model DM17TS Installation User Manual Digimerge Technologies Inc...

Page 2: ...und to comply with the limits for a Class B digital device pursuant to part 15 of the FCC Rules These limits are designed to provide reasonable protection against harmful interference in a residential...

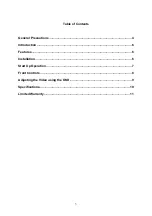
Page 3: ...Table of Contents General Precautions 4 Introduction 6 Features 6 Installation 6 Start Up Operation 7 Front Controls 8 Adjusting the Video using the OSD 9 Specifications 10 Limited Warranty 11 3...

Page 4: ...a built in installation such as a book case or rack unless proper ventilation is provided or the Manufacturer s instructions have been adhered to 10 Power Source This product should be operated from t...

Page 5: ...es a need for service 18 Replacement Parts When replacement parts are required be sure the technician uses replacement parts specified by the manufacturer Unauthorized substitutions may result in fire...

Page 6: ...both a desk mount stand and rack mount ears If using the desk mount secure the mount to the bottom of the monitor using the screws provided If rack mounting secure the rack mount ears to each side of...

Page 7: ...ont of the unit to turn on the display 3 Press the MODE button to choose between NTSC or VGA depending on your desired operation 4 If using NTSC mode use the CH SELECT button to select the switch betw...

Page 8: ...to change as well as to confirm once the change has been made 4 AUTO CONFIG MUTE When in the VGA Mode this button will adjust SIZE BRIGHTNESS and CONTRAST to optimal settings When in the NTSC mode thi...

Page 9: ...t the level selected option Example To increase the Brightness level press the RIGHT button 6 Once the change has been made press the ENTER button to Save 7 Repeat steps 2 6 to make changes to other o...

Page 10: ...64 H x 0 264 V mm Viewing Angle L R T B 70 70 60 60 degrees Resolution max 1280 x 1024 pixels Backlight 2 dual CCFT General Input Voltage 100 240 VAC 50 60 Hz automatic switching Input Signal Composit...

Page 11: ...DED UNDER THIS LIMITED WARRANTY IS THE EXCLUSIVE REMEDY OF THE PURCHASER DIGIMERGE SHALL IN NO EVENT BE LIABLE FOR ANY SPECIAL INDIRECT INCIDENTAL PUNITIVE OR CONSEQUENTIAL DAMAGES OF ANY KIND OR CHAR...

Page 12: ...Digimerge Technologies Inc 300 Alden Road Markham Ontario L3R 4C1 www digimerge com rev01 12...

Reviews: