Document Title:
Remote Tomo5 operation guide for eBIC microscopes
Author(s):
Kyle Morris
Julika Radecke
Andrew Howe
Version:
2.0.3
Date:
27 Jun 2022
If you have any questions at any point during set-up, please ask your Local Contact for assistance Page 15 of 29
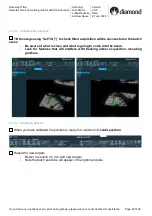
If Tomo still fails to automatically find eucentric height, you can use manual eucentric height
calibration:
-
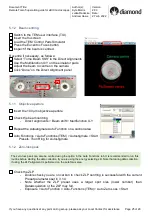
Centre over a reasonably large ice crystal in Overview mag in the Tomo preparation
tab,
then switch to the ‘Set’ flap out tab in the Stage control of the Microscope User
Interface.
-
Set alpha to -30 deg and adjust z-value to re-centre the crystal using the flu screen
image.
-
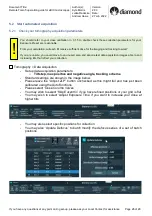
Selecting “high resolution” and “high contrast” settings in the Microscope User Interface
will make this easier (buttons at the bottom of the Flu Screen window).
3.2.3 Target a feature for Image Shift calibrations
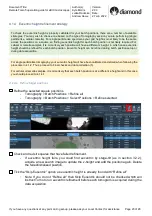
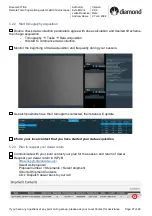
Centre the stage on the feature
-
Collect a preview using the Atlas Preset: Preparation > Preset: Atlas > Preview
-
Right click on feature > Move stage here
Check the feature is aligned at higher magnification Presets
1) Collect a preview using the Overview Preset
Preparation > Preset: Overview > Preview
2) Check the feature remains centred, right-click > Move stage here, if necessary
3) Collect a preview using the Search Preset
Preparation > Preset: Search > Preview
4) Check the feature remains centred, right-click > Move stage here, if necessary
5) Collect a preview using the Exposure Preset
Preparation > Preset: Exposure > Preview
6) Check the feature remains centred, right-click > Move stage here, if necessary
Prior to performing Image Shift Calibrations we systematically target a feature at low and up to high
magnification. This will ensure that your feature is identifiable at all magnifications, provide indication of whether
the Image Shift Calibrations need to be performed and importantly, centre a target feature at high magnification
ready for Image Shift Calibrations.
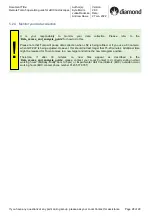
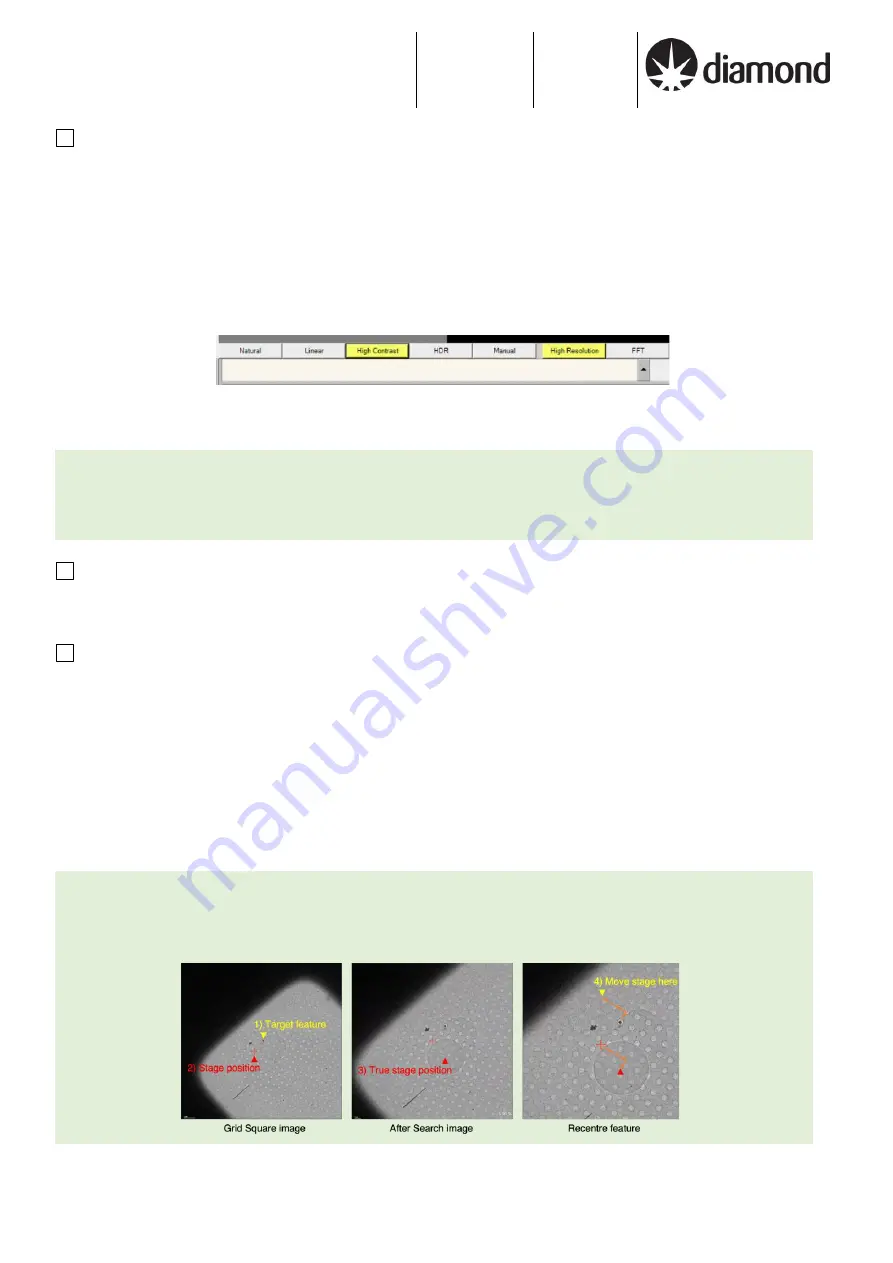
If you struggle to recentre the feature because it is out of a current field of view, one strategy is to take an image
using your current Preset, and then subsequently take a new image using the GridSquare Preset as in (1). The
charging mark introduced will be evident in the GridSquare image and indicate what the true stage position is
versus where the stage thinks it is. You can then appropriately reposition the stage on the GridSquare image.


