


23
- Press the
DVD
setup button to activate the DVD player OSD
menu;
- Press the / buttons to move between the different sub-menus.
Press the / buttons to highlight the preferred
option, confirm with the
OK
button.
- Press the
DVD
setup button to exit the OSD menu, or move
to EXIT SETUP and press the
OK
button to exit.
NOTE:
- Press buttons to move the highlight to folders, documents or mode selections.
- Press numeric buttons to select the content directly. For number over 10, press -/-- button first. (e.g.
File number 15, press -/-- then 5.)
- With MP3 playback, there is no picture display, only audio output.
- When playing or pausing a picture , you may use navigation buttons to flip / rotate the picture.
button to flip horizontally.
button to flip vertically.
button to rotate left 90
°
.
Button to rotate right 90
°
.
- Play or pause with picture playback, you Use D.MENU button to enter preview mode to
display 12 pictures. Press / button to select next / previous page or press numeric buttons to view
the corresponding pictures.
- The maximum JPEG image size that can be displayed is 1280 x 1024.
Function Settings
Function Settings
DVD Function General setup
DVD Function General setup
NOTE
: In Setup mode, the disc playback function will be cancelled or paused.
.
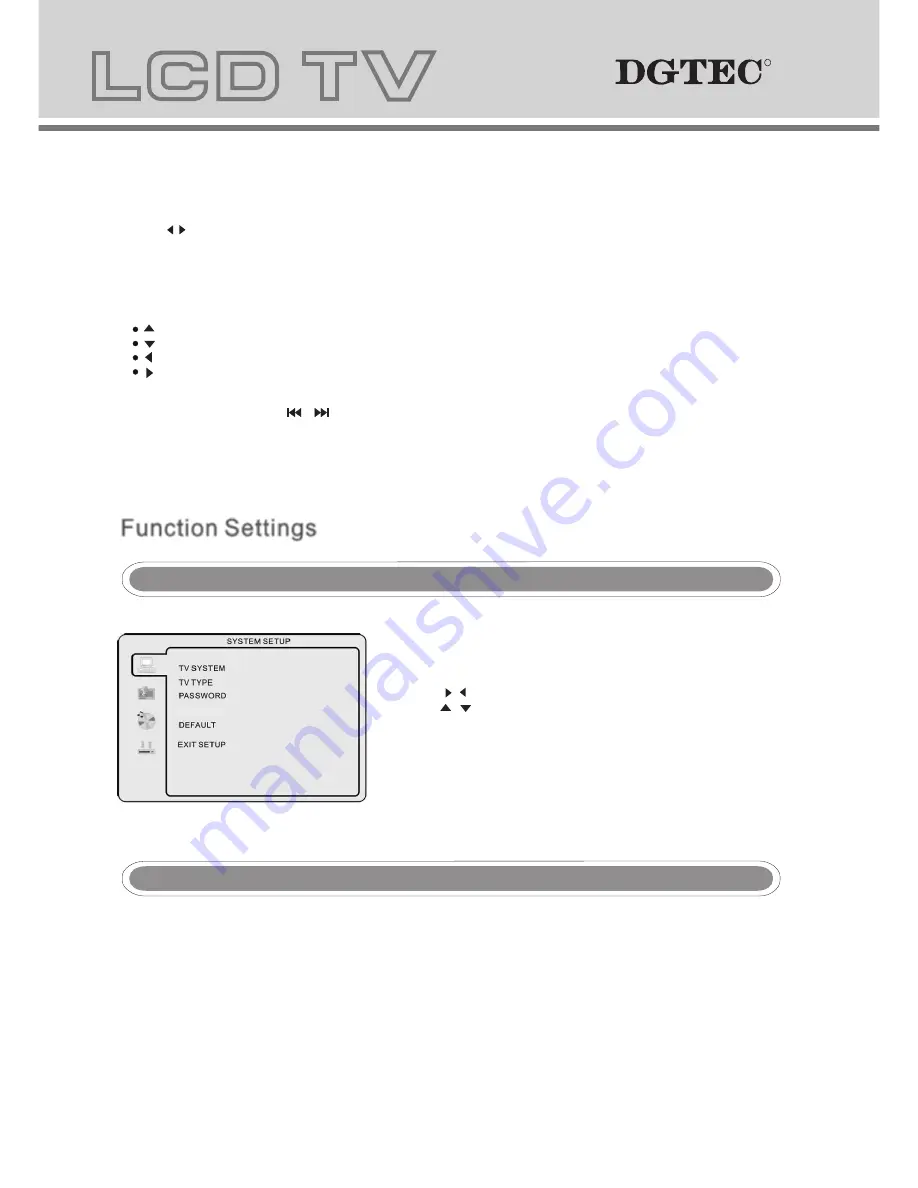
System Setup
System Setup
TV colour system
This menu enables you to set the picture format for your DVD.
NTSC
This format is used by some other countries, e.g. USA
PAL
This is the format used in Australia UK and the default setting.
AUTO
This format can be used if your TV/DVD is capable of both PAL and NTSC formats.
PARENTAL
24
2
TV Type
DVDs are produced in a variety of screen aspect ratios. This menu enables you to select one of the three aspect
ratios:
4:3 PS (Normal)
4:3 LB (Normal)
16:9 (Wide)
- Select the most appropriate aspect ratio for the DVD being
viewed.
4:3PS (Normal)
Normal Pan and Scan is used for most normal television broadcasts and
is the default setting. It has an aspect ratio of 4:3. If you select this setting
when viewing a DVD the picture will fill the entire screen.
4:3LB (Normal)
Normal Letter Box will show the DVD in its original aspect ratio so depending
on the size of your television screen, you may see black borders above and
below the picture.
16:9 (Wide)
Choose this setting if you have a widescreen television.
NOTE:
- Playback screen size may vary according to the disc content.
- For discs with 4:3 content, using any mode would only display a 4:3 screen
- Screen ratio selection should be according to the connected TV / Display
aspect ratio.
PassWord
- To make any rating change, access needs to be granted by entering in 0000 as the password.
- To change password, input any 4 digit number when the unit is unlocked. Once the 4 digit number is entered,
this will be your new password.
PARENTAL
- Discs with Parental settings can be set according to your preference.
PARENTAL restrictions is divided in eight different catagories from KID SAFE to ADULT.
PARENTAL
PARENTAL
R
R
R
R
Summary of Contents for DG-HD19LCDVD
Page 18: ...DVD Operation DVD Operation...
Page 33: ......


