37
EngLIsh
Wall Mounting
This charger is designed to be wall mountable or to sit upright on a table or work surface.
If wall mounting, locate the charger within reach of an electrical outlet, and away from
a corner or other obstructions which may impede air flow. Mount the charger securely
using screws (purchased separately) at least 76 mm long, with a screw head diameter of
8–9.5 mm, screwed into wood through the mounting holes.
OPERATION
D
e
WALT
chargers require no adjustment and are designed to be as easy as possible
to operate.
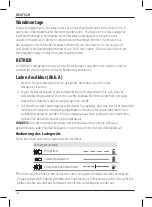
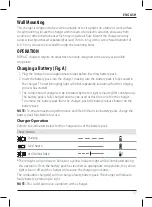
Charging a Battery (Fig. A)
1. Plug the charger into an appropriate outlet before inserting battery pack.
2. Insert the battery pack into the charger, making sure the battery pack is fully seated in
the charger. The red (charging) light will blink repeatedly indicating that the charging
process has started.
3. The completion of charge will be indicated by the red light remaining ON continuously.
The battery pack is fully charged and may be used at this time or left in the charger.
To remove the battery pack from the charger, push the battery release button on the
battery pack.
nOTE:
To ensure maximum performance and life of lithium-ion battery packs, charge the
battery pack fully before first use.
Charger Operation
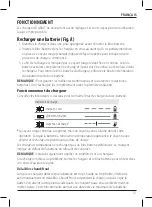
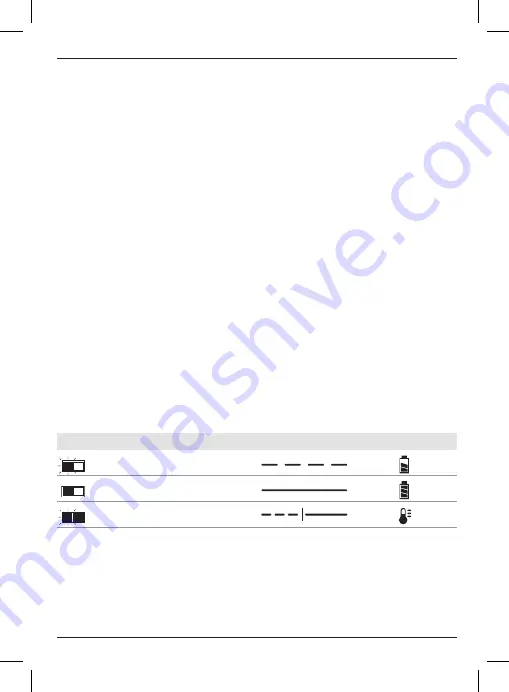
Refer to the indicators below for the charge status of the battery pack.
Charge Indicators
Charging
Fully Charged
Hot/Cold Pack Delay*
*
The red light will continue to blink, but a yellow indicator light will be illuminated during
this operation. Once the battery pack has reached an appropriate temperature, the yellow
light will turn off and the charger will resume the charging procedure.
The compatible charger(s) will not charge a faulty battery pack. The charger will indicate
faulty battery by refusing to light.
nOTE:
This could also mean a problem with a charger.

