11
OPERATING INSTRUCTIONS
• Inspect the tool before and after every use. Do not use this tool if it is damaged in any way.
• Personal injury can be caused by operating poorly maintained tools. Check for loose parts before using.
• Ensure the fitting is not over-specification. You may damage the tool if you do not follow the operating instructions.
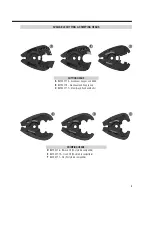
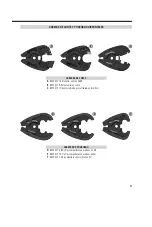
Use the die specified by connector manufacturer for you specific application.
• Remove battery pack while servicing, replacing dies, or storing the tool.
• Do not use the tool if there are any abnormalities or damage to any of its components
• Suggested working temperatures: 14°F to 104°F (-10°C to 40°C). Check hydraulic fluid specifications.
• Hydraulic fluid temperatures over 149°F (65°C) might soften packings and seals and cause fluid leaks.
• Inform authorized distributors or contact Klein Tools in case of any abnormalities or malfunctions of the product.
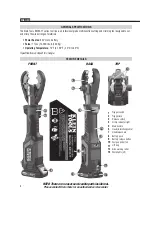
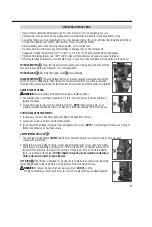
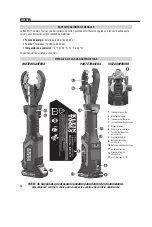
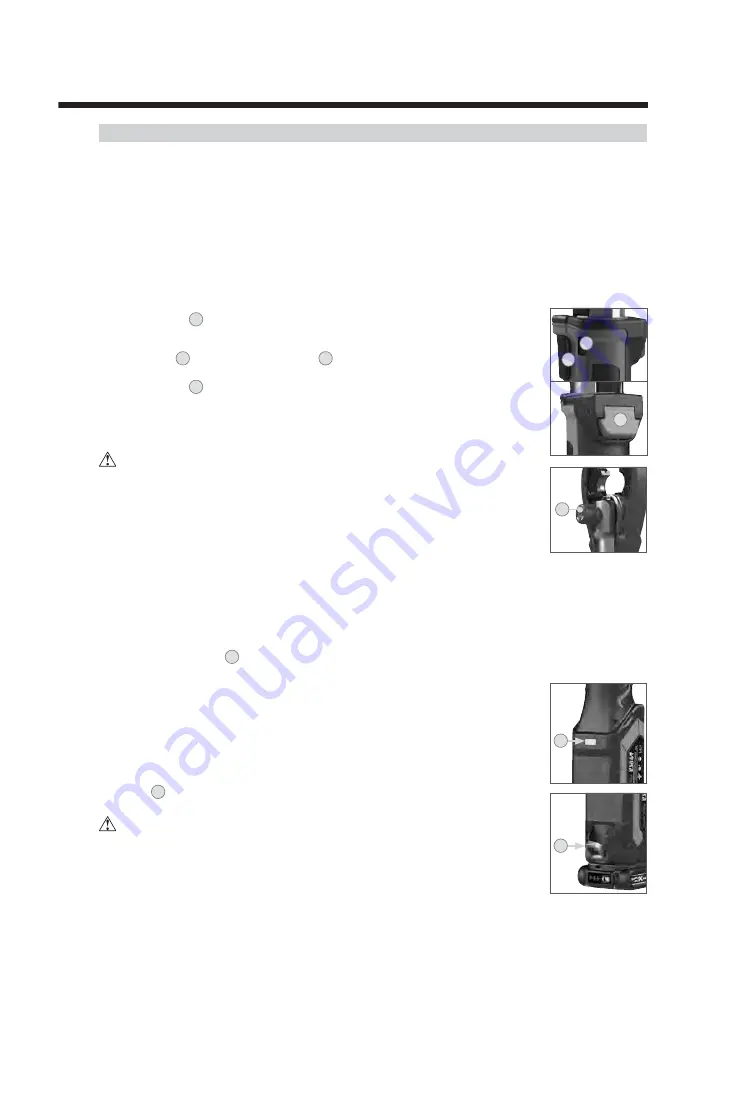
TRIGGER SWITCH
1
:
Press the Trigger Switch to advance crimping piston and hold until the
dies have fully compressed connector or cut through cable.
TRIGGER LOCK
2
:
Restricts the Trigger Lock
1
from activating.
RELEASE SWITCH
3
:
Press the Release Button to release hydraulic pressure and retract the
piston. The tool is designed to retract the piston only after complete 7 ton crimp is achieved.
Once the crimp cycle has started, the retract button will not function until the cycle is completed.
QUICK-RELEASE HEADS:
WARNING:
Remove battery pack before removing or replacing heads.
1. To exchange heads, twist head release pin 1/4 turn. The pin will stay in the tool while you
replace the heads.
2. To lock new head in tool, push pin and twist 1/4 turn.
NOTE:
If head release pin is not
properly installed and locked, there is a potential to bend and damage the tool during use.
CUTTING BLADE REPLACEMENT:
1. If necessary, remove the battery pack and release the head from the tool.
2. Loosen hex screws and remove old cutting blades.
3. Insert new cutting blades in reverse order and tighten hex screws.
NOTE:
For optimal performance, use a drop of
thread lock adhesive on hex head screws.
CRIMP INDICATOR LIGHT
4
:
1. The LED light will illuminate
GREEN
when the tool has reached full 7-ton pressure and a crimp has been
successfully completed.
2. When this tool is operated correctly, it takes approximately seven (7) seconds to complete
one full cycle and complete a compression. If the tool is used for 10 seconds and does not
reach full 7Ton pressure, the tool motor will stop. If the green LED is not lit, this indicates
there is a problem with the tool.
DO NOT attempt to repair; please contact an authorized
Klein Tools service center to repair the tool.
LIFT RING
11
:
The lift ring is intended for moving the tool into hard-to-reach areas. Securely
fasten lifting device to the ring before moving the tool. Follow all worksite rules.
WARNING:
To reduce the risk of serious personal injury,
DO NOT
use the
lift ring for tethering or securing the tool to a person or object during use when elevated.
1
2
3
7
4
11
Summary of Contents for Klein Tool BAT20-7T16
Page 42: ...42 NOTES NOTAS REMARQUES ...
Page 43: ...43 NOTES NOTAS REMARQUES ...


