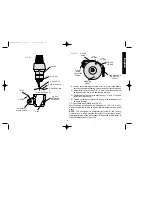
Main Functional Parts of Your Drill Bit
Sharpener
CAUTION:
•
Play it safe—know all follow all SAFETY RULES.
•
Be sure locator is clear of grinding wheel before starting motor.
•
Use light pressure and an even motion in rocking the swinghead
when grinding.
•
When shifting from BIT SHARPENING to WHEEL DRESSING—
and vice versa—follow instructions with extra care.
•
Replace a cracked wheel immediately.
•
Never disassemble the tool or try to do any rewiring in the electrical
system.
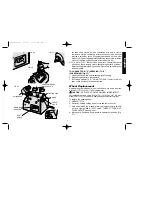
The Sharpen/Dress selector programs the tool for either bit
sharpening or wheel dressing. The Feed Knob provides precision
control of feed rate (material removal) during sharpening. The Index
Sleeve permits you to sharpen first one side of the drill bit tip, and
then the other side without removing the bit from the chuck. The
Swinghead lets you move the bit across the grinding wheel at the
correct angle repeatedly. The Chuck holds bit in position during
sharpening operation. The Locator guides positioning of drill bit so
that sharpening will be correct and accurate.
Shifting Selector Sharpen Bits or Dress
Wheel
(Figs. 6, 7, 8, 9, 10)
When you are ready to sharpen bits, the selector switch must be in
the “S” (sharpen) position. The “D” (dress) position is used when
dressing the grinding wheel.
IMPORTANT: Improper shifting from “D” (wheel dressing) to “S”
(bit sharpening), and vice versa, can cause damage and make your
sharpener inoperative. The correct methods of shifting are
illustrated.
3
English
FIG. 4
FIG. 1
FIG. 2
(122.2 mm)
Tool Outline
Front
(82.5 mm)
3 1/4"
4 13/16"
FIG. 5
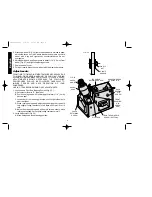
HELIX
ANGLE
FIG. 3
120° TO 135°
CHISEL EDGE
ANGLE
INCLUDED ANGLE
OF POINT 118°
LIP RELIEF
ANGLE
FLUTE
FLUTE LENGTH
WEB
CUTTING
LIP
DW751/385103 5/2/02 12:51 PM Page 3

