1/8"(3.175 mm) of adjustment either up or down.
The lugs are consecutively numbered for convenience. For faster
adjustments, lift the motor housing slightly and spin the Adjusting
Ring.
Duplicating specific depths of cut, such as hinge butt mortises, can
be done quickly and accurately by following the steps below.
1. TURN OFF AND UNPLUG ROUTER.
2. Lower the router bit until it just touches the workpiece. (Refer to
preceding section on “DEPTH ADJUSTMENT.”)
3. Lock the Clamp Lever
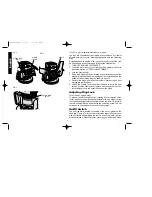
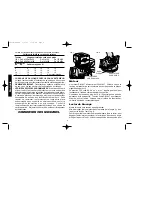
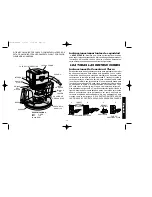
4. Raise the Adjusting Ring by rotating it counterclockwise until the
hinge will just fit between the top edge of the router base and the
bottom of the Adjusting Ring, as shown in Figure 6.
5. Remove the hinge and invert the router to prevent the bit from
marring the work surface.
6. Unlock the Clamp Lever and allow the base to fall to the new
setting. Lock the Clamp Lever in place and the depth is set. The
router will now cut to the exact thickness of the hinge.
Adjusting Ring Lock
Turn Off and Unplug Router.
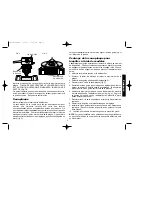
To prevent the Adjusting Ring from rotating due to vibration of the
router, a nylon set screw has been provided in the ring. When the ring
is set as desired, tighten this set screw, shown in Figure 7. Be careful
to avoid overtightening which will strip the soft nylon screw. The set
screw can be used whenever desired, or never at all.
On/Off Switch
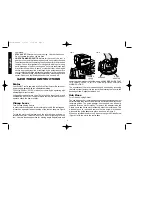
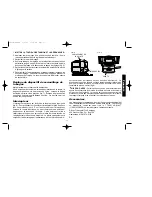
The on/off switch is located on the side of the router, just above the
hand grip, Figure 8. To turn on the router, raise the on/off switch lever
with your thumb while gripping the tool. To turn off the router, pull the
switch lever down. When the router is running, you will notice a probe
4
English
FIG. 7
OFF
OFF
FIG. 5
FIG. 6
CLAMP
LEVER
ADJUSTING
RING
HINGE
NYLON RING
LOCK
384404/DW628 5/2/02 1:39 PM Page 4


